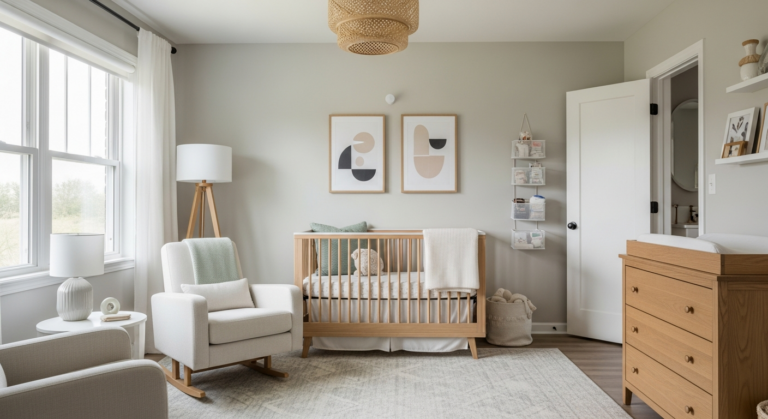

Baby Proofing Your Home: A Complete Room-by-Room Guide
This guide helps you baby-proof your home room-by-room, covering essential safety measures from electrical hazards and furniture anchoring to specific kitchen dangers. You'll learn when to start and how to secure every area as your child grows.
- Start baby proofing early, completing thorough measures by 4-6 months, and reassess regularly.
- Anchor all tall furniture to walls to prevent tip-overs, using straps rated for weight.
- Secure electrical outlets with covers and manage cords to prevent shocks and strangulation.
- Install locks on cabinets containing hazards like cleaning supplies, medicines, or knives.
- Replace corded window blinds with cord-free options and add window guards or stops.
Baby proofing is about removing the serious dangers, not wrapping the whole house in padding. This guide covers the basics for every room, the hazards that cause the most harm, and then each room in turn. Start with the big ones: tip-overs, button batteries, water, poisons and burns.
Emergency numbersPoison Control: 1-800-222-1222. National Battery Ingestion Hotline: 800-498-8666. Call 911 for choking or if your child is not breathing.
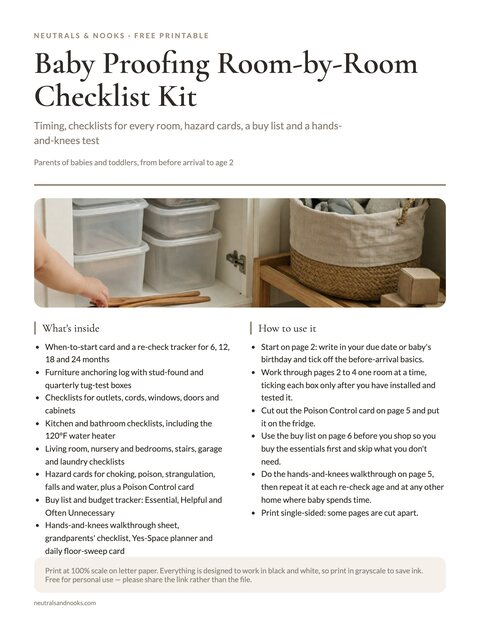
Free printable · 6 pages
Baby Proofing Room-by-Room Checklist Kit
Includes a start-timing card with a reassess tracker, whole-home and room-by-room checklists, hazard cards with a fridge-ready Poison Control card, a buy list with budget tracker, a hands-and-knees walkthrough test, a grandparents' checklist and a Yes-Space planner.
Free. Your download link appears right here. You'll also join the Monthly Home Reset. Unsubscribe anytime. Privacy
A safe home can still be a calm one. The things parents skip most often are the dull ones: anchoring the dresser, testing the gate, and the monthly recheck.
Wood-tone or white gates, color-matched anchor straps and magnetic locks hidden inside cabinets all blend in. You never have to pick between safe and pretty.
In this article (16 sections)
- Do These First
- When to Start Baby Proofing
- Baby Proofing Basics (Every Room)
- The Big Hazards: Choking, Batteries, Poison, Cords, Falls and Water
- Baby Proofing Room by Room: Kitchen, Bathroom, Nursery and More
- Kitchen Baby Proofing
- Bathroom Baby Proofing
- Living Room and Family Room
- Nursery and Bedrooms
- Stairs and Baby Gates
- Garage and Laundry Room
- Baby Proofing Products Worth Buying
- Common Baby Proofing Mistakes
- Creating Safe Exploration Spaces
- The Baby Proofing Mindset
- Baby Proofing FAQ
Do These First
- Anchor furniture. Secure dressers, bookcases and TVs, because tip-overs cause severe injuries.
- Gate the stairs. Hardware-mount a gate at the top of every staircase.
- Lock hazard cabinets. Cover anything holding medicine, cleaners, laundry pods or knives.
- Secure batteries and magnets. Button batteries and magnets cause internal injuries when swallowed.
- Set water rules. Add a toilet lock and keep an adult within arm’s reach of your baby near any water.
Once those are done, use the buying list near the end of this guide to decide what else is worth the money.
When to Start Baby Proofing
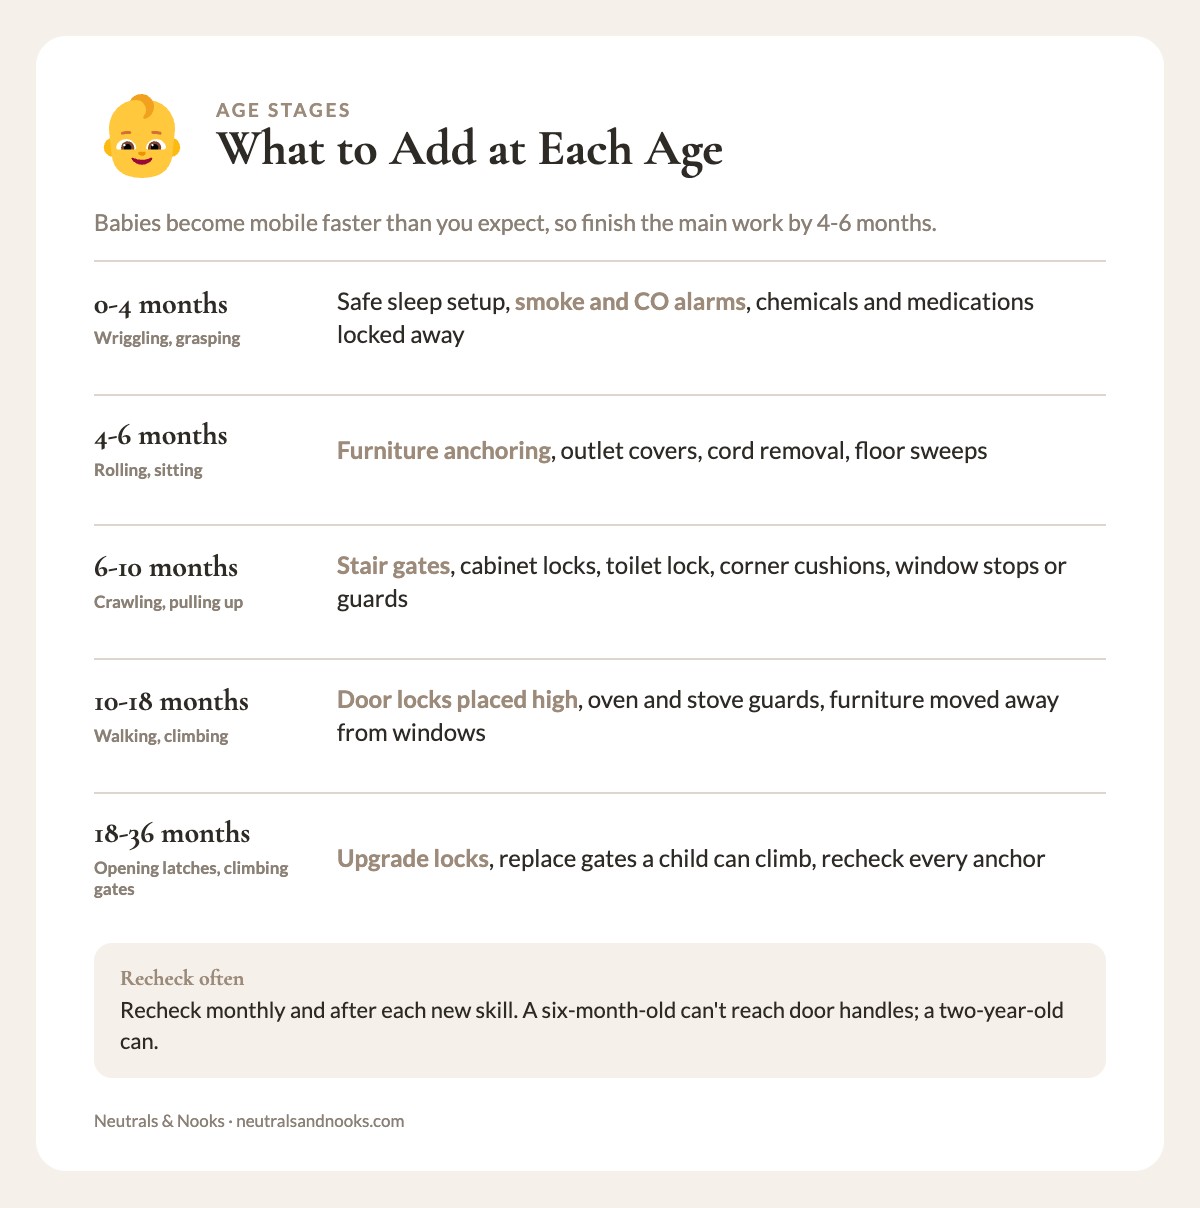
Before baby arrives: Set up a safe sleep space, install smoke detectors, and lock away chemicals and medications.
By 4-6 months: Complete thorough baby proofing. Babies become mobile faster than you expect, and you want preparations done before you’re chasing a crawler.
Ongoing: Baby proofing evolves as your child grows. A six-month-old can’t reach door handles; a two-year-old can. Reassess regularly.
| Stage | New abilities | What to add |
|---|---|---|
| 0-4 months | Wriggling, grasping | Safe sleep setup, smoke and CO alarms, chemicals and medications locked away |
| 4-6 months | Rolling, sitting | Furniture anchoring, outlet covers, cord removal, floor sweeps |
| 6-10 months | Crawling, pulling up | Stair gates, cabinet locks, toilet lock, corner cushions, window stops or guards |
| 10-18 months | Walking, climbing | Door locks placed high, oven and stove guards, furniture moved away from windows |
| 18-36 months | Opening latches, climbing gates | Upgrade locks, replace gates a child can climb, recheck every anchor |
Baby Proofing Basics (Every Room)
These fundamentals apply throughout your home.
Electrical Safety
Outlet covers: Every unused outlet needs a cover. I like the kind you install once and forget.
- Sliding plate covers are the best choice. They are built in, so there is nothing to pull out or lose.
- Box covers go over outlets that have a cord plugged in.
- Small plug-in caps are the last resort. A baby can pull one out and choke on it.
Cords and power strips: A dangling cord is something to pull or chew. Bundle the extra length and run cords behind furniture. Secure exposed runs to the wall or baseboard with cord covers. Power strips go behind furniture too, or inside a cover made for them.
Alarms
Put smoke and carbon monoxide alarms on every level of your home and outside sleeping areas. Test them monthly.
Furniture Anchoring
Safety firstFurniture and TV tip-overs send thousands of children to the emergency room each year and can be fatal, according to CPSC. Anchor every dresser, bookcase and TV, and check the anchors monthly.
A color-matched strap or a low-profile bracket keeps the look calm without cutting corners.
What to anchor: Dressers (especially tall or narrow ones), bookcases, TV stands, entertainment centers, wardrobes and standing shelves.
How to anchor:
- Pick the right hardware. Follow the manufacturer’s instructions and use straps or anchors rated for the weight.
- Find solid wall. Screw into wall studs, or use wall anchors rated for your wall type.
- Use two points on tall pieces. Anchor the TV as well.
- Tug to test. Give each piece a firm pull every month and after you move furniture.
Window Safety
Cord-free window treatments: Blind cords are a strangulation hazard. Replace corded blinds with cordless cellular shades, cord-free roller shades, curtains or shutters.
Window stops or guards: Fit these as soon as your baby is mobile, starting with any window above the ground floor. Window stops keep a window from opening more than 4 inches. Guards work too, as long as an adult can release them quickly in a fire.
Window locks and insect screens do not prevent falls. A lock only helps while the window is shut, and a screen will not hold a child. Keep beds, sofas and dressers away from windows so a child can’t climb up.
For window treatments that suit a baby’s room, see our gender-neutral nursery ideas.
Door Safety
Door knob and lever covers: These work on knobs and lever handles alike, but a determined toddler can defeat them. They are not a substitute for supervision. For bathrooms and rooms with water, a high-mounted latch is more reliable.
For the garage, basement and other hazard rooms, use a lock placed high out of reach. Every adult must be able to open any lock or cover quickly in an emergency. Bedroom doors must stay usable by an adult in a fire.
Door stops and guards: Prevent pinched fingers. Options include:
- Foam door stops that prevent full closure
- Hinge-side finger guards
- Soft door stoppers at floor level
Door holder locks: Keep interior doors from swinging when you want them open.
Cabinet and Drawer Locks
You don’t need a lock on every cabinet, only on the ones that hold hazards. Lock these first:
- Under-sink storage with cleaning supplies.
- Medicine cabinets.
- Knife drawers.
- Cabinets with glass or breakables.
- Cabinets with small items a baby could choke on.
Lock types: Magnetic locks are my pick for hazard cabinets. They are hard for a toddler to defeat, and you can’t see them from the outside.
| Lock type | Strengths | Trade-offs |
|---|---|---|
| Magnetic | Hidden inside the cabinet. Hard for toddlers to defeat. | Needs a key to open. |
| Adhesive strap | No drilling, so good for rentals. | Less secure. |
| Slide | Effective. | Visible on the cabinet front. |
| Knob | Best for double-door cabinets with handles. | Only suits that style of door. |
The Big Hazards: Choking, Batteries, Poison, Cords, Falls and Water
These hazards turn up in every room, so I cover each one once here. The room lists that follow only add what is specific to that room.
| Room | What hides there | The fix |
|---|---|---|
| Kitchen | Cleaners under the sink, knives, trash | Lock those cabinets and drawers |
| Living room | Remotes with button batteries, coins, toxic plants | Secure battery compartments, sweep the floor daily, move the plants |
| Bathroom | Medications, vitamins, razors, open water | Lock them away and add a toilet lock |
| Bedrooms | Blind cords, medications in purses and nightstands | Go cordless and lock medications away |
| Laundry and garage | Laundry pods, detergents, chemicals, fuel | Original containers in a locked cabinet |
Choking Hazards
For children under 3, anything that fits through a toilet paper tube is a choking hazard. That test is for objects, not food.
Objects to pick up: Coins, loose batteries, small toy parts, pen caps, jewelry, balloons and magnets. Do a quick floor sweep every day. Keep older siblings’ toys with small parts stored where the baby can’t reach them.
Food: For children under 4, avoid popcorn, hard candy, whole nuts and chunks of raw hard vegetables or apple. Cut grapes and cherry tomatoes lengthwise into quarters. Slice hot dogs lengthwise, then into small pieces. Don’t serve globs of peanut butter.
Button Batteries, Magnets and Water Beads
Safety firstA swallowed button battery can cause severe esophageal burns within about 2 hours. Swallowing more than one high-powered magnet can cause serious intestinal injury. Treat either one as an emergency.
If you think your child swallowed a battery or magnets:
- Go to the ER now. Do not delay the trip for anything else on this list. Your child will need an X-ray.
- Call on the way. Ring the National Battery Ingestion Hotline (800-498-8666) or Poison Control (1-800-222-1222).
- Do not induce vomiting. This applies to batteries and magnets alike.
- For a battery only. Give no food or drink unless the hotline or a doctor tells you to. They may advise honey for a child over 12 months. Honey is never safe for babies under 12 months.
- For magnets. Give no food or drink at all, and no honey.
- Bring the packaging. Take the product or its packaging with you.
Keep them out of reach in the first place:
- Secure battery compartments with screws or tape.
- Sweep the house for loose batteries and the devices that hold them. Check remotes, key fobs, greeting cards, thermometers, scales, toys and hearing aids.
- Keep high-powered magnet sets out of the house while toddlers are around.
- Skip water beads entirely while you have children under 6. They swell inside the body and can cause blockages.
- If a water bead is swallowed, call Poison Control or go to the ER.
Poison Prevention
Out of reach is not enough on its own. These need to be out of reach and locked:
- Cleaning supplies, detergents, pesticides and other chemicals.
- All medications, including vitamins. Iron supplements and prenatal vitamins are especially dangerous for children.
- Laundry pods, kept in their original container.
- Alcohol, cosmetics, razors and personal care products.
Keep every product in its original container, never a food container. Don’t rely on “child-proof” caps alone. Check purses, nightstands and counters for medications too, including visitors’ belongings.
Houseplants: Some common ones are toxic, including pothos, philodendron, peace lily and sago palm. Move them out of reach or out of the house. Faux plants are an easy swap for the baby and toddler years.
If your child swallows a product, gets a laundry pod in their eyes or chews a plant, call Poison Control at 1-800-222-1222 or emergency services. Have the product or plant name ready. Post the number where every caregiver can see it.
Our medicine cabinet organization guide shows how to store medications safely.
Strangulation Hazards
Cords and strings need to stay out of a baby’s reach. Watch for these:
- Blind and curtain cords. Replace all corded blinds (see Window Safety above).
- Electrical cords within reach of the crib or play area.
- Drawstrings on clothing, necklaces and other jewelry.
- Pet leashes left within reach.
Fall Prevention
Indoors, four things prevent most falls: gated stairs, window stops or guards, anchored furniture and rugs that don’t slip. The stairs and window sections of this guide have the details.
Outdoors, stay with your child on decks and balconies, and check that play equipment is secure.
Water Safety
Safety firstStay within arm’s reach of your baby near any water. Drowning can happen in very little water, and bath seats and rings are not safety devices.
- Never leave a baby alone near a toilet, tub, bucket or pool.
- Empty buckets, diaper pails and other containers right after use.
- Fence a pool or hot tub on all four sides. The fence should be at least 4 feet high, with a gate that closes and latches by itself.
- Add alarms to doors that lead to a pool.
- Learn infant and child CPR.
A fence is one layer of protection. It does not replace an adult watching.
Baby Proofing Room by Room: Kitchen, Bathroom, Nursery and More
Each room below has a short list of the hazards parents most often miss. The printable checklist kit has the full version for every room. If you only have an hour, do the kitchen, the nursery and the stairs first.
Kitchen Baby Proofing
The kitchen has more hazards than almost any other room, and most of them are hot or sharp. Start here.
- Cook on the back burners. Turn pot handles toward the back of the stove, and keep hot items far from counter edges.
- Guard the stove and oven. Add knob covers or remove the knobs, and fit an oven door lock. The oven door and window stay hot after use, so add a guard.
- Anchor a freestanding range. Use its anti-tip bracket so the range can’t tip over.
- Keep hot drinks away from baby. No hot drinks while holding a baby, and set cups well out of reach.
- Lock the knife drawer and the trash. Use a lidded or cabinet-mounted can. Keep the dishwasher closed unless you are loading it, since the basket holds sharp items.
A few smaller habits help too:
- Skip tablecloths, which a child can pull down.
- Use a short or coiled kettle cord.
- Keep small appliances unplugged and put away.
- Stir and test microwaved food before serving.
- Add a dishwasher or refrigerator lock if your child learns to open them.
I like to leave one low cabinet unlocked and filled with large, unbreakable items (see yes spaces below). Keep it away from the locked hazard cabinets and check it often.
For kitchen storage that keeps hazards out of reach, see our small kitchen organization guide.
Bathroom Baby Proofing
The bathroom puts water, heat and medicine in one small room. The arm’s reach rule from Water Safety above applies at every bath.
- Add a toilet lock. It keeps a curious baby out of the bowl and toys out of the plumbing. Keep the lid closed too.
- Set the water heater to 120°F or lower. This prevents scalding at the tap.
- Test bath water every time. Check it with your wrist or elbow. It should feel warm, not hot.
- Soften the tub. A spout cover prevents head bumps, and a non-slip mat stops sliding.
- Unplug and store heat tools. Hairdryers and curling irons go away after use. Outlets near water should be GFCI.
Medications, vitamins, razors, cosmetics and cleaning supplies all belong locked up, not under the sink. Poison Prevention above has the full list.
For more organization tips, see our kids bathroom organization guide.
Living Room and Family Room
This room is about what sits at baby height: the hearth, the coffee table and whatever lands on the rug.
- Block the fireplace. Fireplace glass can stay hot long after the flame is off, especially on gas units. Add a hearth gate or barrier, and keep children away until the glass is fully cool.
- Pad the hearth. Cushion sharp brick edges, and remove or secure the fire tools.
- Soften the coffee table. Add corner and edge cushions. Store a glass-topped table until your child is steady on their feet.
- Clear the low surfaces. Pick up remotes, coins, batteries and small toys every day. Keep decorative bowls empty or out of reach.
- Steady the tall things. Anchor the TV, and secure plant stands so they can’t tip over.
Never leave a fire unattended with children in the room. Store blankets where your baby can’t pull them down. For houseplants, see the toxic plant list under Poison Prevention above.
Nursery and Bedrooms
Safe sleep basicsBaby sleeps alone, on their back, on a firm, flat surface made for infant sleep. That means a crib, bassinet or play yard that meets CPSC standards.
Room-share on a separate sleep surface for at least the first 6 months, ideally the first year. Never bed-share, and keep the sleep space smoke-free. Never use sofas, armchairs or inclined products for sleep.
If you swaddle, keep it snug at the chest and loose at the hips, and never let it cover the face. Stop swaddling as soon as baby shows signs of trying to roll.
- Keep the crib bare. Use a firm, flat mattress that fits snugly, with a fitted sheet only.
- Leave everything else out. No bumpers, blankets, pillows, plush toys, positioners or inclined sleepers.
- Place the crib carefully. Keep it away from windows, with no curtains, cords or shelves within reach.
- Keep a hand on baby at the changing table. Stock supplies within arm’s reach first. Change a squirmy baby on a mat on the floor.
- Tidy the cords. Hide baby monitor cords, and plug night lights into outlets out of reach.
Anchor every dresser and shelf, and keep heavy items off high shelves where they could fall. In the closet, store heavy items low and keep small items off the low shelves. Add a knob cover or closet lock.
For small space nursery solutions, see our small nursery ideas guide. For a setup that covers only what you need, see our nursery essentials guide.
Free nursery style quizFind your nursery style in under 2 minutes. Take the quiz
Stairs and Baby Gates
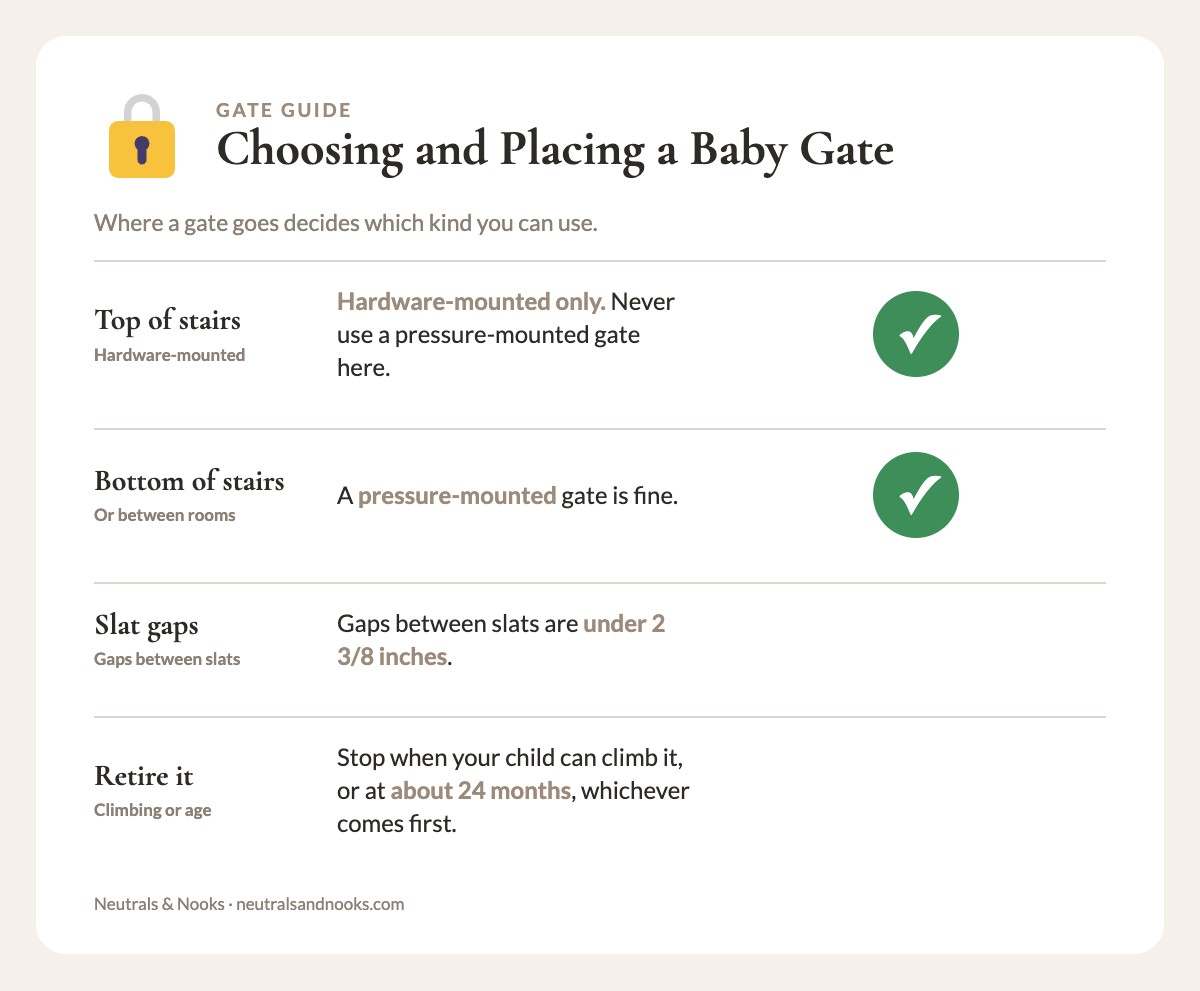
A gate only works if it stays put when a child leans on it. That is why the mount matters more than the look.
Where gates go:
- Top of stairs: hardware-mounted only. Never use a pressure-mounted gate here.
- Bottom of stairs or between rooms: a pressure-mounted gate is fine. Pick one without a raised threshold bar, which can trip a walking child.
Buying checklist:
- Gaps between slats are under 2 3/8 inches.
- Slats are vertical, with no footholds for climbing.
- The gate closes and latches by itself.
- There is no low threshold bar to trip over.
- The maker’s height and age limits suit your child.
When to retire it: Stop using a gate when your child can climb it, or at about 24 months, whichever comes first. Limits vary by gate, so check the maker’s age and height limit too.
Keep the stairs themselves clear. Don’t store anything on the steps, and add non-slip treads if they are slippery.
Garage and Laundry Room
Garage
My rule for the garage is simple: little ones don’t go in alone. Keep the door from the house locked, with the lock placed high.
- Never run a car in an attached garage. Carbon monoxide can reach the house.
- Test the garage door. Make sure it has an auto-reverse sensor and test it monthly. Keep the opener out of reach.
- Lock up chemicals, fuel and tools. Use a locked cabinet or high shelves, and secure anything sharp.
- Lock the car. A locked vehicle keeps children from playing inside.
- Look before you move. Check all the way around a vehicle first. Never leave children alone in or around one.
Laundry Room
- Keep washer and dryer doors closed. Add appliance locks so a toddler can’t open them.
- Stay nearby while machines run. Don’t leave a toddler alone with a running washer or dryer.
- Lock up laundry pods and detergents. Pods are extremely dangerous. Keep them in their original container in a locked cabinet (see Poison Prevention above).
- Put the iron away. Store it unplugged and out of reach.
For laundry room organization, see our laundry room organization guide.
Baby Proofing Products Worth Buying
Buy the essentials first. The rest can wait until you see what your baby actually gets into.
TipRenting? Adhesive cabinet locks need no drilling. Use a pressure-mounted gate only at the bottom of stairs, and ask your landlord before drilling for a top-of-stairs gate or furniture anchors.
| Item | Where | Priority |
|---|---|---|
| Furniture anchoring straps | Dressers, bookcases, TVs | Essential |
| Sliding plate or box outlet covers | Every unused outlet | Essential |
| Magnetic cabinet locks (hard for toddlers to defeat, and hidden) | Cabinets with hazards | Essential |
| Hardware-mounted stair gate | Top of stairs | Essential |
| Toilet lock | Bathrooms | Essential |
| High-placed door lock | Garage, basement | Essential |
| Corner cushions | Coffee tables, hearths | Essential |
| Window stops or guards | Windows above the ground floor | Essential |
| Appliance locks, stove knob covers | Kitchen, laundry | Helpful |
| Cord covers, finger guards | Cords, doors | Helpful |
| Locks on every cabinet | Whole house | Skip: lock only hazard storage |
Common Baby Proofing Mistakes
Installing too late. Babies become mobile quickly. Have proofing done before they’re crawling.
Underestimating toddlers. What a one-year-old can’t do, an eighteen-month-old can. Reassess as they grow.
Over-relying on products. No product replaces supervision. Baby proofing reduces risk; it doesn’t eliminate it.
Forgetting grandparents’ houses. Ensure anywhere baby spends time is appropriately proofed.
Not testing installations. Get on hands and knees at baby’s level. Tug on anchored furniture. Test cabinet locks.
Creating Safe Exploration Spaces
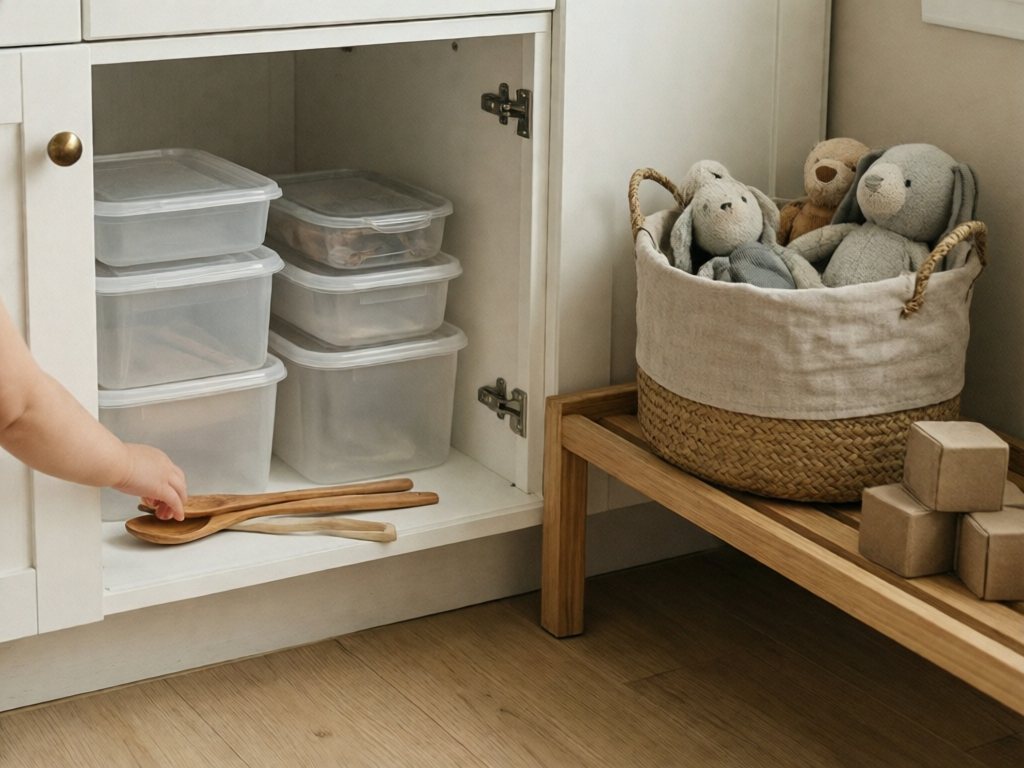
Baby proofing makes exploring safe. It isn’t meant to stop it.
Designate yes spaces:
- One accessible cabinet with large, unbreakable items and no small parts or loose lids. Wooden spoons, silicone muffin cups and large lidless plastic bowls work well.
- Keep that cabinet away from the locked hazard cabinets, and check it often.
- Low shelves with board books and soft toys.
- Baskets with exploration-safe items.
Rotate safe items: Keep exploration interesting with changing contents in accessible areas.
Supervise actively: Safe exploration happens with engaged adult presence, not just baby proofed rooms.
The Baby Proofing Mindset
No home is risk-free. Preparation, supervision, regular rechecks and teaching your child as they grow prevent many serious injuries.
The goal is a home free of serious hazards where your child can explore with you close by.
Start with the essentials. Add protections as needed. And always supervise young children actively, however well you’ve prepared your home.
Baby Proofing FAQ
When should I start baby proofing?
Before baby arrives for sleep, alarms and poisons. Aim to finish the rest by 4-6 months, before crawling starts. Then follow the stage table near the top of this guide as new skills appear.
Do I need to lock every cabinet?
No. Lock cabinets that hold hazards such as cleaning supplies, medications, knives and breakables.
What are the most dangerous household hazards?
Furniture tip-overs, button batteries and magnets, water, poisons, burns and unsafe sleep setups. Start with these.
What should I baby proof first?
Anchor furniture and TVs, gate the top of the stairs, lock cabinets holding medicine and cleaners, secure button batteries and magnets, and set water rules.
Are outlet covers safe?
Sliding plate and box covers are the better choices. Small plug-in caps can be pulled out and are a choking hazard.
Do I need a gate at the top and bottom of stairs?
Yes, gate both if your baby can reach either end. A gate is safe at the top of stairs only if it is hardware-mounted. The bottom one can be pressure-mounted.
How do I baby proof a rental without drilling?
Use adhesive cabinet locks, a pressure-mounted gate at the bottom of stairs, and corner cushions. Ask your landlord before drilling for a top-of-stairs gate or furniture anchors.
Neutral Nina
Neutral Nina is an interior design enthusiast and mom of three who proves that beautiful, organized spaces and family life can coexist. She shares practical strategies for creating calm, functional homes that work for kids and grown-ups alike.