DIY Sensory Wall on a Budget
Learn to build an impactful DIY sensory wall for under $50 using budget-friendly materials. You'll discover how to choose a base and create an engaging, always-available play surface to boost your child's development.
- Build a sensory wall for under $50 using dollar store and recycled items.
- Support your child's fine motor skills and self-regulation with sensory play.
- Choose from plywood, pegboard, or IKEA SKADIS for your wall base.
- Provide an always-available, space-saving activity for your child.
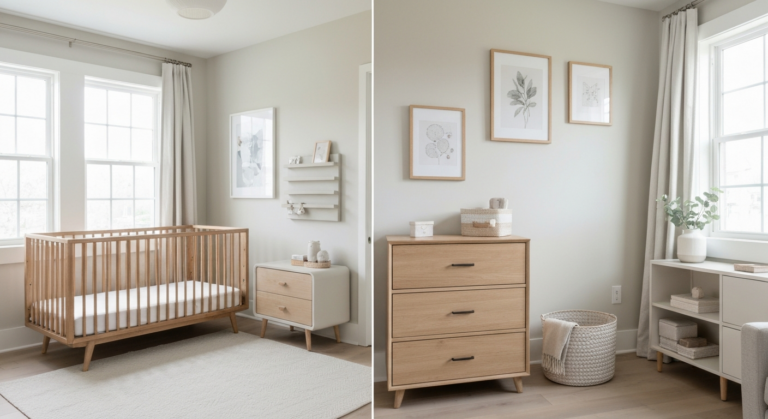
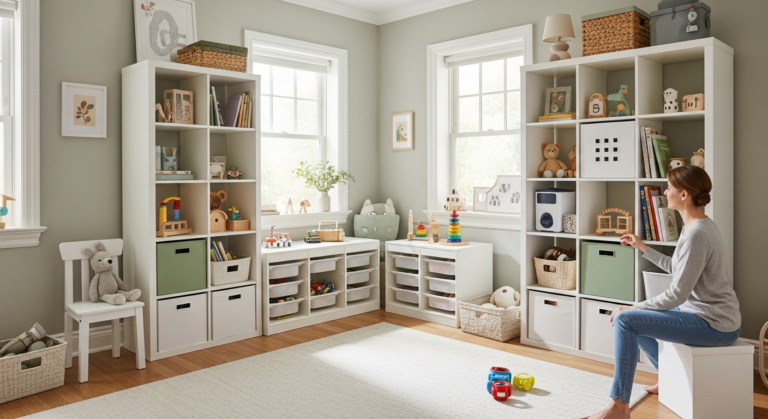
Watch a toddler in any room and you’ll notice something: they touch everything. The bumpy texture on a throw pillow, the cold metal of a door hinge, the squishy foam on a headphone cushion—their fingers are constantly exploring, gathering information, building neural pathways one touch at a time. Occupational therapists have long used sensory walls in clinical settings to support children’s tactile development, fine motor skills, and self-regulation. The good news? You don’t need a therapy clinic or a professional installer to bring this tool into your home. A DIY sensory wall can be built for under $50 using materials from the dollar store, the hardware aisle, and your own recycling bin. It’s one of the highest-impact, lowest-cost projects you can add to a playroom, nursery, or even a hallway.
What Is a Sensory Wall and Why Does It Matter?
A sensory wall is a vertical play surface mounted at child height that features a variety of textures, objects, and interactive elements designed to engage the senses—primarily touch, but also sight and sound. Think of it as a busy board’s big sibling: more surface area, more variety, and built into the room rather than held in a lap.
Sensory play isn’t just fun—it’s foundational to development. When children manipulate different textures and mechanisms, they strengthen fine motor muscles, improve hand-eye coordination, learn cause-and-effect relationships, and develop sensory processing skills that support everything from handwriting to emotional regulation.
Sensory walls are especially beneficial for children with sensory processing differences, autism spectrum characteristics, or ADHD, where tactile input can be calming and organizing. But every child—neurotypical or neurodivergent—benefits from rich sensory experiences. The American Academy of Pediatrics emphasizes hands-on sensory play as critical to early childhood development.
The beauty of a wall-mounted design is that it’s always available. Unlike sensory bins that need to be pulled out and supervised, a sensory wall is there when a child needs it—during the witching hour before dinner, as a calm-down tool after a tantrum, or as an independent activity while you take a phone call. It occupies vertical space rather than floor space, making it ideal for small rooms.
Choosing Your Base: Boards, Panels, and Mounting Options
Every sensory wall starts with a base—a flat surface you’ll mount to the wall and attach elements to. There are several options depending on your budget, skill level, and aesthetic preferences.
Plywood Panel: A 2×4-foot sheet of ½-inch sanded plywood from Home Depot or Lowe’s costs about $12–18 and is the most versatile option. Sand any rough edges, paint it with a non-toxic acrylic paint ($8 for a quart at Home Depot), and mount it to wall studs using construction screws. This gives you a solid, screw-friendly surface that can hold heavy items.
Pegboard: A 2×4-foot pegboard panel ($8–12 at Home Depot) is lightweight, inexpensive, and the pre-drilled holes make it easy to attach items with zip ties, wire, and hooks without drilling. Mount it with spacers (small blocks of wood behind the board) so there’s a gap between the pegboard and the wall—this gap lets you thread zip ties and wire through the holes.
IKEA SKADIS Pegboard: The IKEA SKADIS ($20 for the 30×22-inch panel) is a more polished option that comes in white and comes with a range of clip-on accessories (hooks, containers, shelves) from $1–5 each. It’s easy to mount, looks intentional, and you can rearrange elements anytime. For a sensory wall that blends into a neutral playroom, this is the most aesthetically pleasing option.
Multiple Small Boards: Instead of one large panel, mount several small boards (12×12-inch squares or 6×12-inch rectangles) in a grid pattern. This modular approach lets you swap individual boards as your child outgrows certain elements, and it creates a visually interesting mosaic layout. Cut pieces from a single sheet of plywood and paint each a different muted color: sage, blush, cream, dusty blue.
- Mount the base so the center is at your child’s chest height—approximately 20–24 inches from the floor for toddlers
- Use wall studs whenever possible for secure mounting; drywall anchors rated for 50+ pounds if studs aren’t available
- Leave at least 4 inches of clear space around the edges so wall fixtures don’t interfere
- Test every element for security before letting your child use the wall unsupervised
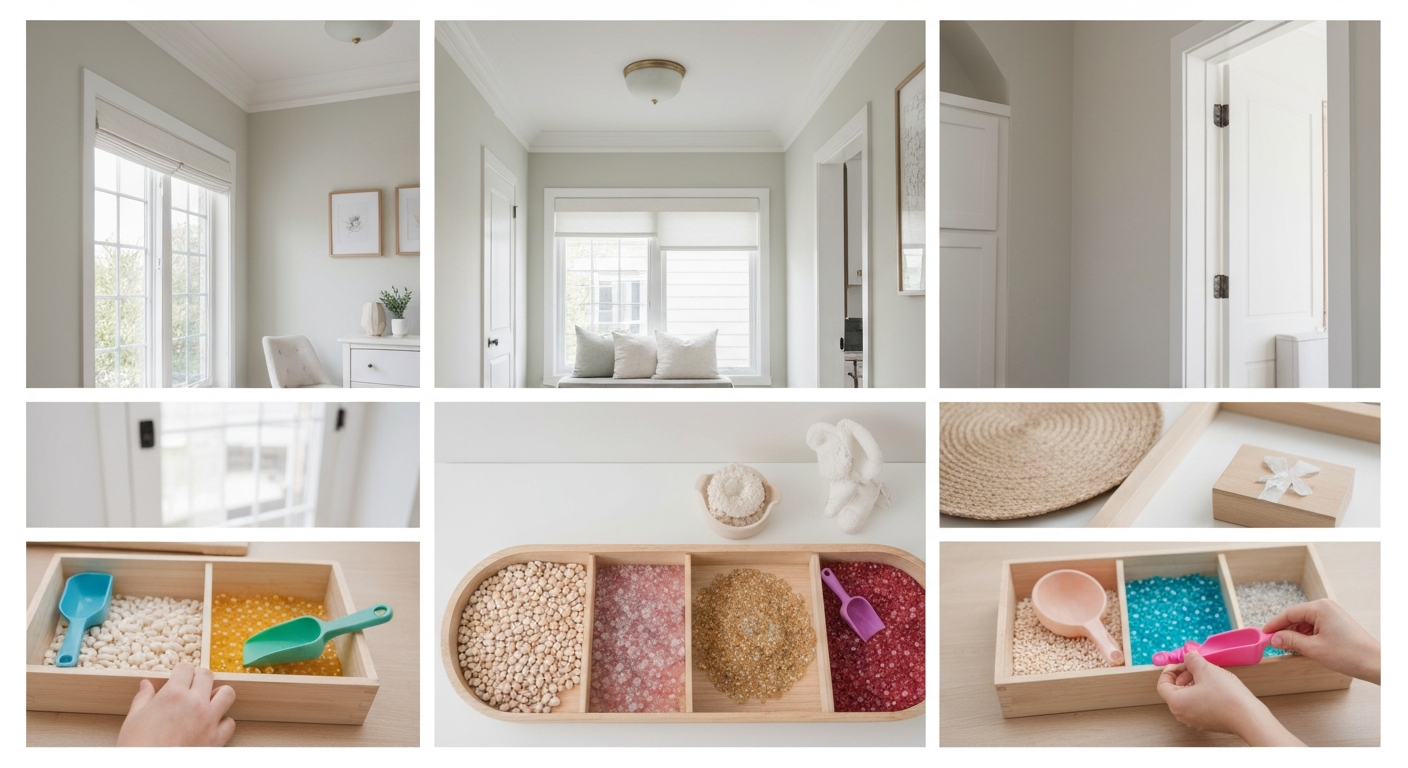
Budget Sensory Elements: The Best Finds Under $50 Total
Here’s where the fun begins. The elements you attach to the wall are limited only by your imagination, but certain categories consistently engage kids and support development. Here’s a shopping list that covers all the bases for under $50.
Texture Elements ($8–12 total):
- Carpet samples – Free from Home Depot or Lowe’s; ask at the flooring counter. Get 4–6 different textures (shag, berber, sisal, smooth) and glue them to the board
- Faux fur fabric squares – $3–5 at JOANN Fabrics for a remnant piece; cut into 4×4-inch patches
- Sandpaper – $3 for a variety pack at Home Depot; mount different grits from smooth to rough
- Craft foam sheets – $1 at Dollar Tree; soft and colorful
- Bubble wrap – Free from packages; tape or glue a section to the board (replace when popped)
Interactive/Mechanical Elements ($15–20 total):
- Light switch plate – $2 at Home Depot; kids love flipping switches (doesn’t need to be wired to anything)
- Door chain lock – $3 at Home Depot; sliding the chain in and out builds fine motor skills
- Cabinet latch – $2; the hook-and-eye type provides a satisfying click
- Deadbolt lock – $5; the twisting motion strengthens wrist muscles
- Bike bell – $3 at Walmart or Dollar Tree; mount it to the board for satisfying dings
- Large zipper – $2 at JOANN Fabrics; staple or screw the fabric edges to the board
- Carabiner clips – $3 for a set at Dollar Tree; clip and unclip from eye hooks
Visual and Auditory Elements ($8–12 total):
- Small mirror – $1–3 at Dollar Tree (use an acrylic safety mirror, not glass); babies and toddlers are fascinated by their reflection
- Mardi Gras beads or chunky chain – $1 at Dollar Tree; mount on hooks so they dangle and rattle
- Whisk or measuring spoons on a hook – $1 at Dollar Tree; kitchen items make surprisingly engaging sensory elements
- Giant buttons – $2 at JOANN Fabrics; glue in a row for visual and tactile interest
- Squeaker from a dog toy – Mount behind a fabric flap for a surprise sound element
Spinning and Sliding Elements ($5–8 total):
- Fidget spinner – $1–2 at Dollar Tree or Five Below; mount with a screw through the center bearing
- Caster wheel – $3 at Home Depot; the smooth spinning action is mesmerizing
- Abacus beads on a dowel – $3 for a wooden dowel and $2 for beads at Michaels; thread beads on the dowel and screw both ends to the board for a sliding counter
Building the Wall: Step-by-Step Assembly
With your base and elements gathered, assembly is straightforward and can be completed in an afternoon.
- Plan your layout. Lay the base panel flat on the floor and arrange all elements on it before attaching anything. Space items 3–4 inches apart so small hands can explore one element at a time without visual overwhelm. Place the most engaging items (spinning wheel, locks, bell) at center height, textures along the sides, and visual elements near the top.
- Attach elements. Use the appropriate fastener for each item: wood screws for hardware items (locks, hinges, bell), heavy-duty craft glue or E6000 adhesive ($5 at Michaels) for fabric and flat items, zip ties through pegboard holes for lightweight items, and industrial Velcro strips ($6 at Target) for items you want to be removable and swappable.
- Test everything. Before mounting the panel, test every element by tugging firmly. Nothing should come loose under the force a toddler can generate (which is more than you’d expect). If it wiggles, reinforce it.
- Mount the panel. With a helper holding the panel against the wall at the correct height, drill through the panel into wall studs using 2–3 inch construction screws. Use at least four mounting points. If you’re mounting to drywall without studs, use toggle bolt anchors ($5 for a pack at Home Depot) rated for at least 50 pounds.
- Final safety check. Run your hand over the entire surface feeling for sharp edges, exposed screw tips on the back (file them down or cover with duct tape), and any elements that could pinch small fingers. Revisit this safety check monthly.
Age-Appropriate Variations
A sensory wall can serve your child from infancy through preschool and beyond if you evolve the elements with their development.
Infant (6–12 months): Focus on high-contrast visuals, soft textures, and elements that make sound when touched. A black-and-white spiral, a crinkle fabric patch (cut from a crinkle baby book—$5 at Target), a safety mirror, and a few texture squares are plenty. Mount the board low—just above floor level—so a baby sitting or pulling to stand can reach it.
Toddler (1–3 years): This is the peak sensory wall age. Add locks, latches, switches, spinning elements, zippers, and a variety of textures. Toddlers will spend 10–30 minutes at a time working through every element, which is an eternity in toddler attention spans. This is also when the wall becomes a powerful independent play tool—giving you those precious minutes to start dinner or take a breath.
Preschooler (3–5 years): Add more complex elements: a simple gear system (craft gears from Amazon, $10–15), a dry-erase board section (a small whiteboard from Dollar Tree, $1.25), number or letter magnets on a magnetic surface, and lacing boards (punch holes in a board section and provide a shoelace for threading). Preschoolers are ready for elements that challenge problem-solving, not just tactile exploration.
School Age (5+): Transition the sensory wall into a fidget wall or calm-down station. Include stress balls mounted on the wall (attach with a small mesh bag and a screw), a visual timer ($10 on Amazon), a breathing exercise visual, and tactile fidget strips. This evolution keeps the wall relevant as a self-regulation tool rather than a play toy.
Maintaining and Evolving Your Sensory Wall
A sensory wall isn’t a set-it-and-forget-it project. It needs periodic maintenance and evolution to stay engaging and safe.
Do a monthly safety check: tug every element, check for worn-out textures, tighten any loose screws, and replace items that have been loved to death (bubble wrap, crinkle fabric, and sandpaper are the most frequent casualties). Keep spare materials in a ziplock bag so replacements are quick.
Every 3–4 months, swap 2–3 elements to keep the wall fresh. Remove items your child has mastered or lost interest in and introduce new challenges. This doesn’t have to cost anything—swap in a kitchen timer from the drawer, a new texture from a fabric scrap, or a found object like a smooth stone or a piece of driftwood (attached securely).
Clean the wall regularly. Wipe down surfaces with a mild soap solution, especially if your child mouths the elements (babies will). Remove fabric pieces periodically and toss them in the washing machine. Replace any items that can’t be cleaned adequately.
The most rewarding part of a sensory wall is watching your child discover it on their own terms. There’s no right or wrong way to interact with it—a baby might stare at the mirror for five minutes, a toddler might obsessively flip the light switch forty times in a row, and a preschooler might narrate an elaborate story to the texture patches. Every interaction is building connections in their brain, strengthening their hands, and teaching them about the world through the most natural learning channel they have: touch. For under $50 and one afternoon of work, that’s a remarkably powerful return on investment.