How to Organize Toys by Type
Learn to organize your toys by type using a five-step method: gather everything, sort into about twelve categories, label a home for each, place in zones, and reset nightly. This system simplifies cleanup for your kids and helps you find toys faster.
- Gather every toy from all areas of your home before sorting.
- Sort your toys into about twelve specific categories like vehicles or building blocks.
- Purge broken, duplicated, or outgrown items within each category.
- Label each toy category's home to simplify cleanup for your child.
- Utilize the free printable kit for sorting, labeling, and routine cards.
This post contains affiliate links. As an Amazon Associate I earn from qualifying purchases.
Sorting toys by type takes five moves. Gather everything, sort it into about twelve categories, label a home for each, place each home in the right zone, and reset for 10 minutes each night. Below are the storage picks, label ideas, and safety checks that make it work in a home with little ones.
In this article (7 sections)
How Does Sorting Toys by Type Work?
One Saturday I piled every toy we own on the living room floor. There were 400+ of them. After two years of shoving toys into the closest container, nothing had a home. So I started over: sort by type, give each type a permanent home, and keep it simple enough for my three-year-old to help.
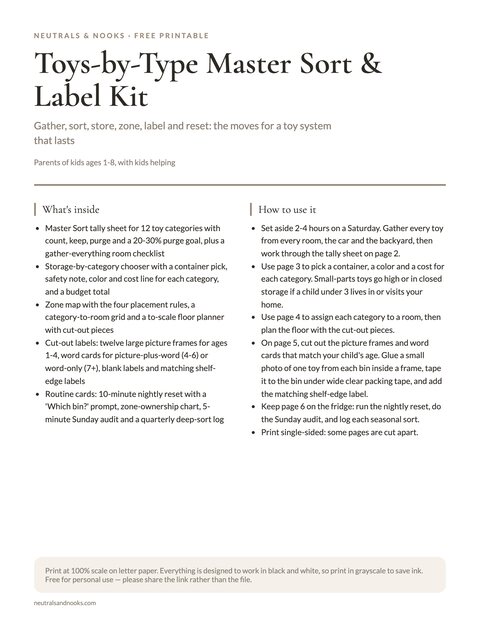
Free printable · 6 pages
Toys-by-Type Master Sort & Label Kit
A master sort tally sheet with a 20-30% purge goal, a storage-by-category chooser with color and budget lines, a zone map with a category-to-room grid and to-scale floor planner, large photo-frame picture cards, word cards and shelf-edge labels, and nightly, weekly and seasonal routine cards.
Free. Your download link appears right here. You'll also join the Monthly Home Reset. Unsubscribe anytime. Privacy
Sorting by type works because it cuts the decisions at cleanup. A child holding a car has one question to answer, “Where do cars go?”, and one bin that answers it. Categories are also easy for young kids to learn, since a car looks like the other cars in the bin. And when you want one toy, you check one bin instead of five.
The overhaul took the rest of that Saturday and cost about $80 in new storage containers. That figure was for our collection, so your total will vary with how many bins you need.
If your collection is simply too big, pair this with my toy rotation system. The Toys-by-Type Master Sort & Label Kit is the companion printable for this post.
How to Sort Toys Into Categories: The Master Sort
Before organizing a single bin, you need to know exactly what you are working with. The master sort is a one-time process that takes two to four hours depending on your collection size, and it is the foundation of everything that follows.
Set these out before you start.
- A large blanket or sheet.
- Three bags for donate, hand-me-down, and trash.
- A “maybe” box you can tape shut.
- A marker and tape.
- A timer.
- Two to four free hours.
- Gather every toy. Pull toys from every room, the car, the backyard, and any closet or drawer where toys have migrated.
- Sort into broad categories. Spread a blanket on the floor and make one pile per toy type.
- Purge within each category. Remove anything broken, duplicated, or outgrown.
Gathering is the step that’s easy to skip, and skipping it leaves the system incomplete. If you only organize the playroom, the toys scattered through other rooms will undo it.
If a toy fits two categories, put it where your child looks for it first.
In our house, toys fall into about twelve categories. Yours may differ. The best container for each one is in the storage section below.
- Building and construction: LEGO, Magna-Tiles, wooden blocks, Lincoln Logs, bristle blocks.
- Vehicles and tracks: cars, trains, track sets, planes, construction equipment.
- Dolls and figurines: Barbies, action figures, LOL dolls, Calico Critters, accessories.
- Pretend play: play food, kitchen items, doctor kits, tool sets, costumes.
- Stuffed animals: plush toys, comfort objects, character plushies.
- Art and creativity: crayons, markers, play dough, stickers, craft kits.
- Puzzles and games: board games, card games, puzzles.
- Outdoor and active: balls, jump ropes, sandbox toys, bubbles, sports equipment.
- Musical instruments: drums, xylophones, shakers, harmonicas.
- Books: board books, picture books, chapter books, activity books.
- Electronic and battery toys: tablets, VTech toys, interactive learning toys.
- Miscellaneous and seasonal: holiday-specific toys, party favors, random treasures.
How to purge
Now that you can see each category in full, purging gets easier. Do you really need 14 toy cars? Are those three puzzles with missing pieces worth keeping? Is that Happy Meal toy from 2023 bringing anyone joy?
Be honest as you purge. Remove any toy that meets one of these rules.
- Broken and not worth fixing.
- Missing pieces that make it unplayable.
- Duplicates beyond the number you set. Pick the number before you start, such as ten toy cars.
- Outgrown by every child in the house.
- Untouched for three months.
Not sure about a toy? Put it in the “maybe” box, tape it shut, and write the date on it. If nobody asks for anything inside by your next seasonal sort, donate the box unopened. Let your kids choose a few donations themselves, and move sentimental toys to one small keepsake box.
Sort what you remove
Sort the removed toys into three bags.
- Donate: clean and complete.
- Hand-me-down: saved for a younger sibling or friend.
- Trash: broken or unsafe.
Toy Storage Ideas by Category
Each category needs different storage, based on piece size, quantity, and how kids play with it. The five trickiest categories (building, vehicles, dolls, pretend play, and stuffed animals) each get a section below. The other seven (art, puzzles and games, outdoor, music, books, electronics, and seasonal) are in a table at the end. Start with the safety check.
Safety firstStore small-parts toys (standard LEGO, doll accessories, small cars, figurines, magnets, puzzle pieces) in high or closed storage, out of reach of children under 3 and any child who mouths objects. Keep only age-appropriate toys, such as DUPLO or large blocks, at toddler height.
Anchor all shelving, dressers, cube units like KALLAX and TROFAST, and other tall storage to wall studs with anti-tip hardware. Don’t let children climb them.
TipLet age decide the shelf height. DUPLO and large blocks go low. Standard LEGO and other small parts go up high or in closed storage.
Building and construction
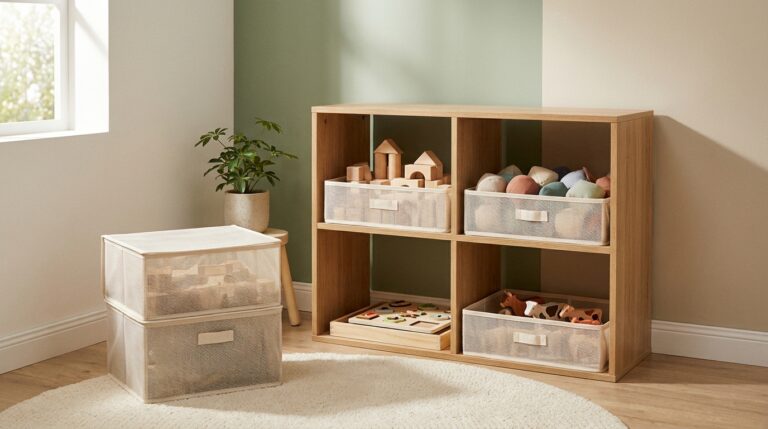
Best container: clear shallow drawers for LEGO, a deep fabric bin for magnetic tiles. Where it lives: the room with the most open floor.
This is the hardest category. It has hundreds of small pieces that must be reachable for play but contained for storage.
For LEGO, sort by color or by set into clear drawer units. The IRIS 6-Drawer Scrapbook Cart is a popular option, with wide, shallow drawers that let kids see every piece. More ideas are in my LEGO storage guide.
For Magna-Tiles and similar magnetic tiles, a deep fabric bin works well since the tiles stack flat and cling together. An IKEA DRONA box in a KALLAX cube holds a good-sized set.
Safety firstInspect magnetic tiles regularly and discard any that are cracked or have loose magnets. Keep them away from children who mouth objects and from siblings under 3. If a magnet may have been swallowed, seek emergency care right away. Don’t wait for symptoms. Poison Control (US) is 1-800-222-1222.
Vehicles and tracks
Best container: a shallow divided drawer for small cars, a big fabric bin for tracks and large vehicles. Where it lives: playroom or living room, with small cars up high or in a closed cabinet if a child under 3 is in the home.
Small vehicles (Hot Wheels, Matchbox) fit best in a shallow divided drawer. For older kids, an over-door shoe organizer also works. If you held to your cap in the purge, such as ten cars, you will only fill a few pockets, so a small organizer is plenty.
Safety firstSmall die-cast cars are small-parts toys and a choking hazard for children under 3. If a child under 3 lives in or visits your home, keep small cars in a lidded bin or drawer on a high shelf or in a closed cabinet.
Skip the over-door organizer in those homes too. Its straps and hooks can be an entanglement risk. For older kids, hang the organizer at a height they can reach safely.
Track pieces and large, rigid vehicles, like chunky trucks, are the only items in this category that stay at toddler height. A big fabric bin or canvas bag works well for them.
Dolls and figurines
Best container: an open basket for dolls, a small drawer unit for accessories. Where it lives: bedroom shelf at kid height for children 4 and older.
Keep small accessories with their dolls. A small drawer unit like the IRIS 3-Drawer Desktop Organizer keeps Barbie shoes, brushes, and tiny accessories visible and sorted.
For the dolls themselves, an open bin or basket at kid height allows easy access. Keep doll clothes in a small zipper pouch or pencil case rather than loose in the bin.
Safety firstThe kid-height advice in this section assumes children 4 and older. If a child under 3 lives in or visits your home, move the accessory drawer and small figurines to a high shelf or closed storage. Barbie shoes and other tiny accessories are choking hazards.
Pretend play
Best container: one medium clear bin per theme. Where it lives: playroom shelf.
Organize pretend play into themed kits in labeled bins. Play food and kitchen items go in one, the stethoscope and bandages in another, hammers and helmets in a third.
Medium clear bins, like Target’s Brightroom line, let kids see the theme without opening the lid. Label each with a word and a picture for pre-readers.
Check each kit for small parts, such as tiny play food or tool-set screws. If a child under 3 lives in or visits your home, keep those kits in lidded bins on a high shelf.
Stuffed animals
Best container: an open basket or shelf bin. Where it lives: bedroom, at kid height.
Stuffed animals are bulky and multiply fast. The simplest storage is also the safest. Keep five to eight favorites in an open basket, a shelf bin, or a wall-mounted soft basket, and store the rest out of sight.
If floor space is tight, a wall-mounted soft basket is my default. It keeps the animals off the floor with no cords or chains.
Two other space-savers are for older kids only. A stuffed animal bean bag cover turns the collection into a seat. A hanging chain organizer holds ten to fifteen animals vertically, but I would only use one in the room of a child 5 or older. Read the safety note below before choosing either. My stuffed animal storage ideas go deeper.
Safety firstHanging chain and net organizers are an entanglement and strangulation risk for young children. A child who climbs or pulls on one can also fall. Use them only in the rooms of children 5 and older, and never near cribs or beds. In any home with babies or toddlers, choose a wall-mounted soft basket instead.
Don’t use a stuffed-animal bean bag with infants or as a place for a baby to lie. Choose a cover with a childproof zipper. If a bean bag is filled with polystyrene beads rather than toys, the loose beads are a choking and inhalation hazard if the cover is opened.
Good to knowPer AAP safe-sleep guidance, keep stuffed animals and soft toys out of the crib or bassinet for infants under 12 months.
Quick storage guide: art, puzzles, outdoor, music, books, electronics, and seasonal toys
These seven categories are simpler, so one row each covers them.
| Category | Best container | Where it lives | Safety note |
|---|---|---|---|
| Art and creativity | Lidded bins or a rolling cart (see art supply organization) | Near hard floors | Non-toxic only. Out of under-3s’ reach. |
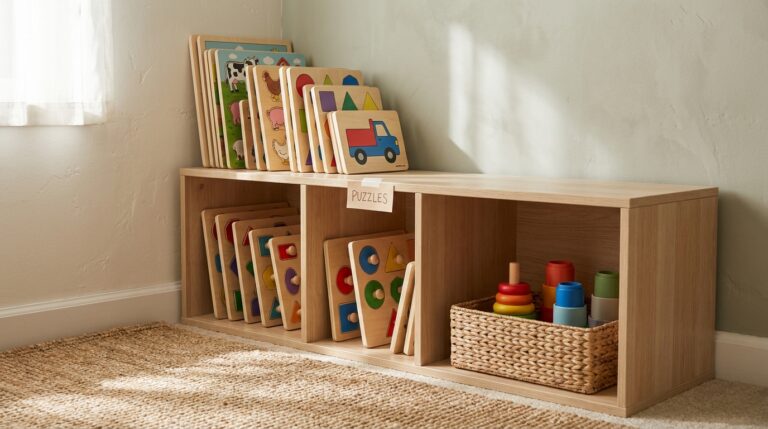
| Puzzles and games | One puzzle per zip pouch; shallow bins (see puzzle storage solutions for kids and board game storage ideas) | Bedroom shelf | Small pieces: choking hazard under 3. |
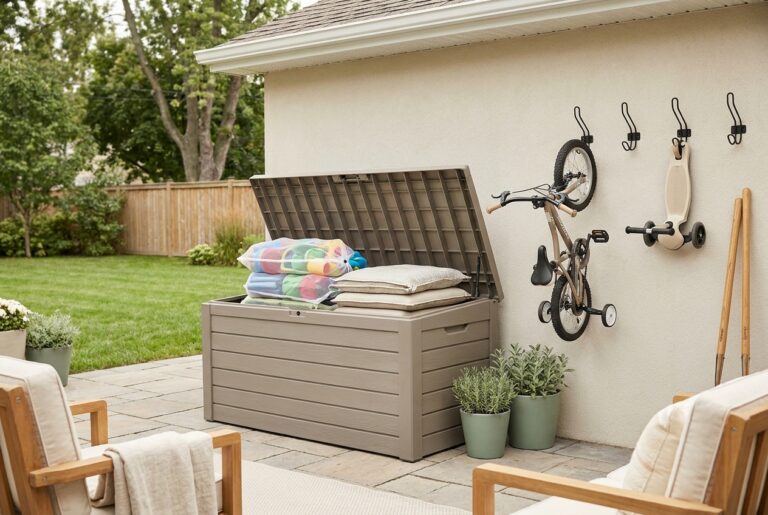
| Outdoor and active | Large bin or wall hooks (see outdoor toy storage) | Mudroom or garage | Hang jump ropes out of reach. |
| Musical instruments | Basket with handles | Playroom shelf | Tiny shakers and harmonicas: older kids only. |
| Books | Front-facing shelf or ledge (see book storage) | Bedroom or reading nook | Anchor the shelf. |
| Electronic and battery toys | One lidded bin | Spare batteries on a high shelf | See the battery note below. |
| Miscellaneous and seasonal | One lidded bin per season | Out of sight | Party favors often contain small parts. |
Safety firstCheck that battery compartments are screw-secured and keep spare and loose batteries out of reach. If a button battery may have been swallowed, go to the ER immediately. Don’t wait for symptoms. Call the National Battery Ingestion Hotline at 800-498-8666 or Poison Control at 1-800-222-1222 (US).
A swallowed magnet is also an emergency. Go to the ER right away, even if the child seems fine, and call Poison Control at 1-800-222-1222 (US).
The Label System That Makes Cleanup Easy
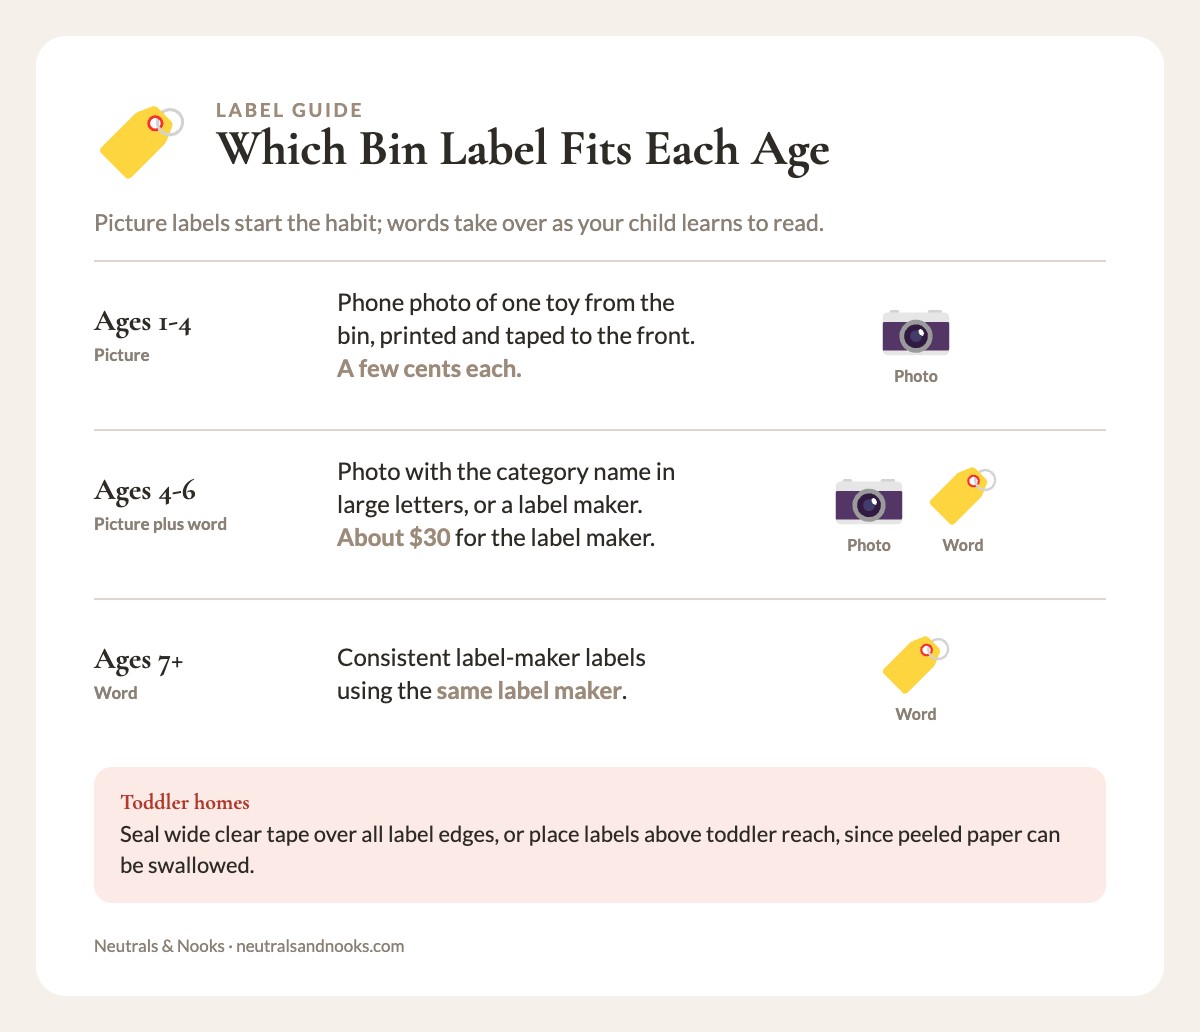
Labels are what make a toy system last. Every container needs a clear, visible label that tells your child what goes inside. Without labels, bins become dumping grounds within days.
| Age band | Label type | What to use | Cost |
|---|---|---|---|
| 1-4 | Picture | Phone photo of one toy from the bin, printed and taped to the front | A few cents each. |
| 4-6 | Picture plus word | Photo with the category name in large letters, or a label maker like the Brother P-Touch | About $30 for the label maker. |
| 7+ | Word | Consistent label-maker labels | Same label maker. |
Picture labels cost only a few cents each. Here is how to make them:
- Photograph one toy. Pick one representative toy from each bin.
- Print. Order 4×6 prints from any photo-print service, or print at home on plain paper.
- Cut to size. Trim each photo to fit the front of the bin.
- Cover and attach. Tape it to the bin and cover it with wide clear packing tape.
- Label the shelf edge. Add a matching label where the bin lives.
In homes with toddlers, seal wide clear tape over all label edges or place labels above toddler reach, since peeled paper can be swallowed.
Color coding adds another layer of clarity. Assign a color to each category and use bins or label tape in that color. All building toys go in blue bins, all vehicle toys in red bins, all art supplies in green bins. IKEA TROFAST bins come in multiple colors and coordinate with the TROFAST frames, which makes color coding easy.
Label the location as well as the container. If the vehicle bin lives on the second shelf of the KALLAX unit, put a matching label on that shelf edge. The label stays visible while the bin is out for play, so kids can see where it goes back.
Creating Activity Zones Based on Toy Categories
Once toys are sorted and labeled, place each category in the zone where it gets used. Shortening the distance between play and cleanup is what most helps kids actually put toys away.
For more room-by-room layouts, see my playroom organization ideas and kids bedroom zones.
High-mess toys belong near easy-clean surfaces. Store art supplies, play dough, kinetic sand, and paint near tile or hardwood, ideally in the kitchen, a mudroom, or a hard-floored playroom. A carpeted bedroom invites stains.
Safety firstChoose art supplies labeled non-toxic (ASTM D-4236) and keep them out of reach of children under 3. Supervise young children during use. Small crayon pieces, stickers, and play dough are choking and ingestion risks.
Quiet toys belong in bedrooms for children 4 and older. Puzzles, books, stuffed animals, and figurines support quiet, independent play, so keep them on bedroom shelving at kid height for rest time or wind-down. Keep figurines and small puzzle pieces out of reach of children under 3.
Large-footprint toys need the biggest room. Train tracks, Magna-Tile castles, and elaborate LEGO builds need floor space, so store them in the room with the most open floor, typically the playroom or living room.
If floor space is limited, use a building mat (a 3×4-foot felt mat from Amazon, about $15) to define the build zone. At cleanup, fold the mat edges in and the pieces collect in the center.
Active toys belong near the exit. Balls, jump ropes, bikes, scooters, and outdoor gear belong in the mudroom, garage, or entryway. A large bin or wall-mounted hooks near the door let kids grab toys on the way out and drop them on the way in.
Check each hook’s weight rating and anchor into studs for bikes and scooters. Hang jump ropes and cords out of young children’s reach.
| Toy type | Best zone | Why |
|---|---|---|
| High-mess (art, play dough, sand) | Kitchen, mudroom, hard floors | Easy to wipe up. |
| Quiet (puzzles, books, plush) | Bedroom shelves | Supports independent play. |
| Large-footprint (tracks, tile builds) | Playroom or living room | Needs open floor. |
| Active (balls, bikes, scooters) | Mudroom, garage, entryway | Close to the door. |
Maintaining the System: The 10-Minute Nightly Reset
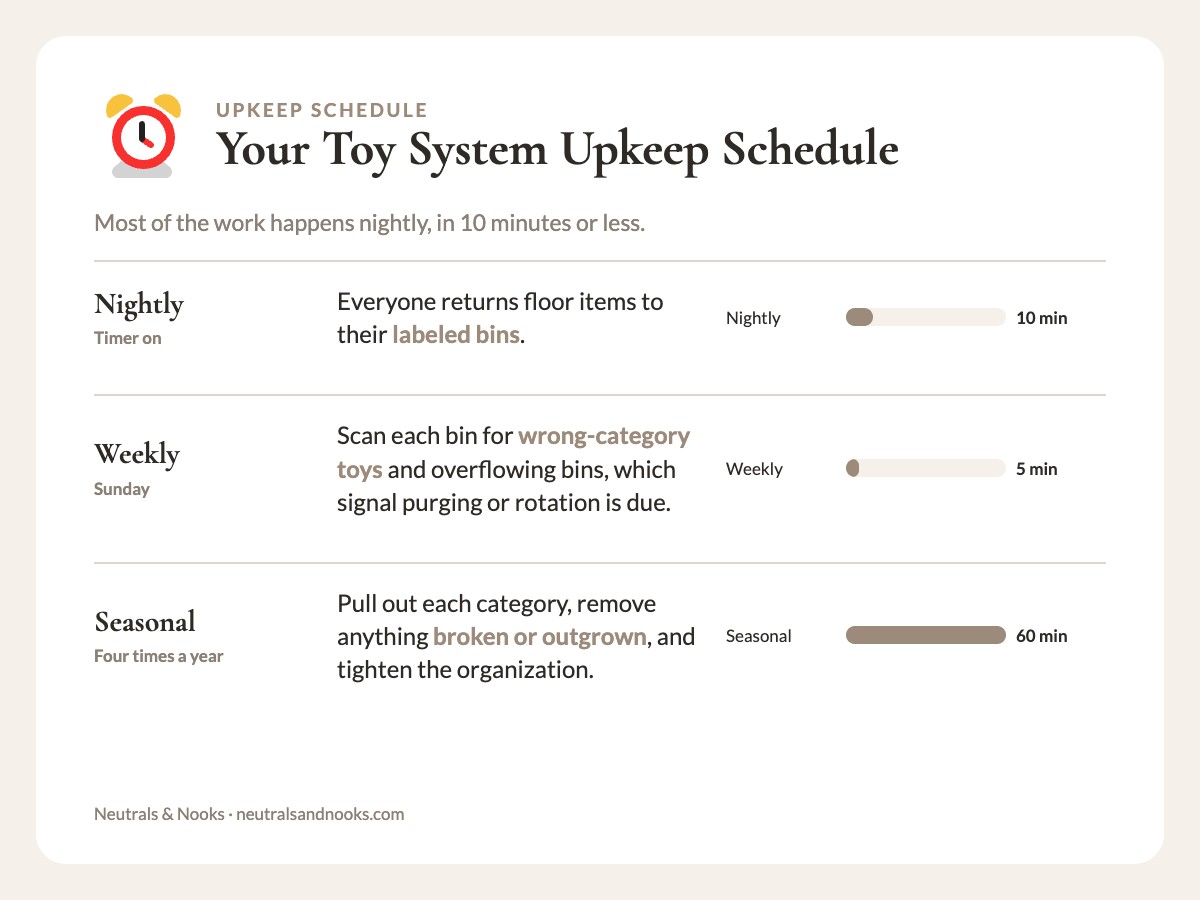
A category system needs little daily upkeep because every toy has an obvious home. For a broader routine, see my 15-minute evening reset.
The nightly reset takes 10 minutes or less when the system is working. Set a timer (we use the kitchen timer, and the kids race to beat it) and have everyone return floor items to their labeled bins.
The decision is simple: a vehicle goes in the vehicle bin, a building toy in the building bin. Even a three-year-old can match a toy car to the bin with the car picture.
Assign age-appropriate zones. Your six-year-old is responsible for resetting the building toy zone. Your four-year-old handles the stuffed animal zone. You handle any miscellaneous items that migrated between rooms. When each person has a clear, limited scope of responsibility, the task feels manageable rather than overwhelming.
- Nightly (10 minutes): Timer on, everyone returns floor items to their labeled bins.
- Weekly (5 minutes on Sunday): Scan each bin for toys in the wrong category and for overflowing bins, which signal that purging or rotation is due.
- Seasonal (1 hour, four times a year): Pull out each category, remove anything broken or outgrown, and tighten the organization.
The seasonal sort is also the time to adjust categories as your children grow. A category that made sense at age three (“baby toys”) might become “science and experiments” by age five.
That is the whole system: gather, sort into about twelve categories, give each one a labeled home in the right zone, and reset for 10 minutes each night. The free Toys-by-Type Master Sort & Label Kit is the companion printable for working through it.
FAQ
How many toy categories should I use?
Most collections fall into about twelve common categories. Start with the list above and merge or split based on what your kids actually own.
How do I sort toys for mixed ages?
Sort by type first, then keep small-parts toys in high or closed storage and only toddler-safe toys at toddler height. A shared room can use the same system; see shared kids room ideas.
How often should I purge toys?
Do a quick check weekly and a full pass each season. Rotating a portion of toys out of sight, as in the toy rotation system, also keeps the volume manageable.
Neutral Nina
Neutral Nina is an interior design enthusiast and mom of three who proves that beautiful, organized spaces and family life can coexist. She shares practical strategies for creating calm, functional homes that work for kids and grown-ups alike.