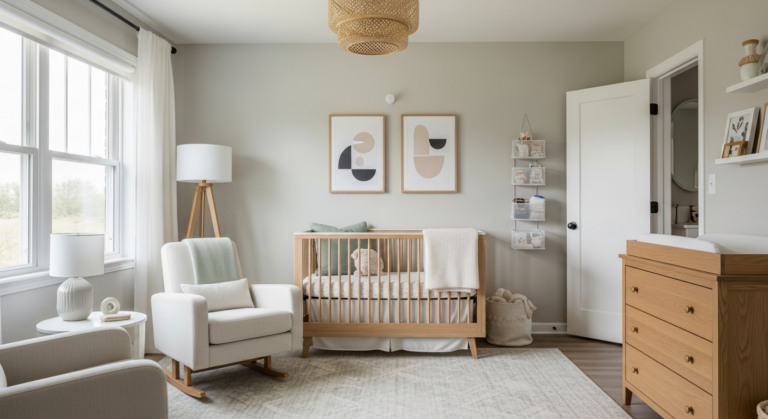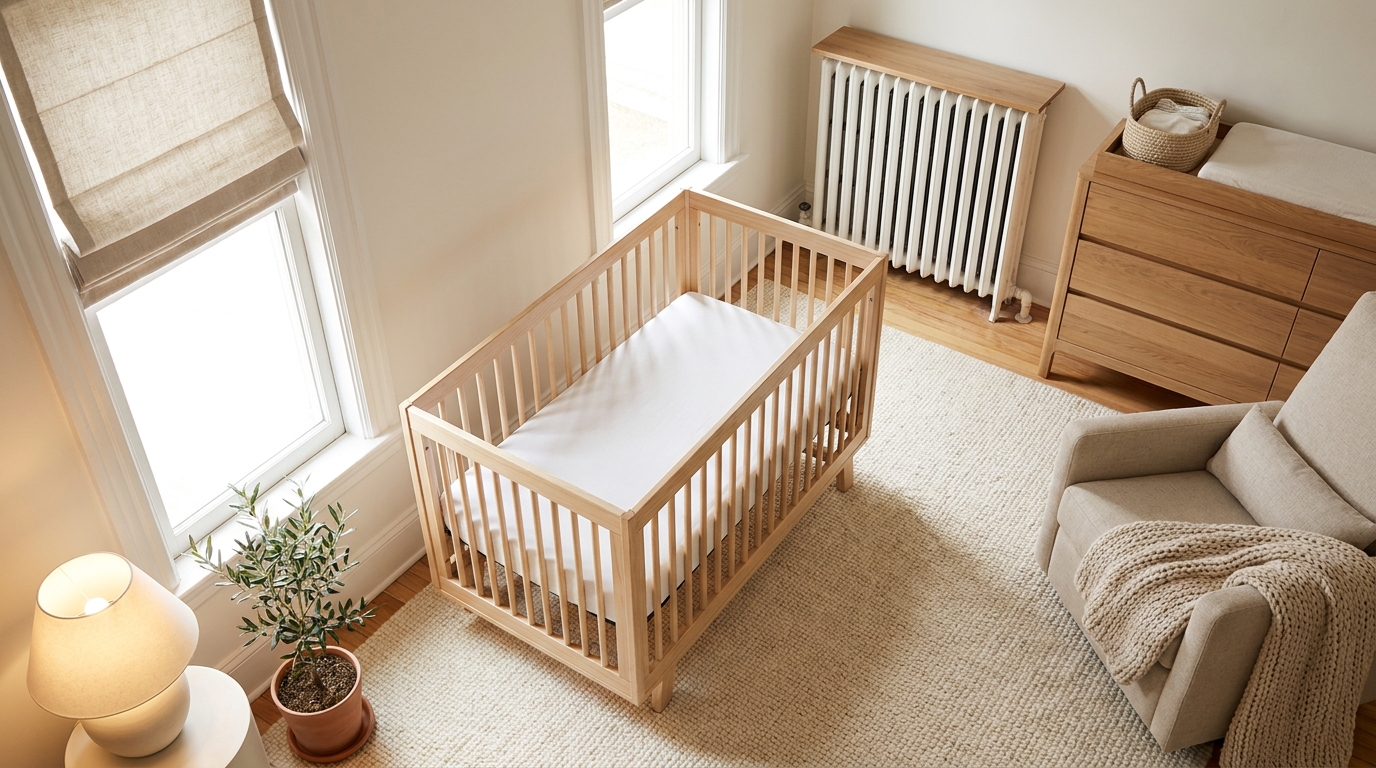
Nursery Layout When the Crib Can’t Go Against a Wall
If you can't place your crib against a wall, learn how to identify safe spots, rule out hazards like cords and radiators, and explore alternative layouts like floating or corner-angled placements for your newborn.
- Your crib needs a safe, stable spot, not necessarily against a wall.
- Rule out unsafe spots first by mapping hazards like cords, vents, and radiators.
- Ensure no gaps exist between the crib and walls where a baby could get trapped.
- Consider floating, corner-angled, or room-divider layouts for placement.
- Prioritize a clear approach and visibility to the crib for easy access.
This post contains affiliate links. As an Amazon Associate I earn from qualifying purchases.
My friend Mara texted me a photo of her spare room late one night: “Every wall has something wrong with it.” A corded blind, a radiator, a door swing and a heating vent had used up all four.
A crib doesn’t need a wall. It needs a safe spot. Below: how to rule out unsafe spots, three alternatives (floating, corner-angled and room-divider), and a tape test, all for a newborn.
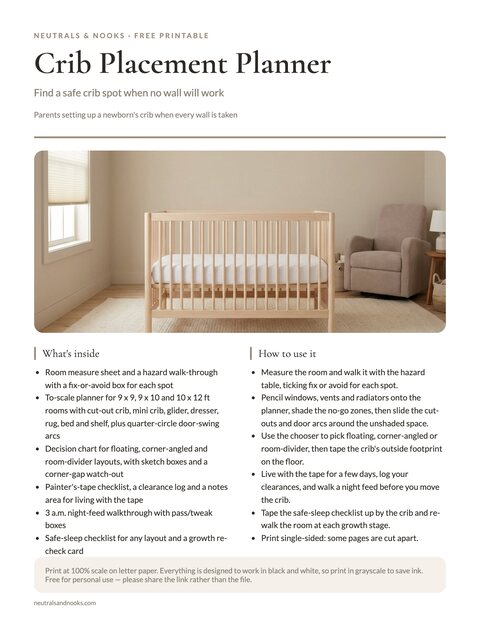
Free printable · 6 pages
Crib Placement Planner
A measure-and-rule-out sheet, a to-scale planner with cut-out furniture and door arcs, an option chooser, a tape-test clearance log, a 3 a.m. night-feed walkthrough, a safe-sleep checklist and a growth re-check card for a newborn's crib.
Free. Your download link appears right here. You'll also join the Monthly Home Reset. Unsubscribe anytime. Privacy
In this article (16 sections)
- Why Cribs Go Against a Wall (and What a Crib Really Needs)
- Step One: Rule Out the Bad Spots First
- Crib Placement Options When No Wall Works
- Option 1: The Floating Crib
- Option 2: The Corner-Angled Crib
- Option 3: The Room-Divider Crib
- Side-by-Side: Which Alternative Fits Your Room?
- The Tape Test: Try Before You Move Anything
- Arranging the Rest of the Room Around the Crib
- Solving Specific Blockers
- A Night-Feed Walkthrough: Test Your Layout in Real Time
- Safe-Sleep Checklist for Any Crib Layout
- Planning for Growth
- A Quick Layout Recipe If You’re Overwhelmed
- Frequently Asked Questions
- Where to Put a Crib When No Wall Works
Why Cribs Go Against a Wall (and What a Crib Really Needs)
The wall rule exists for good reasons, but they’re worth separating from the rule itself.
- It saves floor space. A crib pushed to a wall leaves the middle of the room open. In a small nursery that is a real benefit.
- It feels stable. A crib against a wall can’t be bumped from that side.
- It’s easy to plan around. Furniture catalogs and room mockups default to it.
None of those reasons is a safety requirement. The one wall-related safety point runs the other way: there should never be a gap between the crib and a wall where a baby could be trapped. So a floating crib sits clearly away from every wall, never just a few inches out.
What the crib actually needs is:
- A stable, level floor spot where it can’t tip, roll, or be nudged.
- Distance from hazards: window cords, radiators, heating vents, and anything baby could pull into the crib or reach through the slats.
- A clear approach so you can lift a sleepy newborn out without wrestling the corner of a dresser.
- A spot you can see and hear from, ideally near where you sleep for the early months.
The AAP recommends room-sharing without bed-sharing, ideally for at least the first six months, with baby on their own firm, flat sleep surface. In a small home, that detail can make your decision for you. The best crib spot may be the one beside or near your bed, not the one in the room you’ve been calling “the nursery.”
So the real question isn’t “which wall?” It’s “which spot is safe, reachable, and workable for the months ahead?”
Step One: Rule Out the Bad Spots First
Before you move anything, map the room and eliminate. It’s much easier to find the right spot when you know what’s wrong with the others.
Grab a tape measure, painter’s tape, and your phone’s notes app. Walk the room and mark every obstacle below.
| Obstacle | Why it rules out a spot | Possible fix |
|---|---|---|
| Window with corded blinds | Cords are a strangulation hazard and baby can pull on them from a crib placed nearby | Switch to cordless window coverings, or choose another spot |
| Radiator or baseboard heater | Direct heat makes a sleeping baby too warm, and metal surfaces can be hot to the touch | Keep the crib at least 3 feet away in every direction, and farther if the surface is too hot to rest a hand on. A radiator cover protects walking paths but does not make a spot near the crib safe |
| Heating or A/C vent | A steady stream of hot or cold air blowing across the crib | Use a vent deflector, or move the crib out of the airflow |
| Window itself (drafts, glass) | Cold air and sun exposure at the crib | Cordless shades or curtains on a rod, well out of reach, and a spot with some distance from the glass |
| Door swing | A door that hits the crib or traps you in a corner at night | Choose a spot outside the swing arc |
| Closet doors | You’ll be opening them daily; a crib in the way becomes a daily frustration | Keep a clear path, or swap in a sliding door. Skip fabric panels unless mounted well out of the crib’s reach |
| Outlets, cords, lamps | Anything baby could grab through the slats | Keep cords and lamps clear of the crib’s reach |
| Wall art or shelves above | Anything that could fall into the crib | Remove or relocate, with no shelves above the crib at all |
A quick rule of thumb: baby will eventually be able to reach through the slats, so treat the zone around the crib as a “no hanging things” area. If a cord, curtain edge, or picture could be grabbed, it needs to move or the crib does.
Safety firstWhichever spot you choose: use cordless window coverings only. Keep monitors, cameras and all cords at least 3 feet (36 inches) from the crib. Never leave a gap between the crib and a wall or furniture where a baby could become trapped. Anchor all tall furniture. Baby sleeps on their own flat sleep surface, separate from your bed.
Now sketch the room on graph paper or any scrap of paper. Mark every window, door, vent, and radiator.
Shade in the “no-go” zones: swing arcs, vent airflow, and the area within reach of any cord. What’s left unshaded is your real map.
For Mara’s room, the unshaded area turned out to be a clear stretch through the middle, which brings us to the first alternative.
Crib Placement Options When No Wall Works
Each option solves a different problem. Floating works when all four walls are taken. Corner-angled keeps the center of the room open. Room-divider fits a room that’s also your bedroom, office, or guest room.
Floating: crib away from walls
Corner-angled: crib set diagonally in a corner
Room-divider: crib marks the baby zone in a shared room
Option 1: The Floating Crib
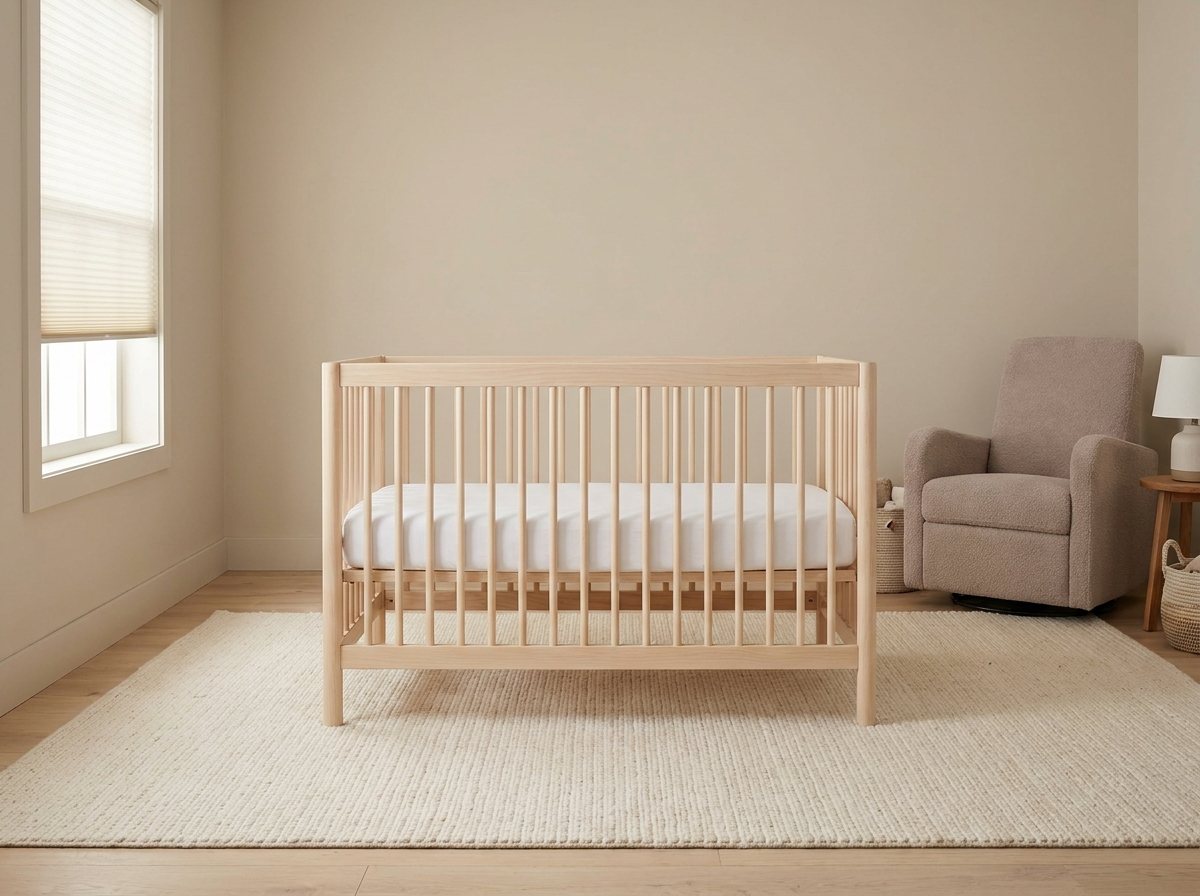
A floating crib sits in the room away from any wall, often with its long side parallel to one wall but a few feet out. It’s the simplest of the three alternatives and the one most people find easiest to live with.
When it works best
- The room is at least roughly 9 by 10 feet, or you can spare the center.
- Every wall has a window, vent, or radiator, but the middle is clear.
- You want to reach the baby from all sides, including the head end, which makes lifting a newborn easier.
How to set it up
- Choose the spot with the fewest hazards overhead. Check for ceiling fans, hanging lights, and low-hanging fixtures. Nothing should hang above or near the crib.
- Keep the distance from windows and radiators generous. Use cordless window coverings, keep any cords at least 3 feet from the crib, and choose a spot where you couldn’t touch the radiator or vent from inside the crib even if you stretched.
- Make sure the floor is level and the crib is stable. Lock any caster wheels, or choose a crib without wheels. Give it a firm shake. It should feel solid.
- Leave walking space on at least two sides. Aim for at least 2 feet on the side where you lift baby, and a clear path on the other.
- Keep rugs flat. A rug that sits only partly under the crib creates a tripping edge, so place it fully under the crib or well away from it.
Pros and cons
| Pros | Cons |
|---|---|
| Works when every wall is blocked | Eats the center of a small room |
| Access from three or four sides | Can feel exposed or “stage-like” |
| Easy to rotate or adjust as needs change | Needs more floor space than a wall setup |
| Keeps baby away from wall cords and outlets | Be mindful of trip hazards at night |
Making a floating crib feel intentional
A crib in the middle of a room can feel like furniture that got lost. A few calm design moves help it feel planned.
- Anchor it with a rug. A neutral wool or cotton flat-weave rug sized to the whole sleeping zone defines the area and softens the room. Keep it flat, and check it doesn’t curl at the edges.
- Put a low bench or ottoman by the glider, well beyond arm’s reach of the crib, to hold folded blankets and a basket of diapers. Nothing baby could grab through the slats belongs near the crib.
Option 2: The Corner-Angled Crib
An angled crib sits diagonally in a corner, with one corner of the crib pointing into the room. It’s the placement people picture least often and often the one that saves a tricky room.
When it works best
- The room is small and you need to keep the center open for a glider and a path. If the taped diagonal still leaves 2 feet on the lifting side, the room qualifies.
- Two adjacent walls have problems, but the corner itself is clear of cords and vents.
- You want a cozy, nest-like feel for a newborn.
The fine print on the gap
Placing a crib diagonally leaves a triangular space behind it. Being behind the crib doesn’t make that triangle safe. It runs along one long side of the crib, so a baby inside can reach into it through the slats. This is where safety matters most.
Safety firstKeep the triangle completely empty. No cords, outlets, heaters or stored items should be within reach of the slats. Every side and corner of the crib must stay clear of both walls, so nothing can trap a baby.
- Never let the crib pinch against a wall. No side, corner or mattress edge should be able to end up against a wall or furniture where a baby could become trapped. Keep the crib stable and impossible to push or slide toward either wall, and check that no part of it can touch a wall.
- Check both walls for cords, outlets, and baseboard heaters within reach of the crib’s slats.
- Don’t use the triangle as storage. Skip the stuffed baskets and the box of extra blankets back there. It becomes a place for things to fall into the crib’s reach.
- Make sure the crib won’t slide. Lock any casters. If the crib has no locking casters, put non-slip rubber grip pads or cups under the legs. Recheck the crib’s position and the clearance to both walls regularly.
Pros and cons
| Pros | Cons |
|---|---|
| Keeps the middle of the room clear | Leaves an awkward triangular gap |
| Feels cozy and enclosed for a newborn | Harder to reach the far side of the crib |
| Works when two walls are blocked | The diagonal shape can be harder to clean around |
| Frees up room for a glider and a path | Needs careful checking of both walls |
Making an angled crib feel calm
- Angle it less than you think. A full 45 degrees can look dramatic. A gentler angle often reads as more relaxed, and you may find it fits the room’s lines better.
- Use a flat rug fully under the crib, or a round rug clear of the legs, to soften the geometry.
Option 3: The Room-Divider Crib
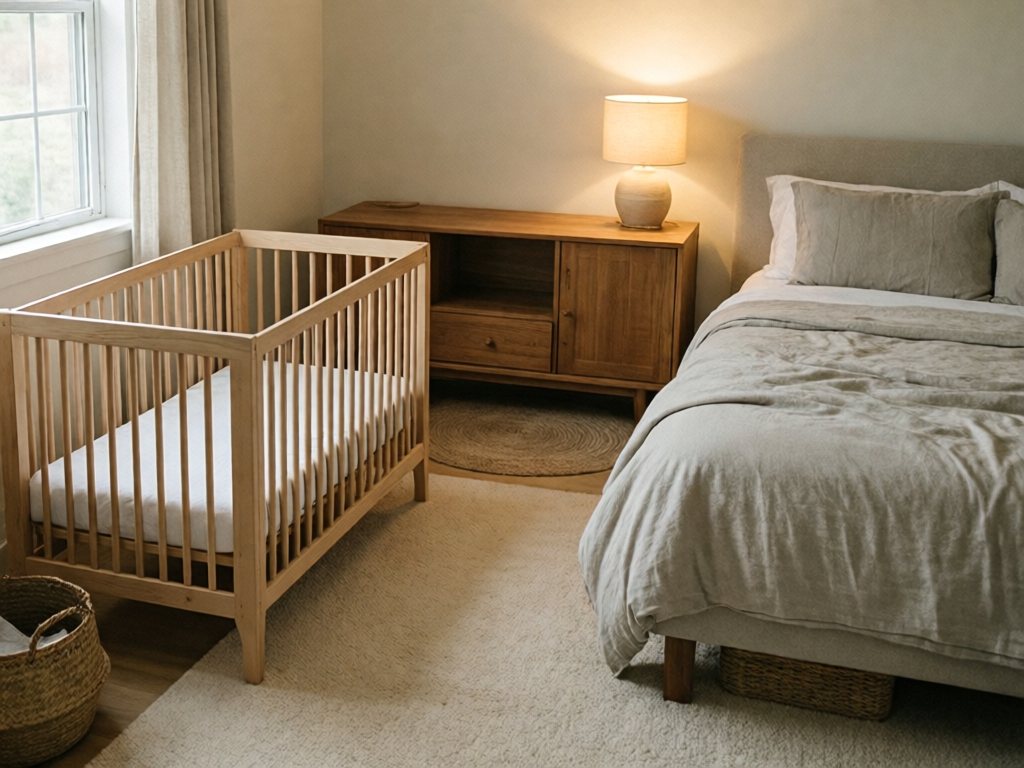
This one is for the shared room. If your baby will sleep in your bedroom, a home office, or a guest room, the crib can sit at the edge of the sleeping area and quietly define it. The crib becomes a boundary between “baby zone” and “everything else.”
When it works best
- The nursery is really a corner of another room.
- You’re following the room-sharing guidance for the first months and want the crib within arm’s reach of your bed.
- Space is genuinely tight, such as a studio or a one-bedroom.
If this is your situation, our guest room nursery combo guide covers the same constraint from the guest-bed side.
Safety firstKeep the crib separate from your bed, not touching or attached, with a walking gap. Keep pillows, duvets and cords from your bed away from the crib. The divider must be a closed-front, anchored unit with nothing on top, beyond arm’s reach of the crib.
How to set it up
- Place the crib at the foot or side of your bed, close enough that you can see and hear the baby. Leave a walking gap so it isn’t touching or attached to your bed.
- Use a low, closed-front, anchored piece of furniture as the other half of the divider. A cabinet or low dresser works, fully anchored, with nothing on top. Keep it beyond arm’s reach of the crib so nothing can fall in or be pulled through the slats.
- Keep the divider low. A tall unit blocks sightlines. Aim for below waist-to-chest height so you can see over it. A monitor is not a substitute for a safe sleep setup.
- Skip hanging dividers and curtains near the crib. Fabric dividers can be pulled and cords can become hazards. If you want visual softness, use a rug, plant, or a piece of art on the far wall.
- Keep the crib’s immediate area free of everything but the crib. Nothing in the crib but the baby and a fitted sheet.
Pros and cons
| Pros | Cons |
|---|---|
| Fits shared rooms and studios | Less visual separation between sleep and daytime |
| Keeps baby close for night feeds | Light and noise from the rest of the room |
| Doesn’t require a dedicated nursery | Needs careful placement of anchored furniture |
| Easy to adjust as baby grows | Requires discipline about not storing things nearby |
Making a divider setup feel like a nursery
The trick is to let the baby’s area read as a calm, defined zone without building walls.
- Use a rug to mark the baby zone. It gives the corner its own identity and softens the floor for you at 3 a.m.
- Dim, warm lighting on the baby’s side keeps night feeds gentle without lighting up the whole room. Use a dimmable lamp or a wall-plugged nightlight at least 3 feet from the crib, with the cord out of reach.
- If you use white noise, see the distance and volume guidance in “Nightlight and sound” below.
Side-by-Side: Which Alternative Fits Your Room?
| Floating | Corner-angled | Room-divider | |
|---|---|---|---|
| Best for | All four walls blocked | Small room, center needed | Shared bedroom or studio |
| Floor space needed | Most | Moderate | Moderate |
| Access to baby | Three or four sides | Two or three sides | Two or three sides |
| Biggest watch-out | Trip hazards, exposed feel | The gap behind the crib | Tall or unanchored furniture |
| Cozy factor | Low to medium | High | Medium |
| Cleaning ease | Easy | Harder | Medium |
| Newborn night feeds | Easy if centrally located | Good | Best (closest to you) |
If you’re stuck between two, here’s how I’d decide:
- Is it a dedicated nursery about 9 x 10 ft or larger, with a clear center? Try floating first.
- Is the room smaller than 9 x 10 ft? Try angled, and keep at least 2 feet of clear space on the side where you lift baby.
- Is baby sleeping in your room? Go with the room-divider approach, since the point is being near you.
You can always change your mind. Cribs aren’t bolted down, and the first week or two is a good time to adjust.
The Tape Test: Try Before You Move Anything
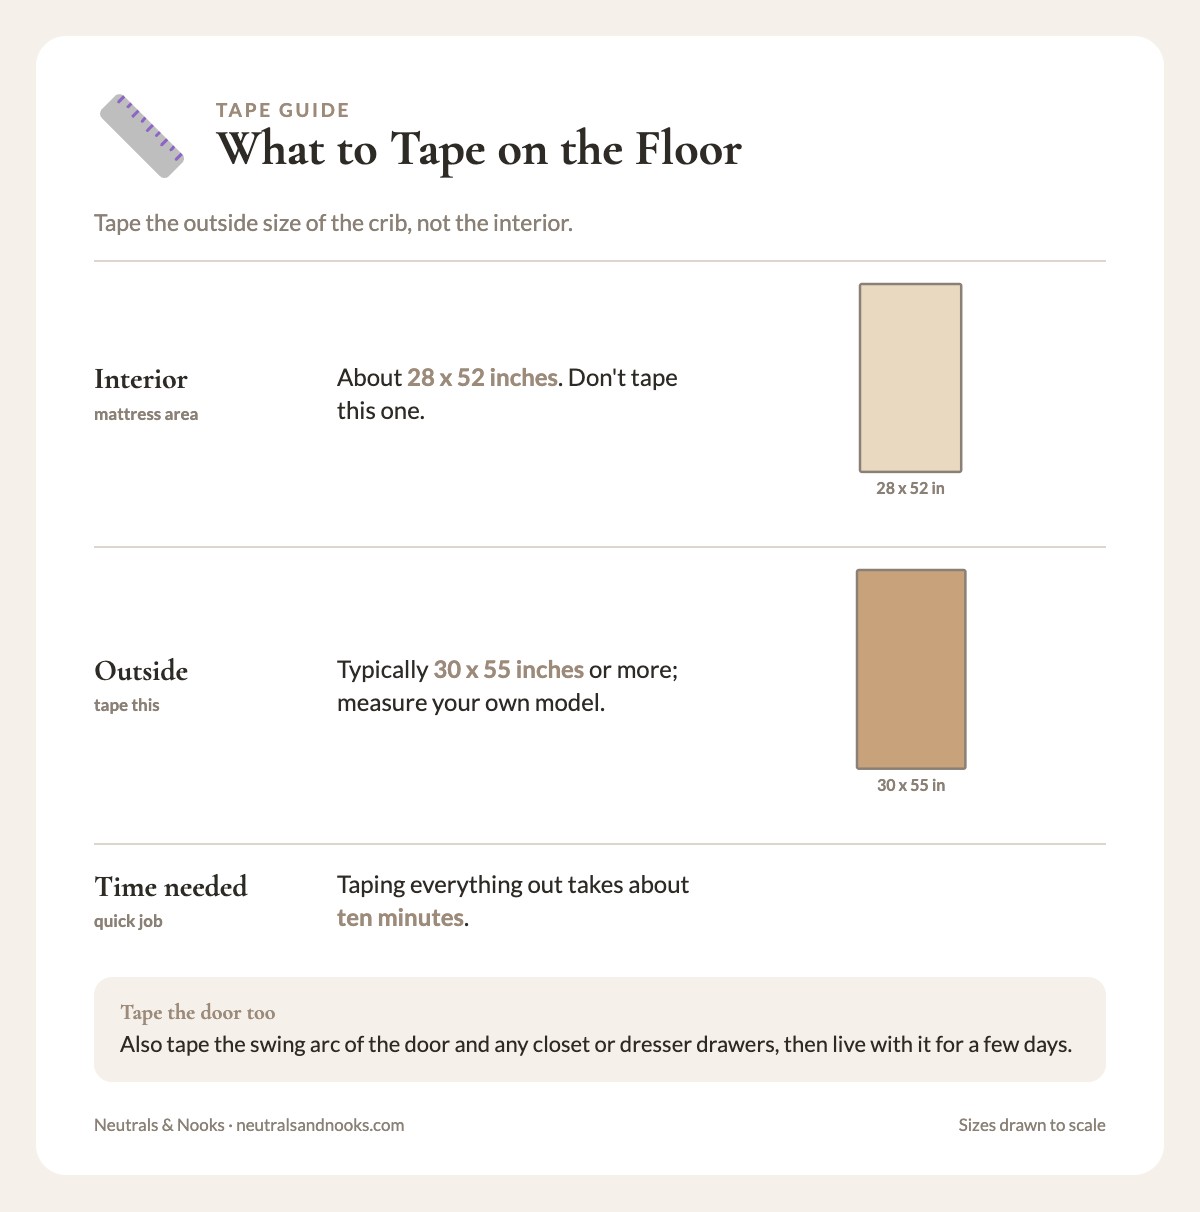
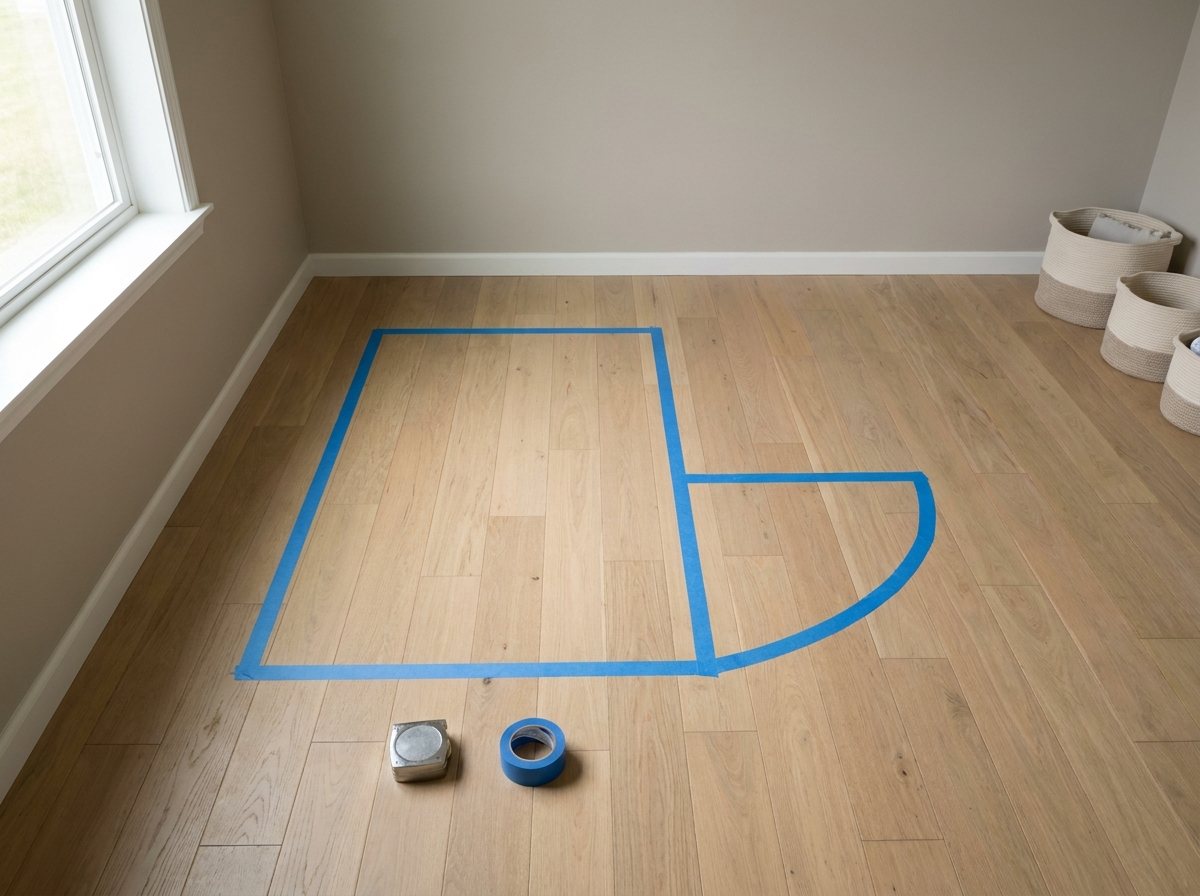
Before you wrestle a crib around, lay out its footprint with painter’s tape. A standard full-size crib’s interior is about 28 x 52 inches. The outside varies by model and is often 30-34 inches wide and 53-58 inches long. Measure your own model and tape the outside. Mini cribs are noticeably smaller.
- Tape the crib’s outline on the floor in each candidate spot, using the outside dimensions.
- Tape the swing arc of the door and any closet or dresser drawers.
- Stand in each taped rectangle and imagine reaching in with a heavy sleeping baby. Can you bend, lift, and turn without knocking an elbow?
- Walk the path from the door to the crib with the lights off. Can you do it without catching a hip on furniture?
- Live with the tape for a few days. You’ll notice things you would have missed on paper, like the way the morning light lands, or that you keep stubbing a toe on one corner.
Taping everything out takes about ten minutes.
- Crib footprint taped (outside dimensions)
- Door swing arc taped
- Closet door and drawer pull-out space taped
- 2 feet of clear space on the lifting side
- Night-time path from door to crib walked
Arranging the Rest of the Room Around the Crib
Once the crib has a home, the other furniture has to earn its place. A small nursery needs fewer pieces than you think, and every one should be reachable at night.
The essentials
| Piece | Job | Space-saving move |
|---|---|---|
| Dresser | Clothes, diapers, wipes | Use the top as a changing station with a strapped-down contoured pad |
| Glider or chair | Feeding and soothing | Choose a compact or armless style, and keep it near but not touching the crib |
| Lamp | Soft night light | A dimmable lamp placed at least 3 feet from the crib, with the cord tucked away and out of reach |
| Small basket or bin | Burp cloths, spare sheets | Keep one within reach of the chair |
| Trash can with lid | Diapers | A small lidded bin near the changing area |
Safety firstAnchor the changing dresser to the wall. Keep one hand on baby whenever they’re on the pad, with supplies close enough that you never turn away. In a room-divider setup, use a different dresser from the divider piece and keep it beyond the crib’s reach.
For many more ideas on making a small nursery work, see our small nursery ideas guide, which covers storage, furniture choices, and layouts that stretch limited space.
A simple clearance guide
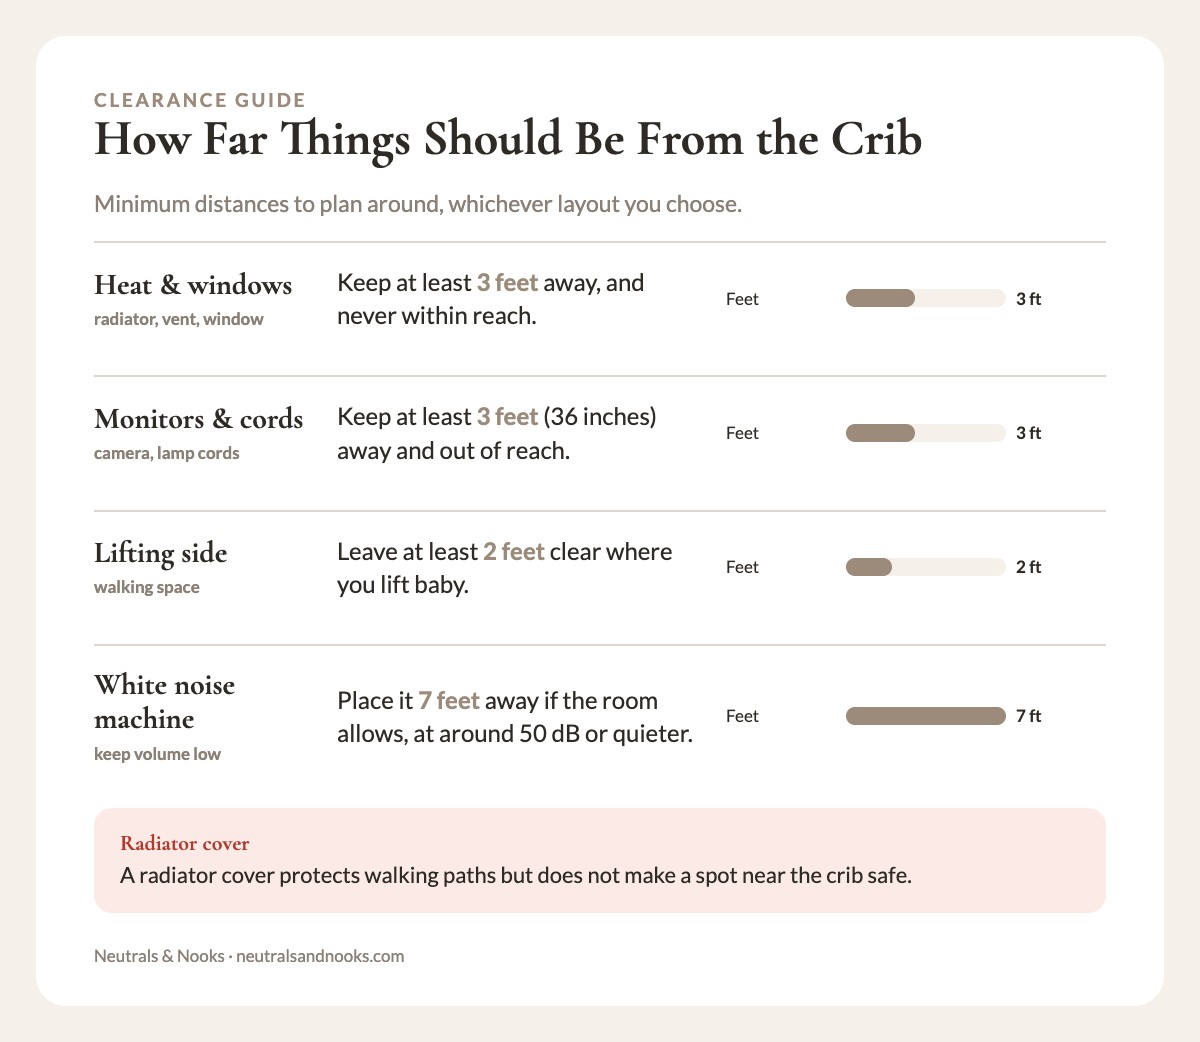
These are practical rules of thumb, not strict standards. Adjust to your room.
| Between | Aim for |
|---|---|
| Crib and glider | Close enough to lean over without standing, but not so close that the chair bumps the crib |
| Door and nearest furniture | A clear path wide enough to carry a baby and a bag |
| Dresser front and anything opposite | Enough room to fully open drawers and stand while using them |
| Crib and any window, vent, or radiator | At least 3 feet, and never within reach |
Anchor everything tall
Dressers, bookcases, and shelves can tip, especially once a curious toddler starts climbing. Anchor every piece of tall furniture to the wall with the hardware that comes with it or a furniture-anchor kit. It takes ten minutes, and it’s one of the best safety steps you can take in any room. Our baby-proofing home guide goes through anchoring and the rest of the whole-house checklist step by step.
Solving Specific Blockers
Most “impossible” nurseries are impossible because of one or two stubborn features. Here’s how to handle the common ones.
The big window
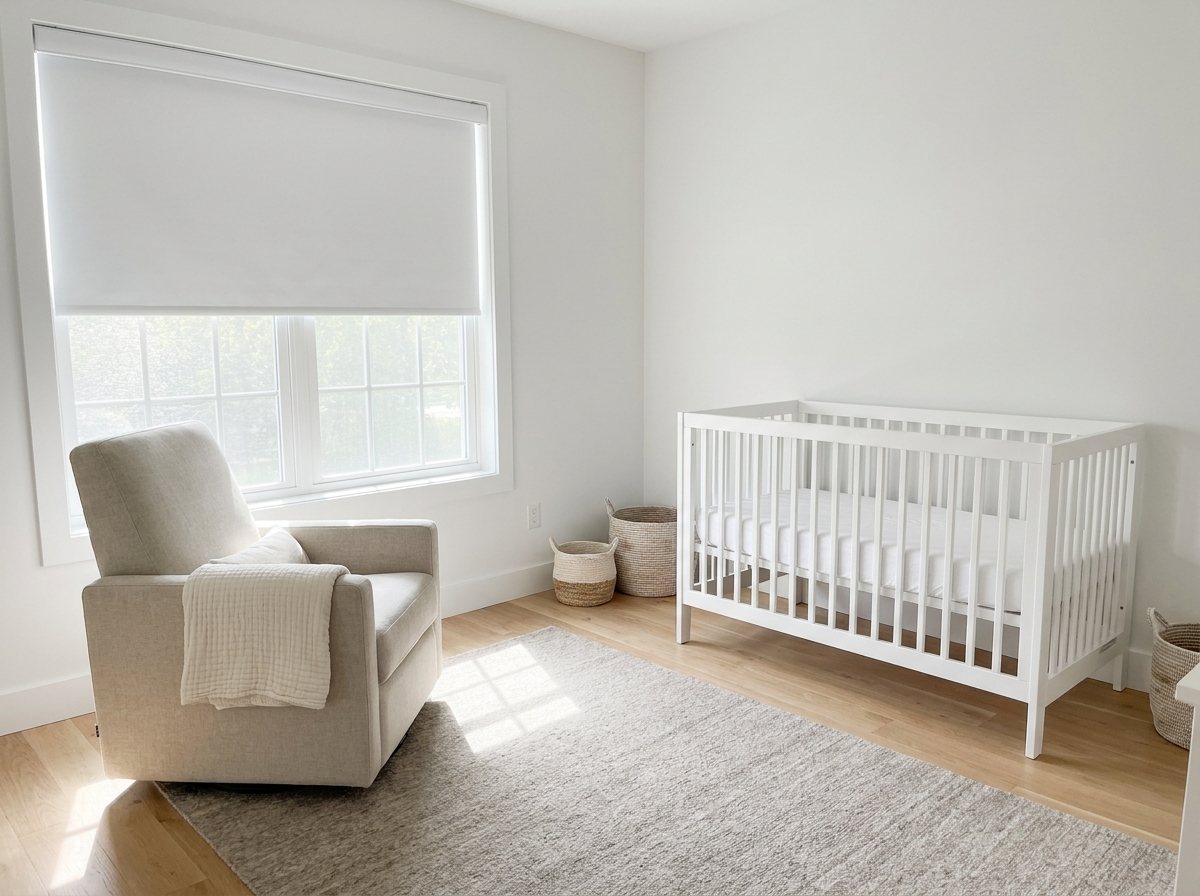
A window is wonderful for daylight but tricky for a crib.
- Keep the crib out of direct reach of the window and its coverings. This protects against cords and drafts.
- Choose cordless window coverings. If you can’t change them, move the crib.
- Use blackout shades or lined curtains for sleep, mounted so they don’t hang near the crib.
- Put the glider near the window instead, so you get the daylight during feeds and the crib sits in calmer territory.
The radiator
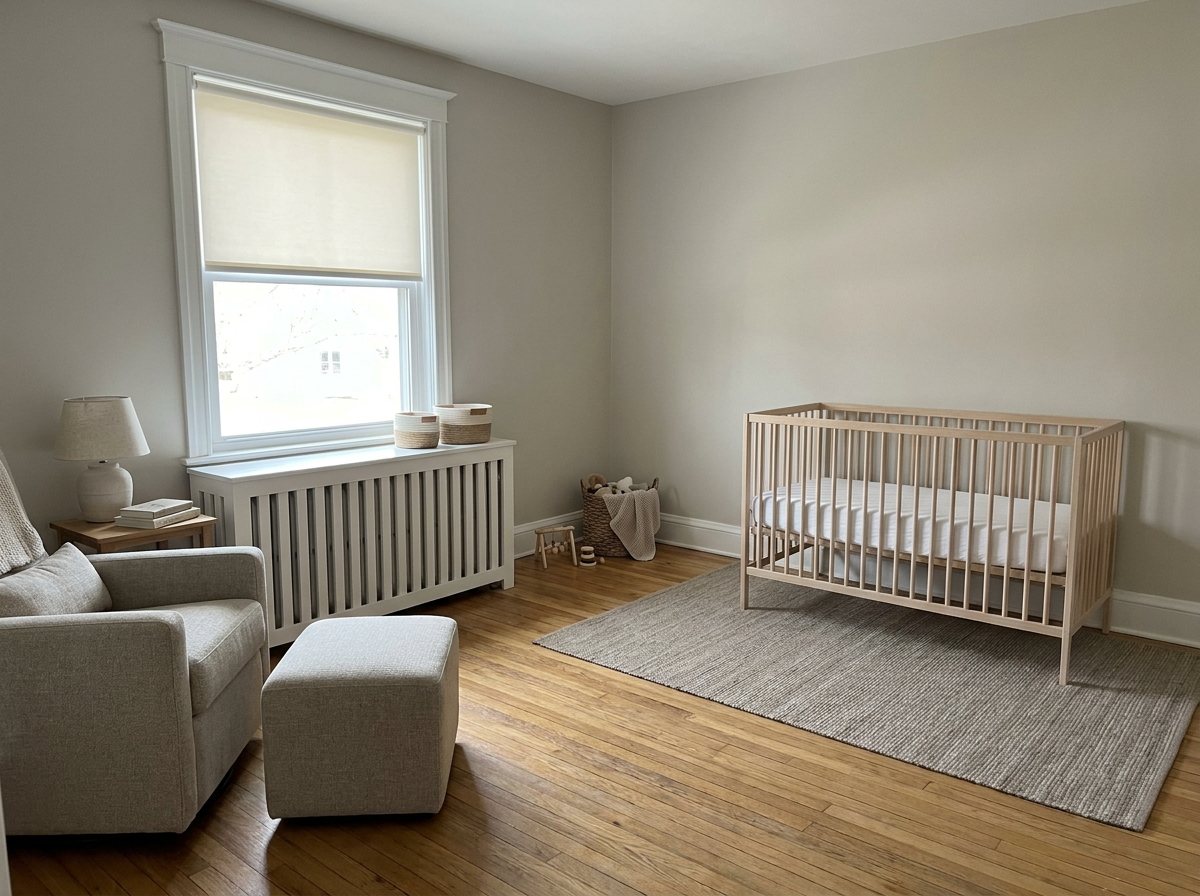
Radiators are common in older homes and they run hot.
- Keep the crib at least 3 feet away from the radiator in every direction, and farther if the surface is too hot to rest a hand on. Surface temperature varies by heating system.
- Use a sturdy radiator cover to protect walking paths and toddlers. The crib still needs to be well away from the radiator regardless.
- Don’t drape anything over or near it. That includes blankets, clothes, or drying laundry.
- Check the room temperature at crib level, not at the thermostat, since a radiator can make the nearby air much warmer.
The floor vent or A/C register
- Don’t place the crib in the airflow. A steady blast of hot or cold air isn’t comfortable for a baby.
- Use a vent deflector to redirect air away from the crib, or move the crib to a spot where the air isn’t blowing on it.
- Keep the vent clear and don’t block it with furniture, since blocking it reduces airflow and heating or cooling in the room.
The door that swings into the room
- Keep the door as it is where possible. If rehanging it to swing outward is a simple fix and allowed in your home, that’s an option.
- Work the layout around the arc. Tape it on the floor and keep that area open.
The sloped ceiling or attic nursery
- Put the crib on the tall side of the room so you aren’t hitting your head every time you lean in.
- Use the low side for built-in or low storage.
- Check for any overhead fixtures near the crib.
The closet that sits against the best wall
- Treat the closet as part of the layout, not an obstacle. The crib can sit parallel, outside the door swing, with the closet accessible.
- Keep the closet door working. If a swinging door blocks the crib spot, a sliding door is an option. A simple fabric panel on a rod is fine only if mounted well away from the crib and out of reach.
- If you need ideas for fitting a lot into a small space, our small primary closet organization guide covers vertical storage that works in tiny closets too.
A Night-Feed Walkthrough: Test Your Layout in Real Time
A layout can look perfect and still fail at 3 a.m. Walk through a night feed in your head, or better yet, in the room.
- Baby cries. Can you reach the crib from your bed or the door without turning on the overhead light?
- You lift baby. Can you lean over the crib without hitting the glider, dresser, or wall?
- Diaper change. Is the changing pad within two steps, and are the supplies reachable with one hand?
- Feeding. Is there a chair, a lamp, a spot for a water bottle, and a small table or shelf for burp cloths?
- Back to sleep. Can you lay baby down without a long walk or a twisted lean?
If any step feels awkward, tweak. Even moving the glider six inches can make the difference.
Nightlight and sound
- Use a dim, warm nightlight that doesn’t shine in baby’s eyes. Plug it in away from the crib so no cord is within reach.
- White noise can help in any layout. Keep the machine as far from the crib as the room allows; at least 7 feet is a commonly cited target. Keep the volume low, around 50 dB or quieter, about the level of a quiet conversation. Turn it off or down once baby is asleep.
- Keep a flashlight or phone light handy for emergencies, though the nightlight should be enough for most moments.
Safe-Sleep Checklist for Any Crib Layout
Whichever alternative you choose, these basics apply.
- Firm, flat mattress that fits snugly with a fitted sheet.
- Nothing else in the crib. No pillows, blankets, bumpers, stuffed animals, or wedges.
- Baby on their back to sleep, every sleep.
- No window cords, curtain pulls, or hanging items within reach.
- Nothing hangs over the crib. That means no mobiles, canopies, garlands or wall hangings above the crib or within reach of it.
- Crib is assembled correctly with all hardware tight. Check periodically.
- Crib meets current safety standards and hasn’t been recalled. Check the manufacturer’s website for your model, and be cautious with hand-me-down or older cribs.
- Room temperature is comfortable, and baby is dressed appropriately for sleep without extra loose bedding.
- Tall furniture is anchored to the wall.
- Monitors and cords stay far away. Keep the monitor, camera and all cords at least 3 feet (36 inches) from the crib and out of reach. Don’t mount a camera over the crib.
Safe-sleep guidance can change as new research comes in, so it’s worth checking with your pediatrician or the most recent recommendations from a major pediatric organization.
Planning for Growth
A newborn layout won’t last forever, and that’s fine. Think in stages.
| Stage | What changes | Layout adjustment |
|---|---|---|
| Newborn | Lots of feeding and changing | Prioritize the glider, nightlight, and quick access |
| A few months | Rolling, reaching | Re-check the zone around the crib for anything within reach |
| Pushing up, sitting, pulling up | Baby can grab and stand | Lower the mattress to its lowest setting before baby can push up on hands and knees or sit unassisted (often around 4-6 months); re-check cords and gaps around the crib |
| Toddler | Climbing and exploring | Move toward a toddler bed or lower sleeping setup, and anchor furniture |
Treat each developmental stage as a cue to re-walk the room with fresh eyes.
If baby moves into a shared room with a sibling later, our shared kids’ bedroom organization guide offers storage ideas that grow with the room.
A Quick Layout Recipe If You’re Overwhelmed
Short on time? Here’s a decision path that gets you moving.
- Mark the no-go zones: door swing, windows, vents, radiators and cords.
- Pick floating if the center is clear, corner-angled if you need the center for walking, or room-divider if baby sleeps in your room.
- Tape the crib footprint, live with it a few days, and adjust.
- Anchor tall furniture, check cords, then walk through one night feed for real.
You don’t need a perfect room, just a safe one that works for you.
Frequently Asked Questions
Is it safe to put a crib in the middle of a room?
Yes, as long as the spot is stable, level, and away from hazards. A floating crib is a perfectly acceptable placement. The key is making sure no cords, curtains, or radiators are within reach, and that nothing hangs above the crib. Lock any wheels, make sure the crib is assembled correctly, and keep the area around it clear.
How far should a crib be from a window?
There’s no set distance for the glass itself, but keep the crib out of reach of any window covering and at least 3 feet from cords. If the window has corded blinds, switch to cordless or move the crib. A drafty window or direct afternoon sun can also make the spot uncomfortable.
Can I put the crib near a radiator or heating vent?
Keep the crib at least 3 feet from both, and farther if a surface is too hot to rest a hand on (surface temperature varies by heating system). A radiator can make the nearby air too warm, and its surface can be hot to the touch. A vent can blow a steady stream of hot or cold air onto the baby.
A radiator cover protects walking paths but doesn’t make a spot beside the crib safe. A vent deflector can redirect air, and it’s worth checking the temperature at crib level. If you can’t get enough distance, choose another spot.
Is it okay for the crib to be in my bedroom instead of a separate nursery?
Yes. The AAP recommends room-sharing without bed-sharing, ideally for at least the first six months. Baby sleeps on their own firm, flat surface, such as a crib or bassinet.
A room-divider layout works well here. Place the crib within easy reach of your bed but not touching it, keep it clear of cords and shelves, and save the dedicated nursery setup for later.
What should I do about the gap between an angled crib and the wall?
Treat the gap as within baby’s reach. The triangle runs along one side of the crib, and a baby can reach into it through the slats. Keep it completely empty, with no cords, outlets, heaters or stored items within reach of the slats. The crib itself must be stable and unable to slide or be pushed so that a side, corner or mattress edge pinches against a wall or furniture.
Do I need to anchor the dresser in a nursery?
Yes. Any tall or top-heavy furniture, including dressers, bookcases, and shelves, should be anchored to the wall. Babies and toddlers climb, and furniture can tip over. Anchoring takes about ten minutes with a kit and the right screws. For more on whole-home safety steps, see our baby-proofing home guide.
How do I make a small nursery feel less cluttered?
Keep only what you use at night within arm’s reach, and store the rest elsewhere. Use the dresser top for changing, add one basket for the daily essentials, and limit the decor. A neutral palette, a rug that defines the sleep zone, and one or two soft lighting sources keep a small room feeling calm. For more tips, see our small nursery ideas guide.
Where to Put a Crib When No Wall Works
Mara chose the floating option: her crib sits in the middle of the room, well away from the window and the radiator, with the glider tucked where the afternoon light comes in. It wasn’t what any catalog photo showed, and she could reach the crib in two steps.
Tape it out, check the hazards, anchor the furniture, and trust your own 3 a.m. walk-through. A calm nursery depends on a safe spot, not on which wall the crib is against.