Kids’ Artwork and School Papers: A Simple System for Sorting and Storing
You can conquer the overwhelming piles of kids' artwork and school papers by implementing a simple, consistent system. Learn how to sort weekly, decide what to keep, display cherished pieces, and archive the rest without guilt.
- Implement a weekly sorting ritual to prevent paper pile-up.
- Develop a system to decide what art to keep, display, or discard.
- Separate your system for artwork from school papers.
- Utilize digital backups for art you choose to let go of.
- Set up a rotating display for cherished artwork.
The first Tuesday of school, my daughter came home with a backpack that wouldn’t zip. By Friday, the pile on my kitchen counter had tripled, and I had no idea what to do with any of it.
Here’s the simple system I use for kids’ artwork and school papers. Once a week, empty the backpack and sort the art into four piles: Keep, Display, Photograph, or Toss. Keep only the standouts, in one fixed-size archive bin per child. Rotate a small display, photograph the sweet-but-ordinary pieces, and handle school papers separately, since most can be recycled within the week.
Want a paper version to follow along? The Kids’ Artwork & School Papers Sorting Kit comes with this post.
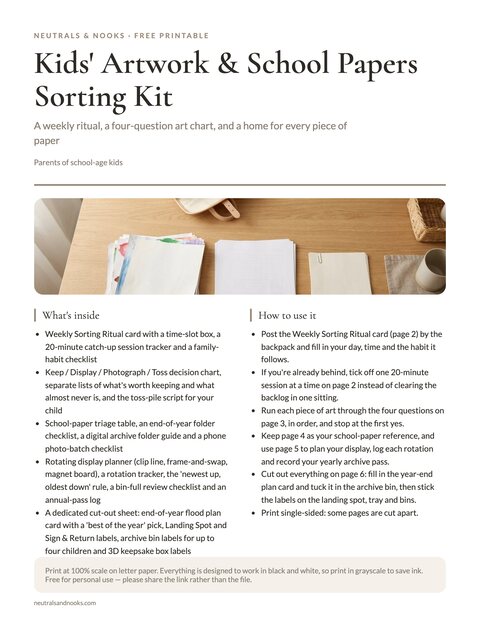
Free printable · 6 pages
Kids' Artwork & School Papers Sorting Kit
A weekly sorting ritual card with a 20-minute backlog plan, a Keep/Display/Photograph/Toss chart, school-paper triage with cut-out labels, a rotating display planner with safety notes, archive bin labels with an annual-pass log, a digital archive card, and an end-of-year plan.
Free. Your download link appears right here. You'll also join the Monthly Home Reset. Unsubscribe anytime. Privacy
In this article (12 sections)
- Why the Paper Pile-Up Happens So Fast
- The Weekly Sorting Ritual: Catch It Before It Becomes a Pile
- How to Organize Kids’ Artwork: Keep, Display, Photograph, Toss
- What to Keep From Kids’ Artwork
- How to Display Kids’ Artwork Without Clutter
- How to Store Kids’ Artwork and School Papers Long-Term: One Bin Per Child
- Digital Archiving: Photographing What You Let Go Of
- How to Organize School Papers by Type
- How to Make the Sorting Habit Stick
- End-of-Year Artwork and Paper Cleanup
- Frequently Asked Questions
- Start Sorting This Week
Why the Paper Pile-Up Happens So Fast
Toys build up slowly, around birthdays and holidays. School paper arrives daily, and with two or three kids the backpacks never stop.
There’s an emotional snag too. Your child hands you art with a hopeful face, and recycling it while they watch feels unkind. So it goes on the counter, and the counter becomes a pile nobody wants to sort.
The fix isn’t feeling less sentimental. It’s a system that honors the special pieces through display and a small keepsake collection, and makes it painless to let go of the rest.
The Weekly Sorting Ritual: Catch It Before It Becomes a Pile
Frequency matters more than any bin or folder.
Sort once a semester and you face a huge, guilt-inducing project. Sort once a week and it’s five to ten minutes of easy calls about paper that’s still fresh in your mind.
Pick one consistent time, such as Friday afternoon when backpacks get emptied for the weekend, or Sunday night while you prep the week ahead. It pairs well with a tidying rhythm you already have. If you already do a 15-minute evening reset, fold “empty the backpack” into one evening so it isn’t a separate thing to remember.
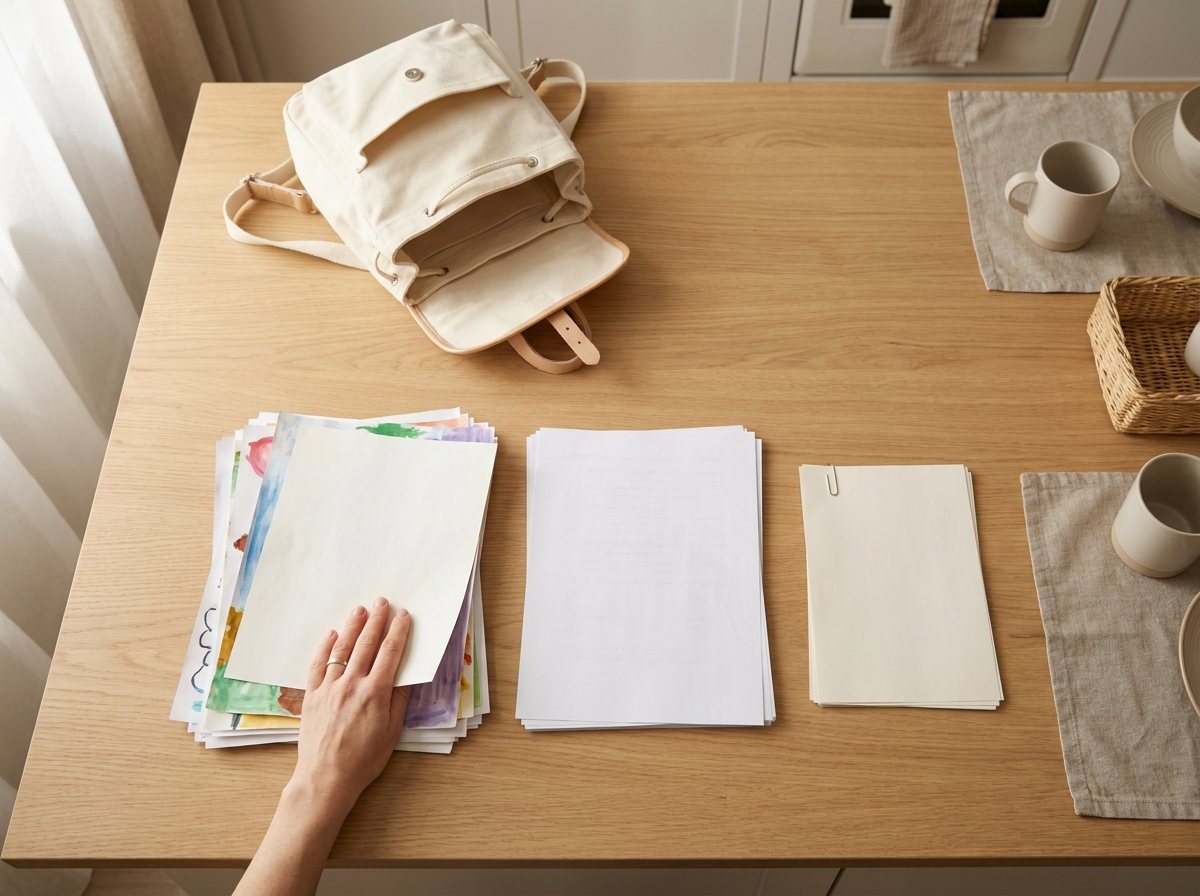
Here’s the weekly ritual, start to finish:
- Empty every backpack. Put everything on one surface, including papers balled up inside folders where they’d get missed.
- Sort into three piles. Art, School Papers (worksheets, tests, handouts), and Action Items (permission slips, forms to sign, flyers with dates).
- Handle Action Items right away. Sign what needs signing and note any dates where you’ll actually see them. Return forms to the backpack that night so they don’t get forgotten on a Tuesday morning.
- Sort the art. Run the Art pile through Keep, Display, Photograph, Toss (below).
- Skim the school papers. Note any grade patterns worth watching, then recycle most of the pile. Worksheets and daily practice sheets rarely need keeping.
Five to ten minutes a week keeps the backlog from building. On Fridays my daughter does the first pass and points out her two favorites, and I handle the rest. Most of what I recycle is worksheets and the fortieth rainbow, and I don’t miss any of it.
What to Do When You’ve Fallen Behind
If your pile is already knee-deep, don’t try to catch up in one sitting. That’s how the whole system gets abandoned by hour two.
Set a timer for 20 minutes, sort as much as you can using the framework below, and stop when it goes off. Bag or box whatever’s left and finish it over two or three more short sessions. The backlog took months to build, so it’s fine if it takes a few sessions to clear.
How to Organize Kids’ Artwork: Keep, Display, Photograph, Toss
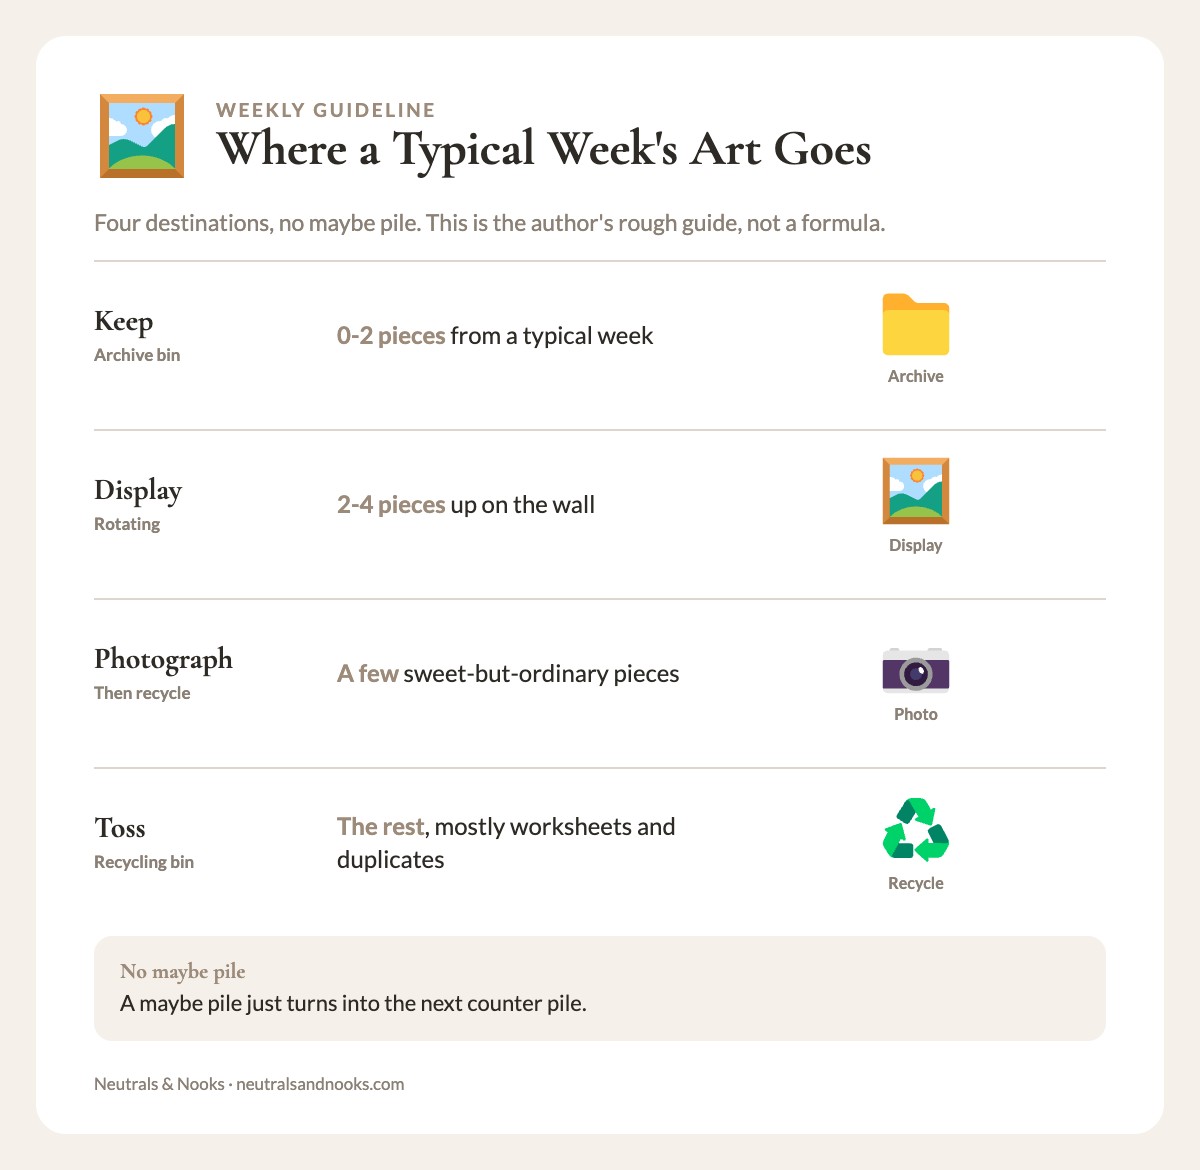
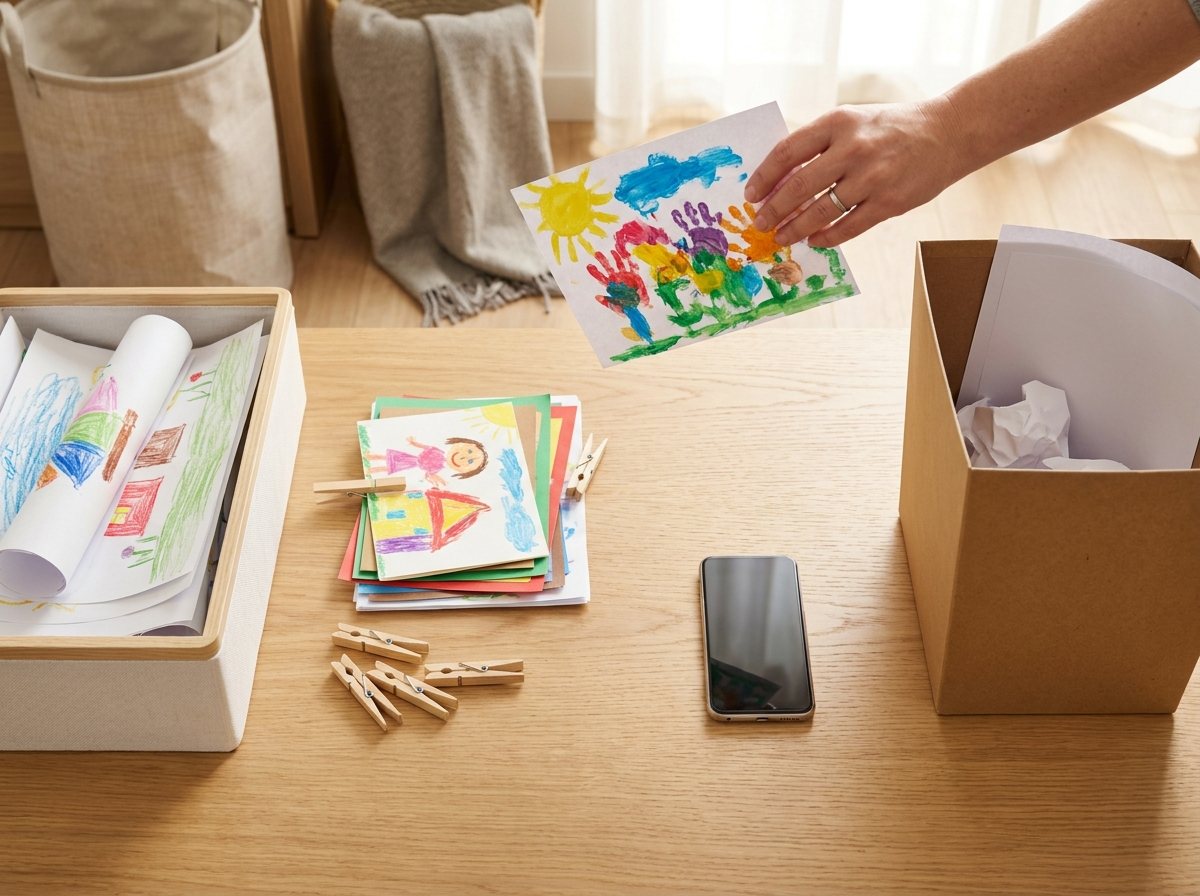
This is the core decision system. Every piece of art gets exactly four possible destinations. There’s no “maybe” pile, because a maybe pile just turns into the next counter pile.
| Decision | What It Means | Where It Goes |
|---|---|---|
| Keep | Genuinely special: a milestone piece, unusually detailed, or tied to a specific memory. | Archive bin (long-term storage). |
| Display | Good enough to enjoy now, not necessarily forever. | Rotating gallery wall, frame, or clip display. |
| Photograph | Sweet, but doesn’t need to take up physical space. | Digital archive, then recycle the original. |
| Toss | A worksheet with a smiley face, a scribble, or a duplicate of something already kept. | Recycling bin. |
The table lists the four options. The questions below are the order to ask them. Stop at the first yes. Toss comes first because it’s the fastest call.
- Is it mostly blank space, a coloring-book page, or something with no real content? → Toss, no photo needed.
- Is it a real milestone or leap in ability? First time writing their name, first recognizable drawing of a person, a piece from a meaningful unit at school. → Keep.
- Would I enjoy this on a wall for a few weeks? Not “is my child proud of it” (they’re proud of all of it), but would you enjoy the color, the composition, the effort? → Display.
- Is it cute but ordinary, like the fortieth stick-figure family portrait? → Photograph, then let the paper go.
As a rough guideline of my own, not a formula: from a typical week, keep 0-2 pieces, display 2-4, photograph a few, and recycle the rest. That feels harsh the first time.
It gets easier once “is this actually special?” replaces “my child made this” as your bar for keeping.
Talking to Your Kid About the Toss Pile
If your child notices papers disappearing, loop them in instead of doing it in secret. Secrecy tends to create more anxiety, not less.
A simple script works well: “We can’t keep every piece of art or every worksheet, or we’d run out of room in our whole house. Let’s pick your favorites to keep, and the rest can go to make room for new ones.” In my experience, many kids care less about most of their output than parents expect. They made it and moved on.
If You’re Afraid You’ll Regret Tossing Something
You’ll occasionally feel a pang about something you let go. A small collection you actually revisit is worth more than an overflowing box you never open.
What to Keep From Kids’ Artwork
“Special” is subjective without criteria. These are the pieces that tend to stay meaningful five or ten years later.
- First-of-its-kind pieces. A first self-portrait, or a first piece with a story attached.
- Anything with their own words on it. A caption, a story, an interview answer, a “what I want to be when I grow up” page. These age well because handwriting and phrasing change so much year to year.
- Work tied to a memory you’d otherwise forget. Art from a themed unit, a project connected to a trip or event, or something made during a hard season worth remembering.
- Anything your child asks you to save. Their instinct about what matters to them is worth honoring, even when it doesn’t match your criteria.
And here’s what almost never holds up, however guilty tossing it feels.
- Worksheets with a coloring element, like traced letters with a rainbow border.
- Whole-class projects where every kid’s version looks nearly identical.
- Duplicates, like the third family portrait of the month.
- Anything you can’t place in time. If you can’t remember why it was made, it isn’t a keepsake.
How to Display Kids’ Artwork Without Clutter
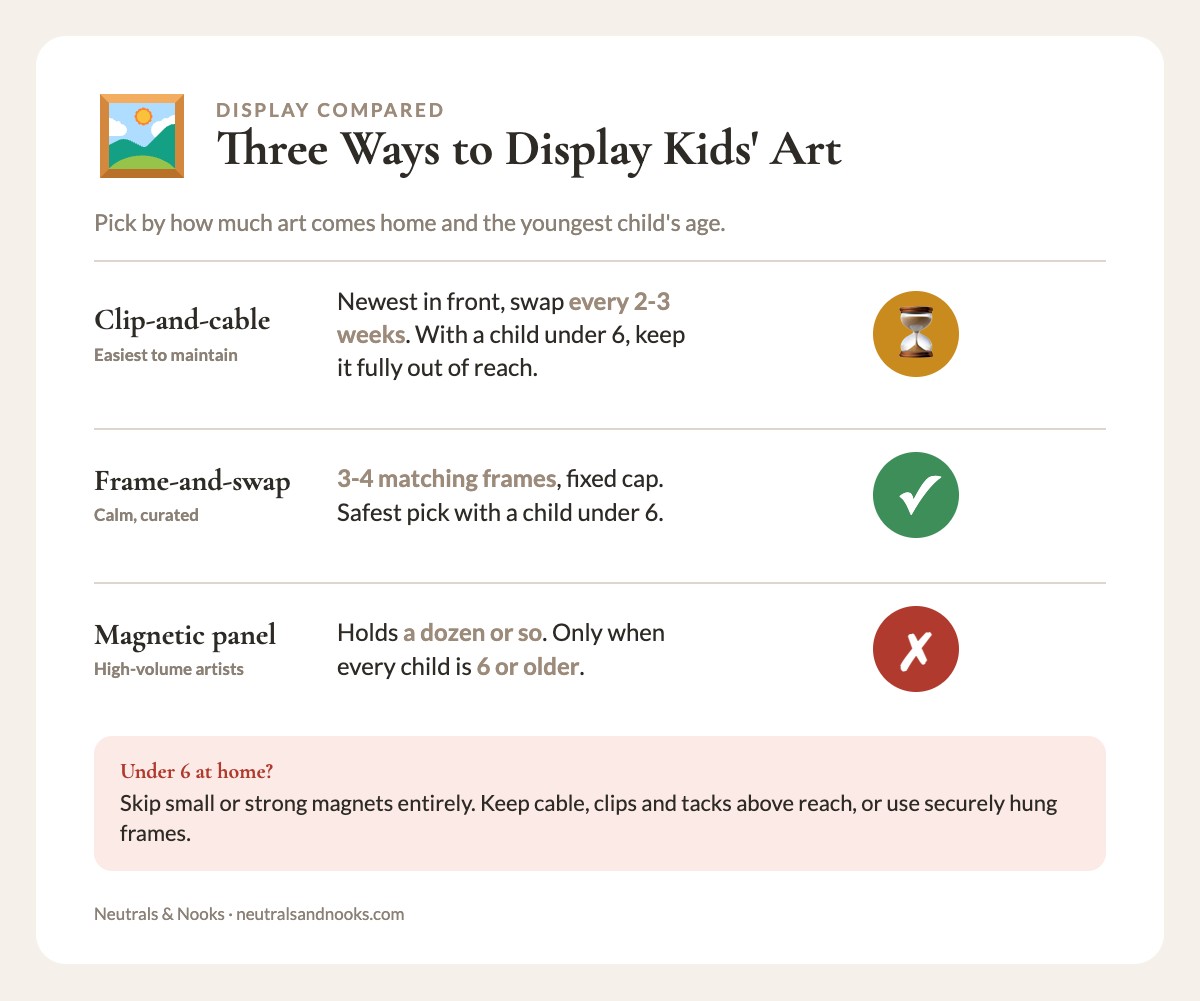
Display meets the need to celebrate what your child made, without permanent storage. The trick is treating it as temporary by design, not a gallery that keeps expanding.
Clip-and-Cable
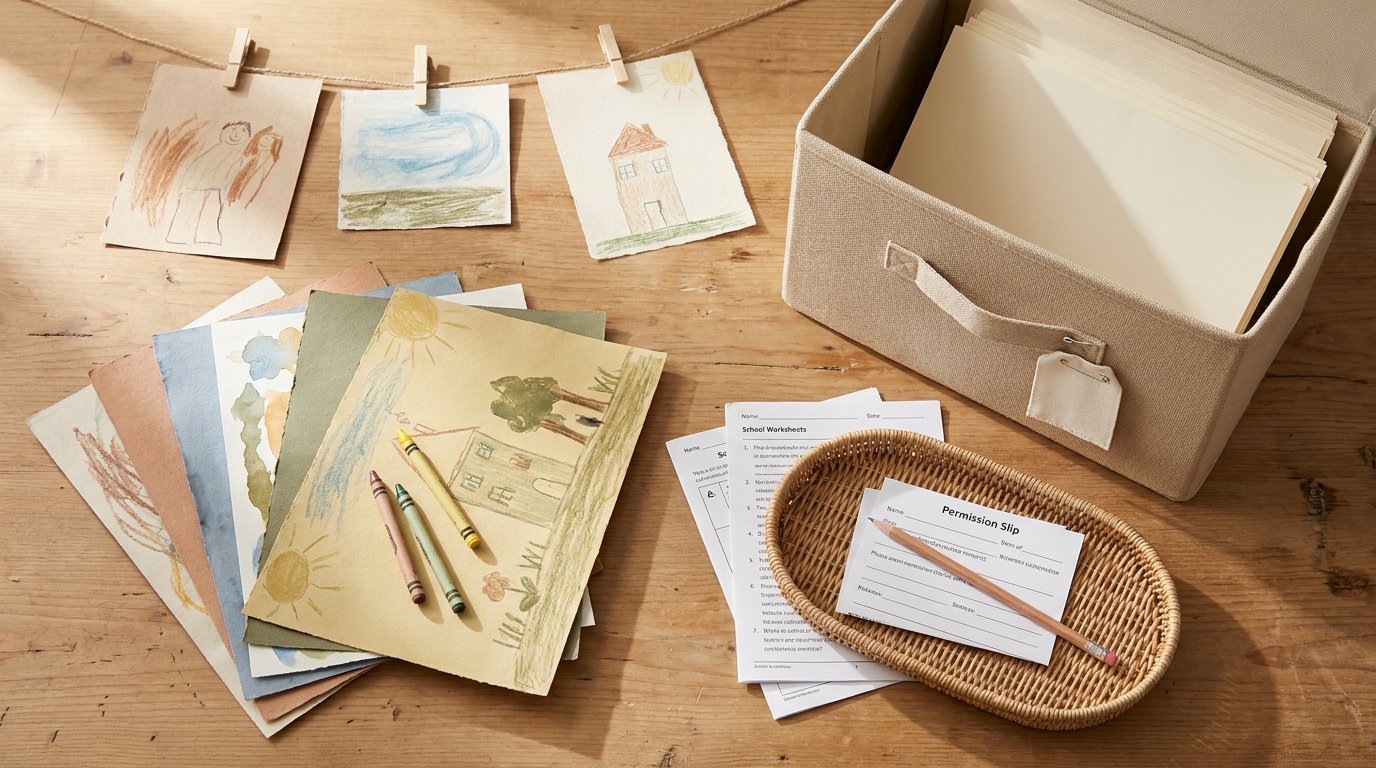
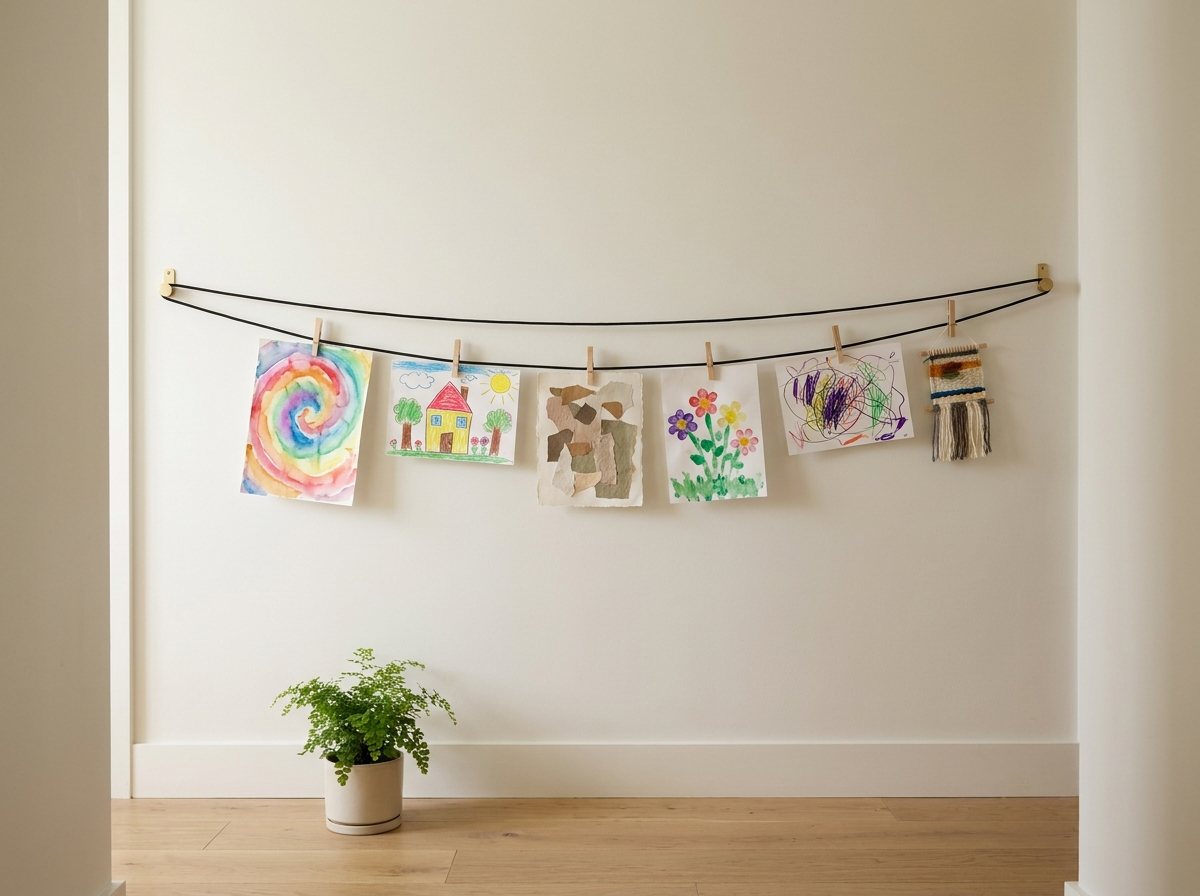
This is the easiest method to maintain. String a cable or wire along a hallway wall, and hang art with clothespins or bulldog clips. New pieces clip in front, and older ones move down the line and clip out. There are no frames to source, and swapping art takes ten seconds.
Keep the run short and taut, with no sagging loops, and anchor both ends into studs or proper wall anchors, not adhesive hooks. If any child in your home is under 6 or still mouths objects, hang the line and its clips fully above their reach. Swap art in place rather than lowering the cable. If you can’t keep it out of reach, choose frame-and-swap instead.
Ours runs along the upstairs hallway at adult eye level, holds about eight pieces, and gets swapped every two to three weeks.
Frame-and-Swap
This works well for a more polished look. Hang a handful of matching frames (even 3-4 is enough) in a cluster, and let new favorites replace old ones. It suits calmer, more curated spaces, since it caps the display at a fixed number of pieces no matter how much art comes home.
It’s also the safest pick with a child under 6 in the house, since there are no clips, tacks, or magnets involved. Just hang each frame securely.
Magnetic Panel or Corkboard
This is the most flexible method for kids who produce a high volume of art, since it holds a dozen pieces loosely without individual frames or clips. It relies on magnets or tacks, so save it for homes where every child is 6 or older and past mouthing objects. With a younger child in the house, choose frames instead.
| Method | Best for | How many pieces | Rotation and age note |
|---|---|---|---|
| Clip-and-cable | Easiest to maintain | A running line, newest in front | Every 2-3 weeks. With a child under 6, keep the line and clips fully out of reach. |
| Frame-and-swap | Calm, curated spaces | 3-4 matching frames | Swap as favorites arrive. Fixed cap. Safest pick with a child under 6. |
| Magnetic panel or corkboard | High-volume artists | A dozen or so, loosely hung | Only when every child is 6 or older. Skip with younger kids (magnets and tacks). |
Safety firstIf any child in your home is under 6 or still mouths objects:
- Hang cable, wire, and ribbon above their reach, pulled taut, with no loose loops or long dangling ends (strangulation and entanglement risk).
- Keep clothespins, clips, pushpins, and tacks above their reach too (choking and sharp hazards). Swap art in place instead of lowering the line, and store spare clips out of reach.
- Skip small or strong magnets entirely. Swallowing more than one can cause serious internal injury.
- If you can’t keep a display fully out of their reach, use securely hung frames instead.
- Whatever your children’s ages, anchor any bookshelf to the wall.
Whichever method you choose, use one rule: when new art goes up, the oldest piece comes down and goes back through the four-question check. Display is a rotation, not a one-way pile. It’s the same logic as a toy rotation system, where only a limited set is out at once.
A realistic cadence: rotate display art every 2-3 weeks for younger kids who produce constantly, or monthly for older elementary kids whose output slows down. For more layouts, browse these kids’ art display ideas.
How to Store Kids’ Artwork and School Papers Long-Term: One Bin Per Child
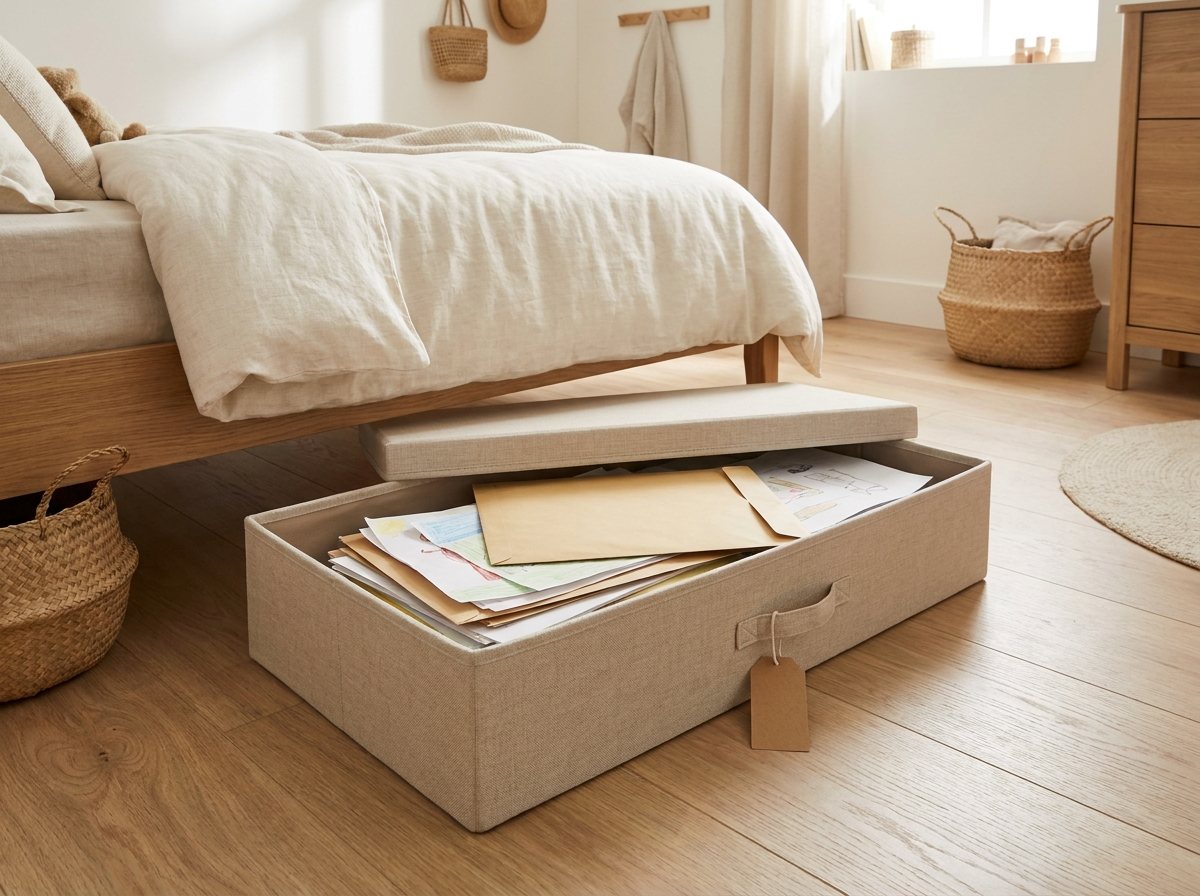
For the Keep-worthy pieces, skip the ever-expanding storage system. An archive with no size limit is just delayed clutter. Use one fixed-size container per child. When it’s full, something comes out before anything new goes in. The few school papers worth saving, like report cards, go in a slim folder beside it (more on that below).
A flat, under-bed storage box (roughly 24″ x 18″ x 6″) works well for most families, and it slides out of sight instead of taking up shelf space. At 0-2 kept pieces a week, you’ll add up to about 70 in a school year.
By my rough estimate, a box that size holds several years of kept pieces at that rate. It holds fewer if a lot of them are thick with paint or glued-on extras. Give it a full review whenever it fills up, plus a lighter pass at the end of each school year (see the rules below).
For 3D projects, like the inevitable clay pinch pot or popsicle-stick birdhouse, use a separate, smaller keepsake box per child. It keeps oddly shaped items from crushing the flat paper archive.
Archive Bin Rules
- One bin per child, not a growing cast of boxes. Size it to fit under a bed or on a closet shelf.
- Label each bin with the child’s name and the school year range, so you’re not guessing ten years from now.
- Add a large envelope or folder inside for oversized or oddly shaped pieces so they don’t get crumpled.
- When the bin is full, do a full review. Pull everything out, re-sort it, and keep only the very best. In our house, the bin fills mostly with pieces that have my daughter’s own words on them.
- Do a lighter pass at the end of each school year, even before the bin is full. That way the full review never faces years of backlog at once.
Storing the bin alongside off-season clothes or extra bedding? The same rules behind seasonal clothing storage for kids apply here. Use fixed containers, label them clearly, and review them on a schedule.
Digital Archiving: Photographing What You Let Go Of
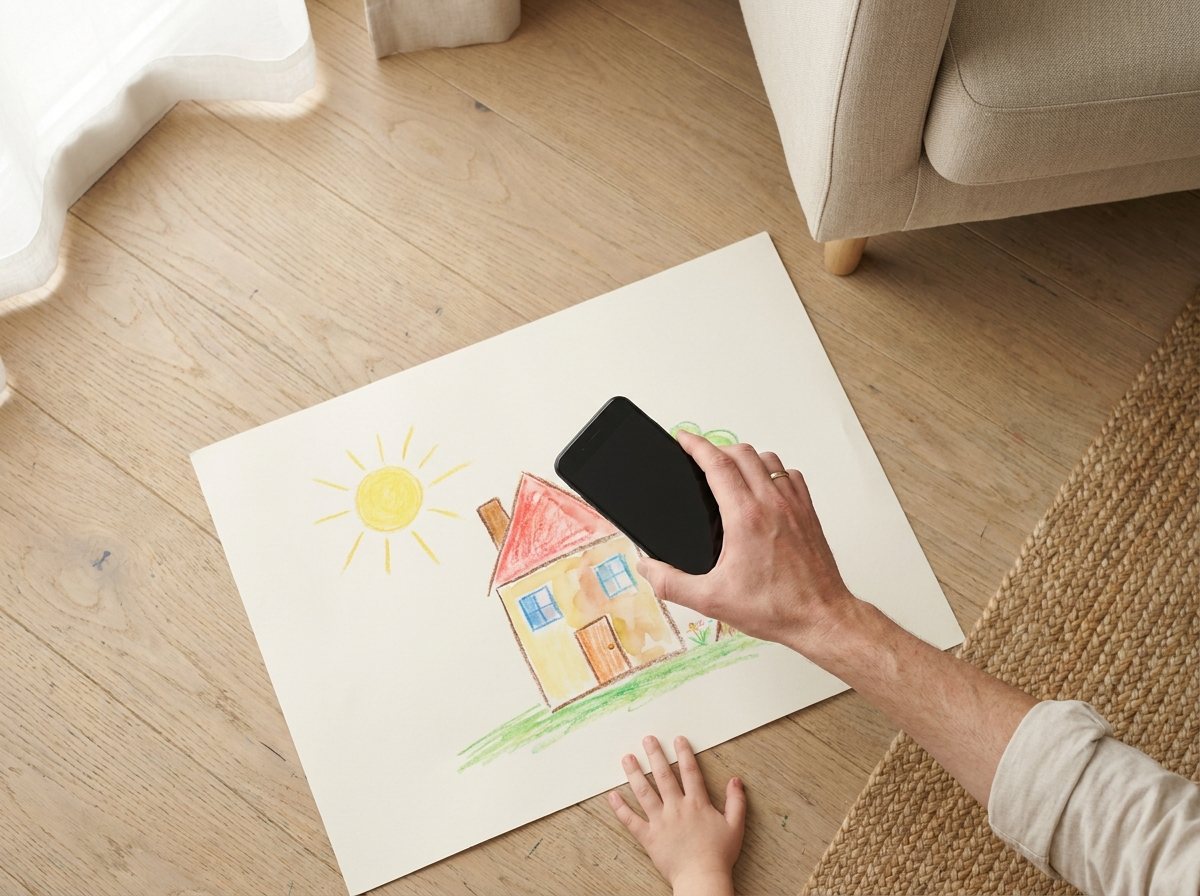
The Photograph pile is what makes letting go possible. You’re not erasing the memory, just changing its format. A quick, consistent digital habit lets you recycle the paper and keep the record.
Keep the Photographing Simple
- Use your phone, not a scanner. Good enough beats perfect, and a scanner adds friction that kills the habit.
- Lay the art on a plain, neutral surface, like a light wood floor or plain table, and shoot straight down in natural light.
- Now and then, include your child in the frame holding their own art. Those tend to be the photos you actually revisit.
- Batch it during the weekly sort instead of photographing piece by piece all week.
For the digital archive, a simple folder structure beats a fancier app. Make one folder per child, with a folder for each school year inside, like Kids Art > [Child Name] > 2026-2027 Kindergarten.
Drop photos straight into the current school-year folder as you go. If you want them off your phone and backed up, use a shared photo album (Google Photos or iCloud both work). Grandparents can see it too, so the archive becomes something the family enjoys, not a backup nobody looks at.
Some families turn a year’s worth of photographed art into an annual printed photo book. It compresses a school year of art into one slim volume that takes far less shelf space than the paper, and it’s still something to page through.
How to Organize School Papers by Type
Art and school papers feel similar when they’re piled on the counter, but they need different handling. They carry different kinds of information, and most school papers have a much shorter useful life than artwork.
School paper falls into three categories.
| Type | Examples | What to Do |
|---|---|---|
| Time-sensitive action items | Permission slips, forms needing signatures, event flyers, book orders. | Handle same-day. Route them through a family command center or one designated spot so they don’t get lost. |
| Reference material | Class newsletters, supply lists, calendars, syllabi. | Keep only until the date passes, then recycle. |
| Completed work | Worksheets, tests, quizzes, homework. | Skim for patterns and recycle almost all of it. Keep report cards, test summaries, and standout writing. |
For action items, the fix isn’t a better filing system. It’s one visible landing spot, so a permission slip never gets lost in a backpack pocket for two weeks.
If your home doesn’t have one yet, start with these family command center ideas. Every form, flyer, and signature request gets one obvious home, away from the art pile.
Most completed schoolwork can be recycled the same week it comes home. A worksheet with a checkmark rarely needs to outlive the day you glance at it. Keep a simple end-of-year folder, separate from the art bin, for report cards, standardized test summaries, and writing samples that show real growth. Recycle the rest.
How to Make the Sorting Habit Stick
A system fails when one parent has to remember to run it every week. Sharing the job with your kids, even young ones, makes it last.
- Let your child do the first sort. Even a five-year-old can point to their two favorite pieces from the week. This does double duty: it teaches them that not everything gets saved, and it takes the emotionally loaded decision partly off your plate.
- Attach the backpack-empty step to an existing routine. Right after the after-school snack or right before Friday dinner both work. Pick whatever already happens reliably in your house.
- Put the archive bin somewhere you’ll remember it, but not where it becomes a landing zone. Under a bed in the child’s own room works well. It feels personal and stays out of the main traffic flow.
- Revisit your own standards once a year. What felt keep-worthy in the chaos of a first school year can look different with distance. A light yearly pass that thins the bin, not just adds to it, keeps the collection meaningful instead of just large.
If one parent wants to keep everything and the other wants to toss aggressively, it helps to name the underlying instincts. The Declutter Score Quiz is a low-stakes way to do that and find a middle ground you both agree to.
End-of-Year Artwork and Paper Cleanup
Even with a good weekly system, the last two weeks of school bring an avalanche. Expect cleaned-out desks, portfolios, awards, and a folder of everything that never came home. Treat it as its own planned event.
Block off 30-45 minutes in the two weeks after school ends. The process is the same, just with a bigger time block. Ask your child to help pick a single “best of the year” piece before the bin goes back under the bed. It takes two minutes and makes the job feel a little celebratory.
- Empty the desk, portfolio, and any year-end folder.
- Run everything through the four-question check.
- Photograph the sweet-but-ordinary pieces.
- Pick one “best of the year” piece together.
- Thin the archive bin before adding the new year.
Frequently Asked Questions
How much of my kid’s artwork should I actually keep?
Only a small share. My own rough guideline, not a formula, is 0-2 kept pieces from a typical week. Display a few at a time, photograph some, and recycle the rest. A small, curated collection is one you’ll actually revisit.
What size bin or box should I use for the artwork archive?
A flat under-bed storage box, roughly 24″ x 18″ x 6″, works for most families. By my rough estimate, it holds several school years of kept pieces at 0-2 a week, or fewer if many are bulky. Review it when it fills up, and give it a lighter pass at the end of each school year. Size it to a space you already have, like under a bed or on a closet shelf. A fixed size forces the periodic edit that keeps the collection meaningful.
Should I keep every worksheet or test my child brings home?
No. Almost all completed classwork can be recycled the same week, since it rarely means much once you’ve glanced at it. Keep a simple end-of-year folder for report cards, standardized test summaries, and writing samples that show real growth. Keeping everything just buries the few papers that matter.
My child gets upset when art gets recycled. How do I handle that?
Involve them instead of doing it behind their back. Even young kids can point to their favorites for the week, and being part of the choice softens the sting. Photographing pieces before they go helps too, because you kept a picture and the paper made room for new art. In my experience, many kids adjust within a few weeks once it’s routine.
How often should I sort through the backpack and art pile?
Weekly works for most families. It’s often enough to prevent a backlog, but not so often that it feels like a daily chore. Pick one consistent day, like Friday afternoon or Sunday evening, and pair it with a routine you already have, such as unpacking backpacks before the weekend.
What’s the best way to store 3D art projects like clay pieces or dioramas?
Keep 3D projects in a smaller keepsake box, separate from the flat-paper archive, so odd shapes don’t crush flat artwork. Photograph bulky or fragile pieces before deciding whether to keep them. For all but a few favorites, a good photo is enough. 3D pieces take up a lot of space for how rarely they’re revisited.
Should each kid have their own archive bin, or can siblings share one?
Give each child their own labeled bin, even if space is tight. Separate bins make it easy to hand each child their collection later, for a graduation gift or a move. In a shared bin, one sibling’s work can end up on top and seem to count more. Separate bins keep things fair and easier to sort later.
Start Sorting This Week
This week, empty one backpack and sort the art into Keep, Display, Photograph, and Toss. It takes five to ten minutes. Do the same next week, and the kitchen counter stays clear.