
Seasonal Clothing Storage for Kids: Rotate, Store, and Organize Like a Pro
Learn how to create an efficient system for rotating your kids' seasonal clothing to manage space, improve visibility, and handle growth effectively. This guide helps you choose the right rotation timing and provides a step-by-step process for organizing like a pro.
- Seasonal rotation saves space, improves visibility, and helps manage your kids' growth.
- Choose a rotation timing approach (two-season, four-season, or weather window) that fits your family.
- An efficient system makes seasonal swaps quick and reduces decision fatigue for you.
- Gather supplies like storage bins and donation boxes before you start your rotation.
Kids outgrow their clothes and the season at the same time, so closets fill with things that don’t fit or don’t suit the weather. A simple twice-a-year rotation fixes most of it.
This guide covers when to rotate, a 7-step sort, which bins to use, and how to label by size. It also includes safety notes for storing and passing along kids’ clothing.
If the closet itself needs a better layout first, start with our kids’ closet organization systems that grow with your child.
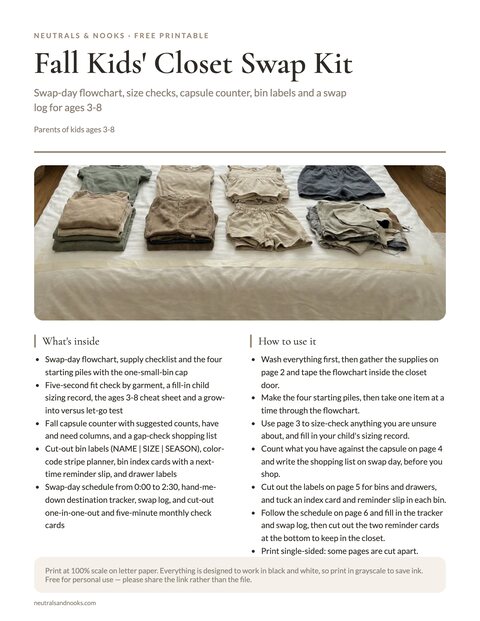
Free printable · 6 pages
Fall Kids' Closet Swap Kit
A swap-day flowchart to tape inside the closet door, a five-second fit check with an ages 3-8 sizing cheat sheet, a fall capsule counter with a gap-check shopping list, cut-out bin and drawer labels, and a swap-day schedule with a hand-me-down tracker and a fall, winter and spring log.
Free. Your download link appears right here. You'll also join the Monthly Home Reset. Unsubscribe anytime. Privacy
Children’s clothes change faster than adult wardrobes. Sizes shift, hand-me-downs arrive, and the category you need is usually the one that’s missing.
A simple system makes each swap predictable and the next one quicker. The free swap kit above includes a sort-pile sheet, bin label templates, and a size reference to go with it.
In this article (12 sections)
- Why Seasonal Rotation Matters for Kids’ Clothes
- When to Rotate: Timing Your Seasonal Swaps
- The Complete Rotation Process: Step by Step
- Best Containers for Storing Kids’ Off-Season Clothes
- How to Label Kids’ Clothing Sizes for Storage
- How to Manage Hand-Me-Down Clothes for Kids
- A Simple Rotation Schedule
- Troubleshooting Common Problems
- Storing Clothes for Multiple Kids, Shared Rooms, and Small Spaces
- Before Back-to-School: A Quick Yearly Inventory
- Frequently Asked Questions
- Ready for Your Next Swap
Why Seasonal Rotation Matters for Kids’ Clothes
Most homes hold several sizes at once: current, outgrown, and coming up. Add a set for each season, and there is far more clothing than anyone is wearing.
Rotating keeps the closet to the current size and season. Everything is visible, the space stays manageable, and getting dressed takes fewer decisions.
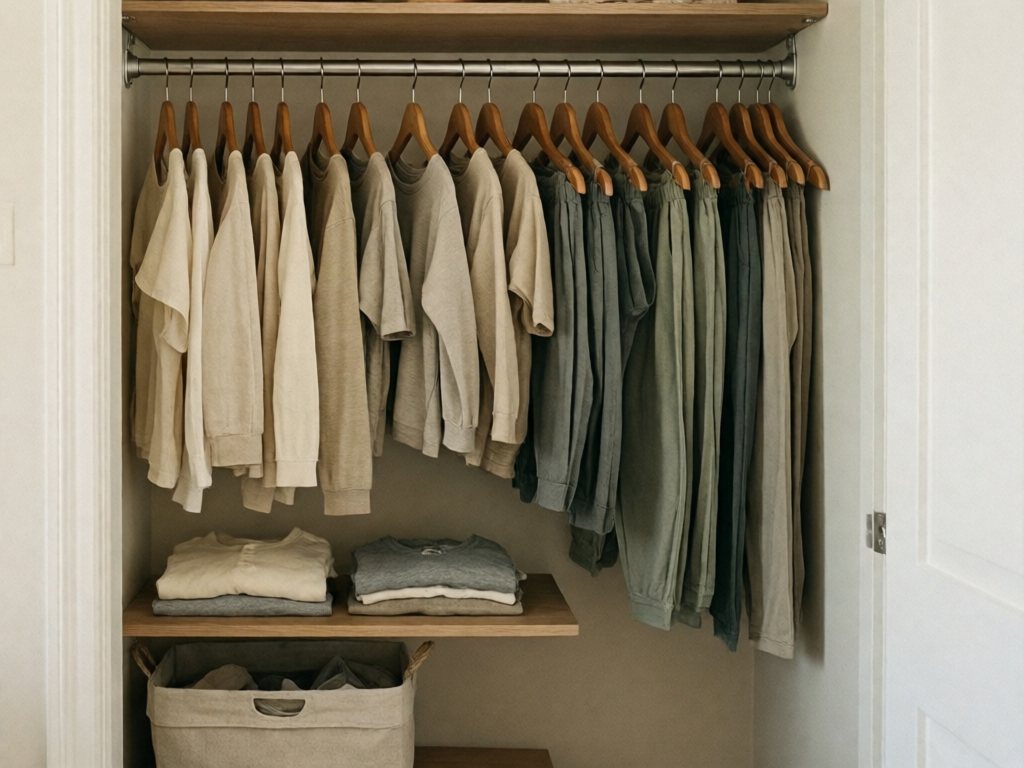
When too much is crammed into a closet, items become invisible. Your child has twelve perfectly good short-sleeve shirts, but they’re buried behind winter pajamas, so they wear the same three on rotation.
With only the current season in view, those twelve shirts actually get worn.
Clothes that fit in September may not fit by April. Each swap is a natural checkpoint for clearing outgrown items before they settle in for good.
When to Rotate: Timing Your Seasonal Swaps
There are three common ways to time the swap. Pick the one that matches your climate and how much you want to think about it.
| Approach | Best for | When | Trade-off |
|---|---|---|---|
| Two-season | Moderate climates, limited storage, families who want simplicity | Spring (March-April): pack winter, unpack summer. Fall (September-October): pack summer, unpack winter. | Only two transitions a year, but the closet may lag behind a sudden weather change. |
| Four-season | Distinct seasons and big wardrobe differences between them | March (transition layers), May-June (summer), September (back to layers), November (winter). | Wardrobe matches the weather closely and outgrown items surface sooner, but you rotate more often. |
| Weather-window | Unpredictable climates, flexible families | Triggered by the forecast, not the calendar. Keep transition pieces out year-round and rotate extremes (heavy coats, swimsuits). | Adapts to real conditions, but with no fixed date you’ll want a reminder. |
Finding Your Family’s Rhythm
The “right” timing depends on your climate, storage space, and family capacity. Some questions to consider:
- When does your weather actually transition?
- How much storage space do you have?
- How often are you willing to do this?
- Do your children have significant wardrobes for each season?
I lean toward the two-season approach, nudged a few weeks either way to match the actual weather. Fewer swaps means I’m more likely to do them.
The Complete Rotation Process: Step by Step
Here is the whole process at a glance. The details for each step follow.
- Gather supplies. Bags, bins, labels, and a clean sorting surface.
- Empty the closet. Pull out everything, including stored and stray pieces.
- Sort into piles. Five piles, each with a next destination.
- Edit honestly. Keep only what will be worn or will realistically fit.
- Process each pile. Closet, storage, pass-along, or recycle.
- Label everything. Size, season, contents, and date packed.
- Store safely. Right place, right container, out of kids’ reach.
Step 1: Gather Supplies
Before you start:
- Garbage bags and donation boxes
- Storage bins (about one per size per season)
- Vacuum storage bags (optional, for synthetic, fleece, or wool items only)
- Labels and a marker
- A clean surface for sorting
Step 2: Pull Everything Out
Empty the closet completely. It feels counterproductive, but you see everything at once, nothing hides in a back corner, and you can wipe down the closet while it’s bare.
Also gather last season’s stored bins, hand-me-downs waiting to be processed, clean laundry that hasn’t been put away, and pieces that wandered into other rooms or the coat closet.
Step 3: The Sorting Process
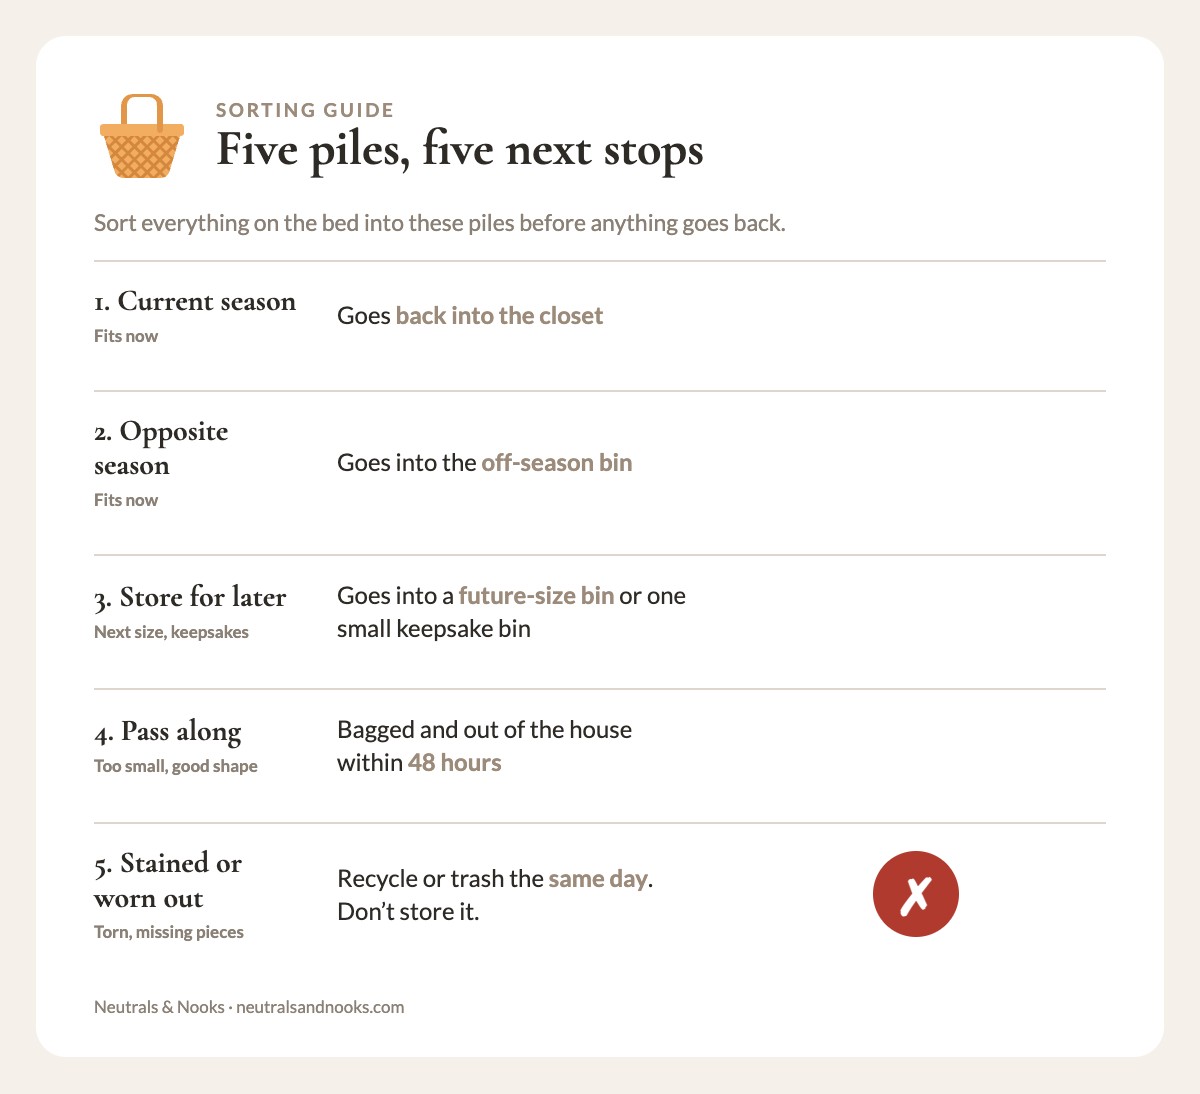
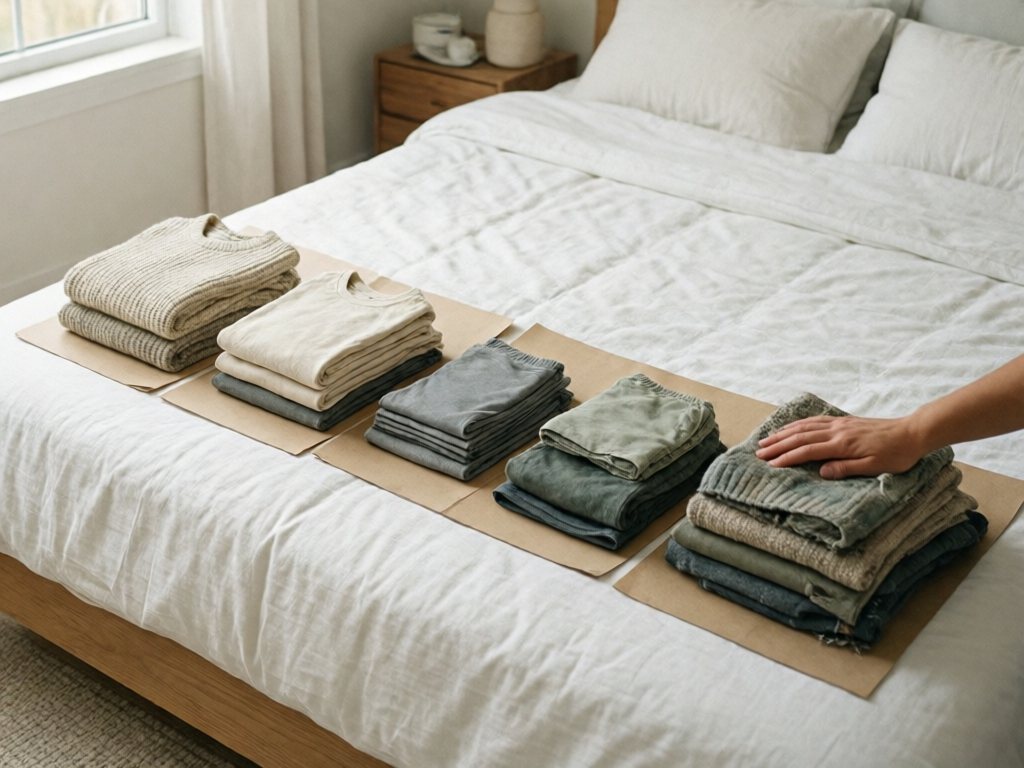
Make five piles. Every pile has a next stop, so nothing ends up in limbo.
| Pile | What goes in | Where it goes next |
|---|---|---|
| 1. Current season, fits now | Right season, fits (try on if unsure), good condition, and your child will wear it | Back into the closet |
| 2. Opposite season, fits now | Wrong season but will fit when it returns, in good condition | Off-season bin |
| 3. Store for later | The next size up, a few keepsakes, special-occasion pieces | Future-size bin or one small keepsake bin |
| 4. Pass along | Too small, or the wrong size for anyone in the house, in good condition | Bagged and out of the house within 48 hours |
| 5. Stained, torn, or worn out | Stains that won’t come out, damage, missing pieces (hello, single-sock club) | Textile recycling or trash the same day. Don’t store it. |
Step 4: The Honest Edit
Look at each pile once more. For the current-season pile, about 7-10 days of outfits per season is a workable target. Set aside duplicates and anything your child won’t actually wear.
For the storage piles, ask whether it will realistically still fit when the season returns. Ask whether another family would get more use from it. And ask whether you’re keeping more than you’ll use.
Step 5: Process Each Pile
Only the current-season, current-size pile goes back into the closet, grouped by type so it’s easy to reach for daily. Wash everything headed to storage first, because stains set over time. Fold or roll it, then pack by size and season.
Organize future sizes by size rather than season. Store them apart from the current rotation.
Bag the pass-along pile right away. Get it out of the house within 48 hours, to a scheduled donation or a hand-me-down recipient.
Bag the trash pile and remove it the same day. Recycle textiles where your area allows.
Step 6: Label Everything
Effective labels include:
- Size (by how it actually fit, not the tag)
- Season (summer, winter, all-season)
- Contents overview (short-sleeve shirts, snow pants, swimwear)
- Date packed (helps track how long items have been stored)
Example labels:
- “Size 6 – Winter – Sweaters, long pants, PJs – Packed Oct 2026”
- “Size 6 – Summer – Shorts, tanks, swimwear”
Step 7: Strategic Storage
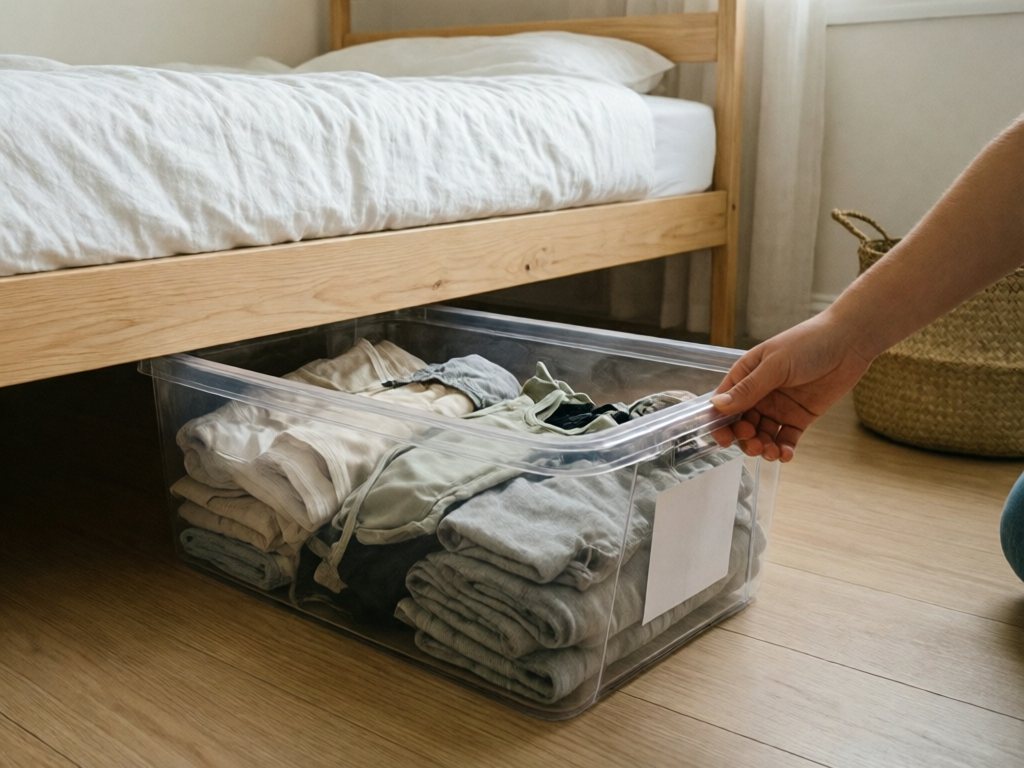
Choose a spot you’ll actually open at the next swap:
- Under the bed, in flat, lidded bins kept low (see our under-bed storage ideas)
- Closet shelves, with only light bins up high
- Garage or basement, but only if it’s dry and temperature-stable (more in our seasonal gear rotation guide)
- Off-site storage as a last resort, since you want easy access
Skip garbage bags. They offer no protection from moisture or pests, and the contents are hard to identify.
Safety firstVacuum bags, plastic bags, and empty bags are a suffocation hazard for babies and young children. Store sealed bags out of reach. Cut up or discard empty bags right away. Choose bins with latching lids so small children can’t climb in.
Never store bins or bags in or against a crib, and keep sleep spaces bare.
Safety firstKeep heavy bins low. Anchor tall shelving and storage units to the wall. Don’t stack bins where kids can climb or pull them down, and keep children off step stools and top shelves while you work.
Avoid mothballs for kids’ clothes, as they are toxic. If a space is damp, dry the clothes fully and fix the dampness instead. If you use a moisture absorber, keep it sealed and out of reach, never inside a bin children can open.
TipUse opaque bins in bright spaces, since light can fade fabric. Clear bins work well in dark closets and under beds.
Best Containers for Storing Kids’ Off-Season Clothes
Each container type has a job. This table compares the common options.
| Container | Best for | Pros | Cons | Safety/care note |
|---|---|---|---|---|
| Clear plastic bins | Everyday off-season storage | See contents at a glance, stackable, protect from pests and moisture | Can fade fabric in bright light, bulky when empty | Latching lids; keep heavy stacks low |
| Opaque bins | Bright rooms, garages | Block light, durable | Need clear labels | Latching lids; label every side |
| Vacuum bags | Synthetic-fill coats, fleece, wool, bulky sweaters | Compress bulky items, save space | Seals can fail, can wrinkle items | Never for down-filled items. Suffocation hazard: keep away from kids. |
| Fabric bins | In-closet, current-season items | Look good, breathable, flexible | No pest protection, don’t stack well | Not for long-term off-season storage |
| Cardboard boxes | Temporary holding, pass-along items | Free and recyclable | Attract pests, absorb moisture, degrade | Not for long-term storage |
Store down-filled outerwear loosely in a breathable bin or bag, uncompressed. Vacuum-sealing can permanently crush the fill and ruin its warmth.
Clear Plastic Bins
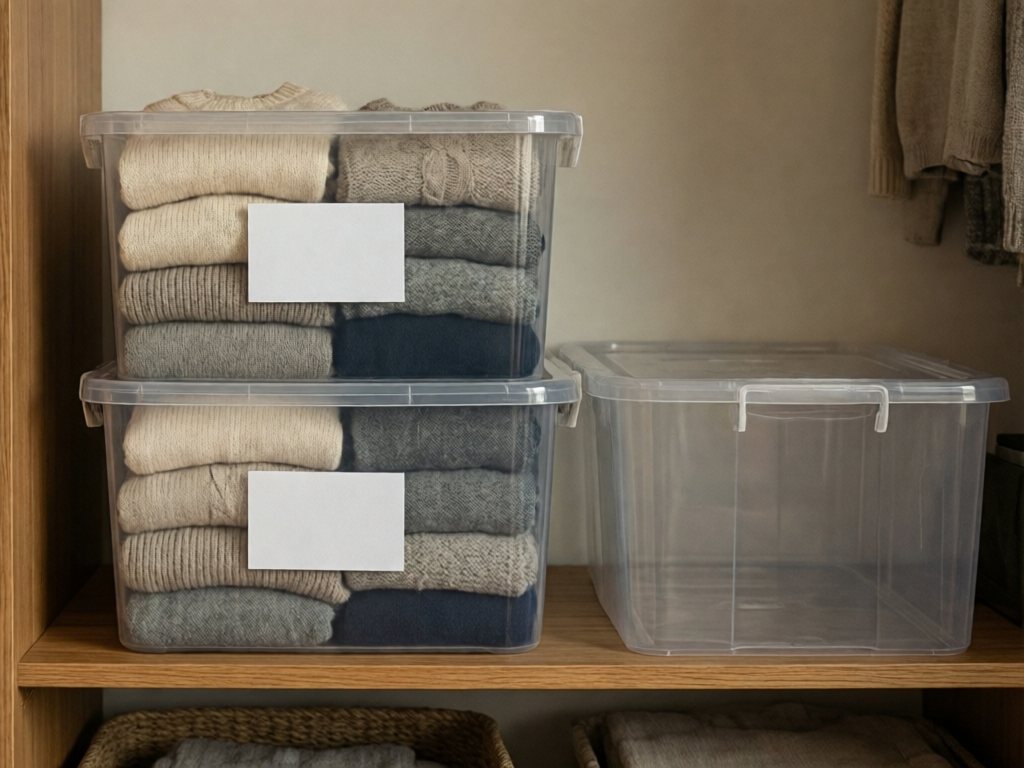
Clear bins are my default for off-season storage. A shallow under-bed bin of around 27 quarts holds a child’s off-season basics, and one bin per size per season is a reasonable limit. If you need more than that, you may be storing too much.
As a rough estimate (it varies with fabric weight and how you fold), here is what tends to fit:
| Bin size | Roughly holds |
|---|---|
| 27 quarts (under-bed) | 8-10 tops, 5-6 bottoms, and a few pajamas or light layers |
| 50-60 quarts | A full season of basics plus 2-3 bulky sweaters or a fleece |
In a small closet, I would rather use two shallow bins I can lift easily than one deep bin I dread opening.
How to Label Kids’ Clothing Sizes for Storage
A label only helps if it tells you what will fit later. Here are the methods that work best.
The Problem with Tag Sizes
That “size 6” shirt might fit a 5-year-old or a 7-year-old, depending on brand and cut. Tag sizes alone make poor guides for future planning.
Better Labeling Approaches
Pick one method and use it every time. Consistency matters more than which one you choose.
| Method | How it works | Best for |
|---|---|---|
| Age range | Label by the age your child was when they wore it, such as “Fits ages 4-5.” | Most families; more intuitive than tag numbers |
| Measurements | Note actual chest and length measurements. | Predicting fit accurately, at the cost of more work |
| Child comparison | Write “Fit [name] at age 5.” | Hand-me-downs between siblings |
| Season + year | Write “Summer 2026” so you know when it was worn. | A simple, low-effort option |
Creating a Size Reference
Keep a note (physical or digital) with:
- Child’s current measurements (height, weight, chest)
- Typical brand sizes that fit
- Updated each rotation
This reference helps when shopping sales and predicting what stored items might fit.
How to Manage Hand-Me-Down Clothes for Kids
Process Them Within a Week
Free clothes are a gift, but a steady stream of them can still crowd a closet. Sort each bag within a week of receiving it, using the same piles as your regular swap.
Current size and season goes straight into the closet. Current size in the opposite season goes to seasonal storage. A future size is worth storing only if the quantity is reasonable and the quality is good. Anything you won’t use goes out right away.
Setting Boundaries
It’s okay to decline what you don’t need, pass along items without trying them all, and say “we have enough of that size.” A kind, short reply usually lands well.
- “Thank you so much! We’re actually set on that size.”
- “I appreciate you thinking of us. We’re trying to keep things minimal, but I know [other family] is looking for that size.”
- “We’d love to take a few pieces. What are the favorites?”
If You’re Giving Hand-Me-Downs
Make it easy on the recipient. Sort by size before offering, remove truly worn-out pieces, and wash everything first. If they decline, be gracious about it.
Safety firstBefore secondhand clothes go in the closet, check for product recalls at cpsc.gov. Remove or avoid neck and hood drawstrings, and look for loose buttons, snaps, and appliqués on anything for a child under 3. Children’s sleepwear in sizes above 9 months, up to size 14, must be snug-fitting or flame-resistant, and the label will say which. Don’t use loose cotton T-shirts or sweats as pajamas. Avoid bulky coats and snowsuits under car-seat harnesses; for more on safe setups, see our baby-proofing guide.
A Simple Rotation Schedule
Set four recurring calendar reminders and the swap stops sneaking up on you. Plan on 1-2 hours for one child, 2-4 for several, and 3-5 the first time you set up the system. The child doesn’t need to be there for sorting, and a podcast helps.
| When | Task |
|---|---|
| 1-2 weeks before | Assess the closet, find last year’s stored bins, note what’s outgrown, and list gaps |
| Rotation day | Run the 7 steps and label every bin |
| Within 48 hours | Get donations out of the house |
| Within a week | Shop for essential gaps only and deliver hand-me-downs |
Troubleshooting Common Problems
Most rotation problems come down to storing too much or storing it where you can’t see it.
| Problem | Fix |
|---|---|
| I never know what size to store | When in doubt, skip it. Keep sentimental pieces and high-quality items that will clearly fit later. |
| I store things and forget them | Use clear or well-labeled bins, keep a photo inventory, and store them where you’ll actually look. |
| My kids grow at unpredictable rates | Store one size ahead, or two for expensive items like winter coats. Budget for gaps rather than over-storing. |
| I have too many bins | You’re likely storing too much. One bin per size per season is reasonable; donate what you won’t realistically use. |
| Rotation takes forever | Do smaller batches more often, give kids low, light tasks like sorting and filling a small bin, and accept “good enough.” Adults handle vacuum bags, heavy bins, and high shelves. |
| Items come out stained or musty | Wash and fully dry everything first, use sealed containers, and avoid extreme-temperature spaces. If the area is damp, fix the dampness rather than masking it. Skip mothballs, and keep any moisture absorber sealed and out of children’s reach. |
Storing Clothes for Multiple Kids, Shared Rooms, and Small Spaces
Your household setup changes how you store. These are the common situations.
Multiple Children
With close ages, store by size rather than by child. An older child’s outgrown bin becomes the younger child’s future bin, so label it with the size and move it up when the time comes.
With far-apart ages, keep separate systems and decide up front whether items will really sit for years. With many children, you can’t store everything, so a one-in-one-out rule keeps the bins honest.
Shared Bedrooms
Under-bed bins free up floor space. Color-code each child’s bins and divide the closet by child so nobody has to ask whose is whose. Move off-season bins out of the room if it’s tight.
Limited Storage Space and Apartments
Use vertical space, such as high closet shelves and over-door organizers, and slide flat bins under even low beds. Vacuum bags save room for synthetic, fleece, and wool, but never for down.
In a small closet, I accept doing a smaller rotation each quarter instead of one big one twice a year. It keeps the amounts manageable, and a smaller wardrobe overall helps too.
Before Back-to-School: A Quick Yearly Inventory
Once a year, ideally before the fall rotation, take stock so your shopping list stays short and specific.
- Which sizes is each child wearing now, and are they shooting up or holding steady?
- Everyday basics: enough school-appropriate outfits, underwear, socks, and pajamas that fit?
- Seasonal specialties: outerwear condition, swimwear fit, winter hats and gloves
- Special occasions: one dressy outfit that fits
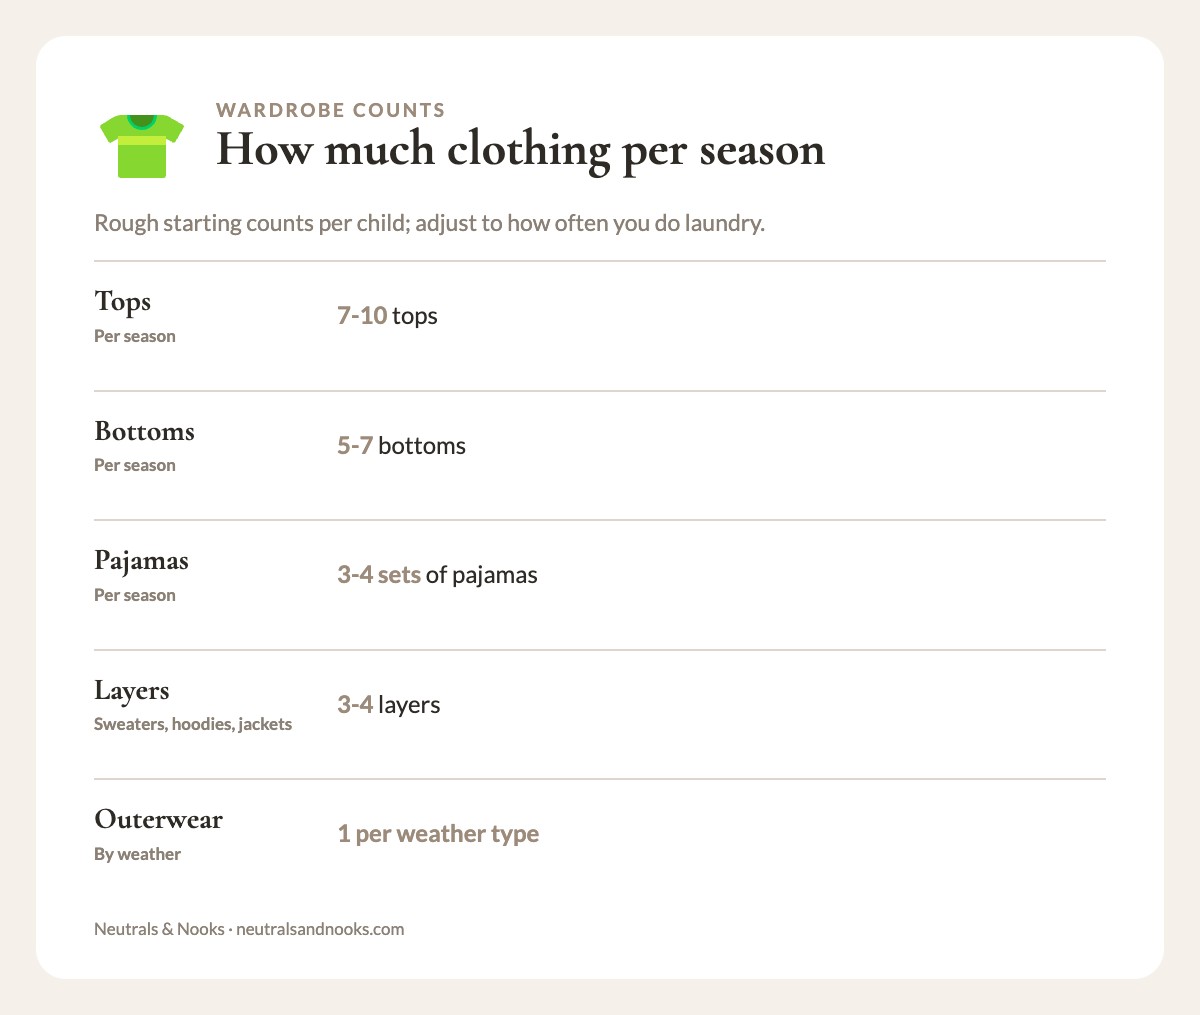
Here are rough starting counts per season. Adjust them to how often you do laundry.
| Item | Starting count |
|---|---|
| Tops | 7-10 |
| Bottoms | 5-7 |
| Pajamas | 3-4 sets |
| Layers (sweaters, hoodies, light jackets) | 3-4 |
| Outerwear | 1 per weather type |
Shop in this order: essentials for immediate need, gap-fillers for the current season, then a few strategic sale items for next season. Skip stocking up “just in case.” Our back-to-school organization checklist pairs well with this step.
Neutral Nina
Neutral Nina is an interior design enthusiast and mom of three who proves that beautiful, organized spaces and family life can coexist. She shares practical strategies for creating calm, functional homes that work for kids and grown-ups alike.
Frequently Asked Questions
How far ahead should I store clothing sizes?
One size ahead is plenty, or two for expensive items like winter coats. Beyond that, changing styles, unpredictable growth, and extra clutter outweigh the benefits.
Should I store clothes in the child’s closet or elsewhere?
Only current-season, current-size clothes belong in the active closet. Everything else goes elsewhere: under beds, in a storage closet, or in another spot you can reach. This keeps the daily closet functional.
How do I handle “transition season” clothes?
Keep lightweight layers, long-sleeve shirts, and light jackets accessible year-round if your climate has variable seasons. These “shoulder season” items can stay in the active closet since they’re used throughout the year.
Is it worth storing baby clothes for future children?
It can be, but be selective. Store only excellent condition items you loved, neutral pieces that work for any child, and practical amounts (not entire wardrobes). Be honest about whether future children are likely and how far away.
How long should I keep sentimental baby/kid items?
Keep genuinely meaningful pieces (coming-home outfit, special occasion items) but limit yourself to one small bin. Save the pieces that make you feel something, photograph the rest, and let go of the others.
What about stained items I want to keep trying to clean?
Set a deadline. If you haven’t successfully cleaned it in two rotation cycles, it’s not getting cleaned. Donate for textile recycling or discard. Don’t store stained items hoping for future cleaning motivation.
How do I get kids to help with rotation?
Give kids low, light jobs: young kids can fill a small bin, and older kids can sort by type. Adults handle vacuum bags, heavy bins, and high shelves, and teens can manage their own sorting. Add music and snacks, and keep expectations realistic.
What if my partner doesn’t maintain the system?
Create a system simple enough that anyone can maintain it. Clear labels, obvious locations, and minimal categories reduce friction. Accept that different family members will engage differently, and focus on making your system partner-proof rather than partner-dependent.
Ready for Your Next Swap
When you know where things are, what fits, and what’s coming, the swap takes a few hours instead of a weekend, and then you’re set for months.
This spring or fall, clear the closet, sort into the five piles, label clearly, and store safely. For more, see our kids’ closet organization guide, the fall closet swap system, and mudroom cubbies for multiple kids.
—