The Ultimate Fall Closet Purge Checklist for Family Homes
Learn how to efficiently purge your family's fall closets with a step-by-step checklist, including setup, sorting rules, and a schedule to tackle kids', parents', and coat closets in one weekend or five short sessions.
- Fall purges are about function: account for kids' growth and bulky winter clothes.
- Dedicate 20 minutes to setup: gather labeled bins, a 'fix or find' bag, and tools.
- Choose a schedule: complete your purge in one weekend or five 30-45 minute sessions.
- Sort kids', parents', and coat closets using KEEP, DONATE, and STORE categories.
- Utilize the free printable Fall Kids' Closet Swap Kit for checklists and labels.
This post contains affiliate links. As an Amazon Associate I earn from qualifying purchases.
Last October I stood in my daughter’s doorway holding a single rain boot. It was a size 8. She wears a 10. Her closet door wouldn’t close, and every long-sleeve shirt inside was two inches too short in the arm.
This post is the checklist I built that week. It covers the setup, the keep/donate/store rules, a person-by-person walkthrough, a one-page table, capsule counts for how many clothes kids need, and the coat closet.
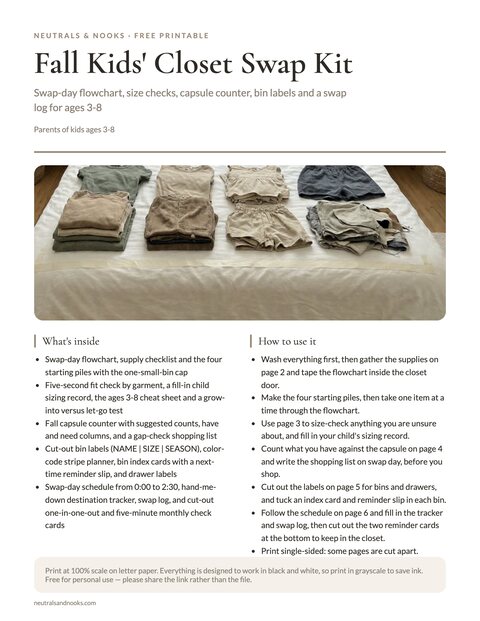
Free printable · 6 pages
Fall Kids' Closet Swap Kit
A swap-day flowchart to tape inside the closet door, a five-second fit check with an ages 3-8 sizing cheat sheet, a fall capsule counter with a gap-check shopping list, cut-out bin and drawer labels, and a swap-day schedule with a hand-me-down tracker and a fall, winter and spring log.
Free. Your download link appears right here. You'll also join the Monthly Home Reset. Unsubscribe anytime. Privacy
In this article (13 sections)
- Why a Fall Closet Purge Is Different From a Spring One
- Before You Start: The 20-Minute Setup That Makes the Rest Easy
- The Three-Pile Rules: How to Decide Keep, Donate, or Store
- The Room-by-Room, Person-by-Person Walkthrough
- The One-Page Fall Closet Purge Checklist (Copy or Print From This Page)
- Fall Closet Staples and Must-Haves: How Many Is Enough?
- The Size-Ahead Math (So You Don’t Buy Twice)
- The Coat Closet and Entry: The Part That Decides Your Mornings
- Where Everything Goes Once It Leaves the Closet
- Making It Stick: The 10-Minute Reset
- Common Fall Purge Mistakes (and How to Dodge Them)
- Frequently Asked Questions
- Start With the Smallest Closet
Why a Fall Closet Purge Is Different From a Spring One
Spring cleaning is about space. Fall is about function.
In fall the stakes are practical. Layers matter, and a kid who’s cold at recess has a hard day. Two things make this season different:
- Kids have moved up a size (or two) since you last looked. Summer is a growth season, and most parents don’t re-check sizes until something visibly stops fitting.
- Everything bulky is about to arrive. Coats, boots, hats, mittens, and thick sweaters take far more room than summer clothes. If you don’t clear space first, the closet jams by mid-November.
The holidays are close too, so it helps to know what each child actually needs before relatives start asking.
A fall purge also has a built-in deadline that a spring one doesn’t: the first truly cold morning. That’s a helpful forcing function. Aim to finish the whole thing in one weekend, or in five short sessions across a week (details below).
Before You Start: The 20-Minute Setup That Makes the Rest Easy
The biggest reason closet purges stall is not the decisions. It’s the logistics. You pull everything out, then realize you have nowhere to put the “maybe” pile, no bags for donations, and no marker to label the box. Twenty minutes of setup prevents a two-hour stall.
What to gather
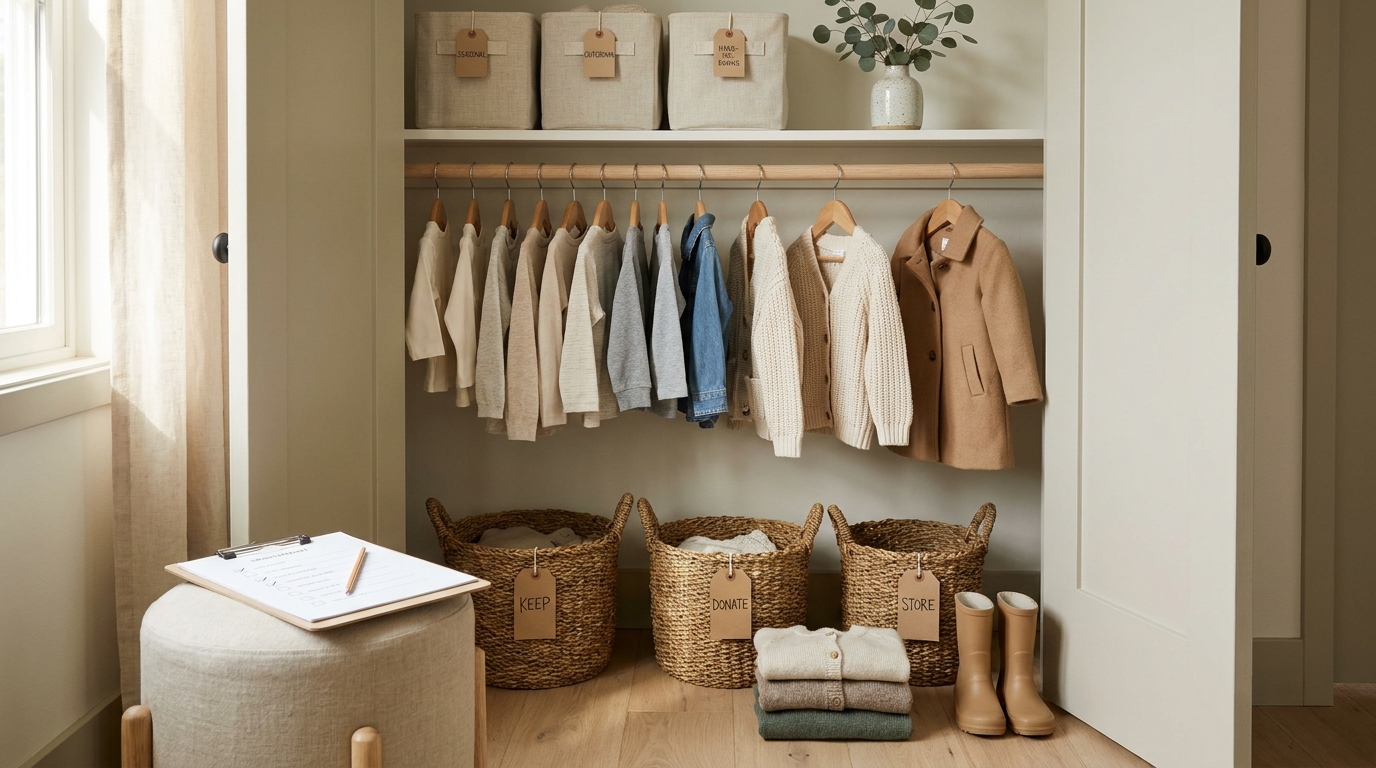
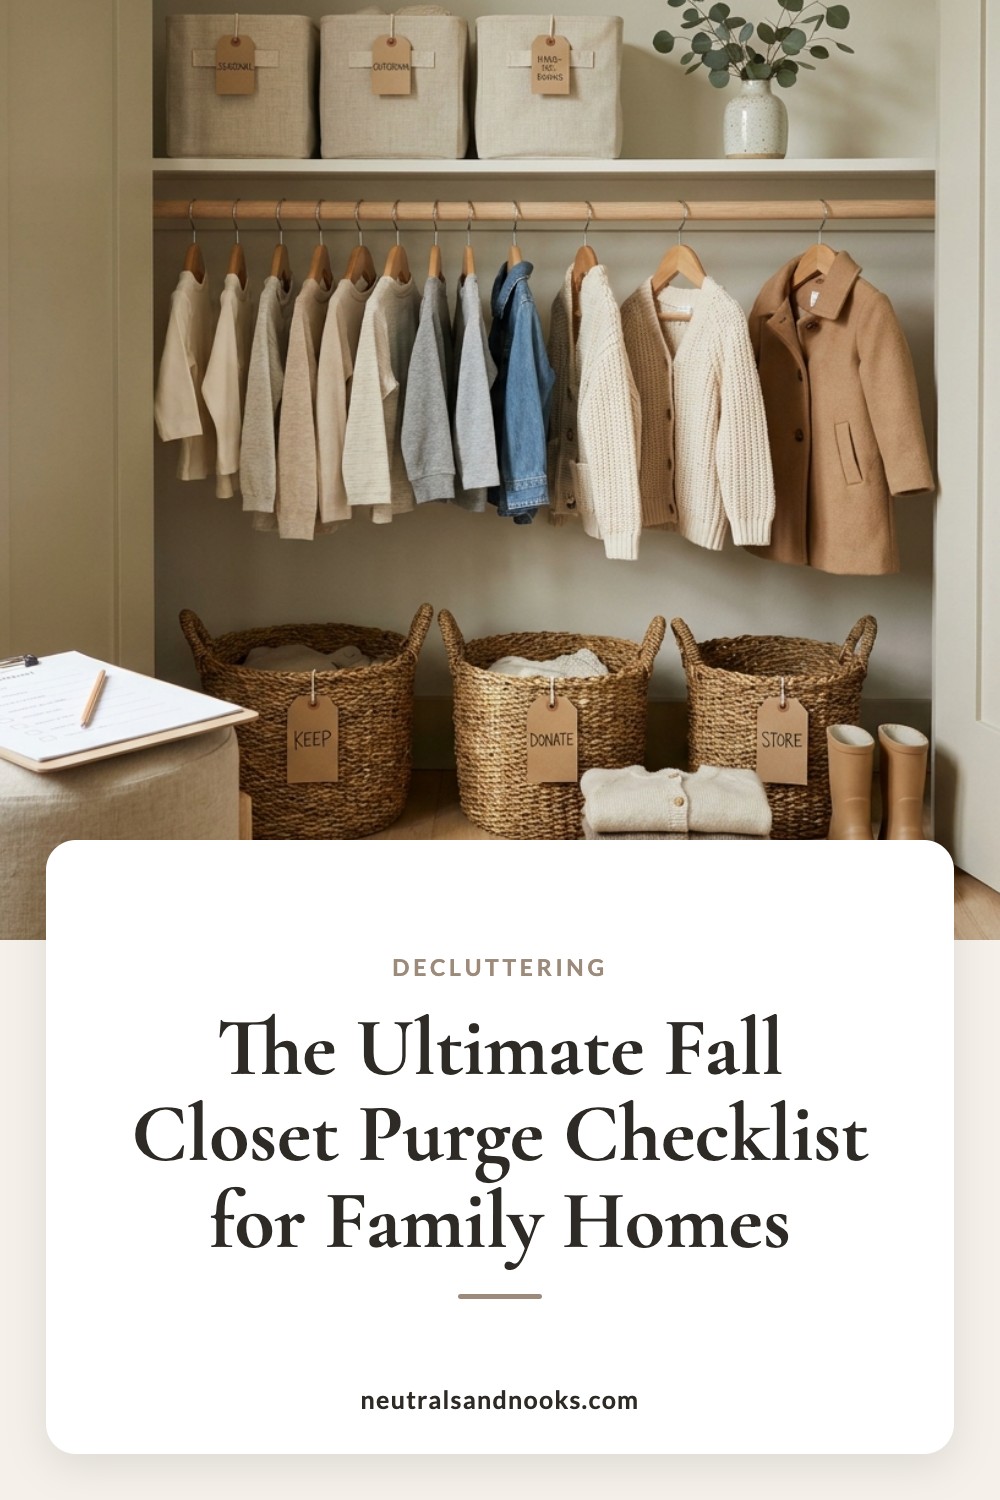
- Three containers per person you’re sorting. Bins, laundry baskets, or sturdy paper shopping bags all work. Label them KEEP, DONATE, and STORE with masking tape and a marker.
- One “fix or find” bag. For items that need a button sewn, a hem fixed, or a missing mate located. This is the only place a “maybe” is allowed, and it gets a deadline (more on that below).
- Trash bags. Stained, torn, and pilled items that aren’t fit to donate. Thrift stores can’t sell them, and sending them along just shifts your trash to a volunteer.
- A clear flat surface. A bed or a clean floor patch. You need space to lay things out and see them.
- A pen and this checklist. Print this page or copy the table below into your notes app.
- A tape measure and a kid’s current shoe size. Sounds fussy, but it removes guessing. More on this in a moment.
Set the schedule
You have two realistic options.
| Plan | When | Zone |
|---|---|---|
| Option A: one weekend | Saturday morning | Kids’ closets (kids can help, or be at a friend’s) |
| Option A | Saturday afternoon | Coat closet and entry |
| Option A | Sunday morning | Your own closet |
| Option A | Sunday afternoon | Hauling, labeling, and the donation drop |
| Option B: five sessions (30-45 min) | Monday | Oldest child |
| Option B | Tuesday | Next child |
| Option B | Wednesday | The baby or toddler |
| Option B | Thursday | Coat closet and entry |
| Option B | Friday | Your own closet, then a donation drop on Saturday |
Option B takes one closet or zone per evening. It pairs well with the approach in 10-minute tidy decluttering, where short, repeatable bursts beat marathon sessions.
Pick whichever fits your household’s temperament. If a long block of time makes you tired just reading it, choose Option B and don’t look back.
Do the weather check first
Look up your area’s typical (average) low and high for the next two months, plus this week’s forecast. A cold snap in late October in Minnesota means something very different from a “fall” that holds at 70 degrees through Thanksgiving in Texas. Write down two numbers on your checklist: the typical low and the typical high for the next two months. Those numbers decide what counts as a fall staple for your family and what can be boxed up until spring.
The Three-Pile Rules: How to Decide Keep, Donate, or Store
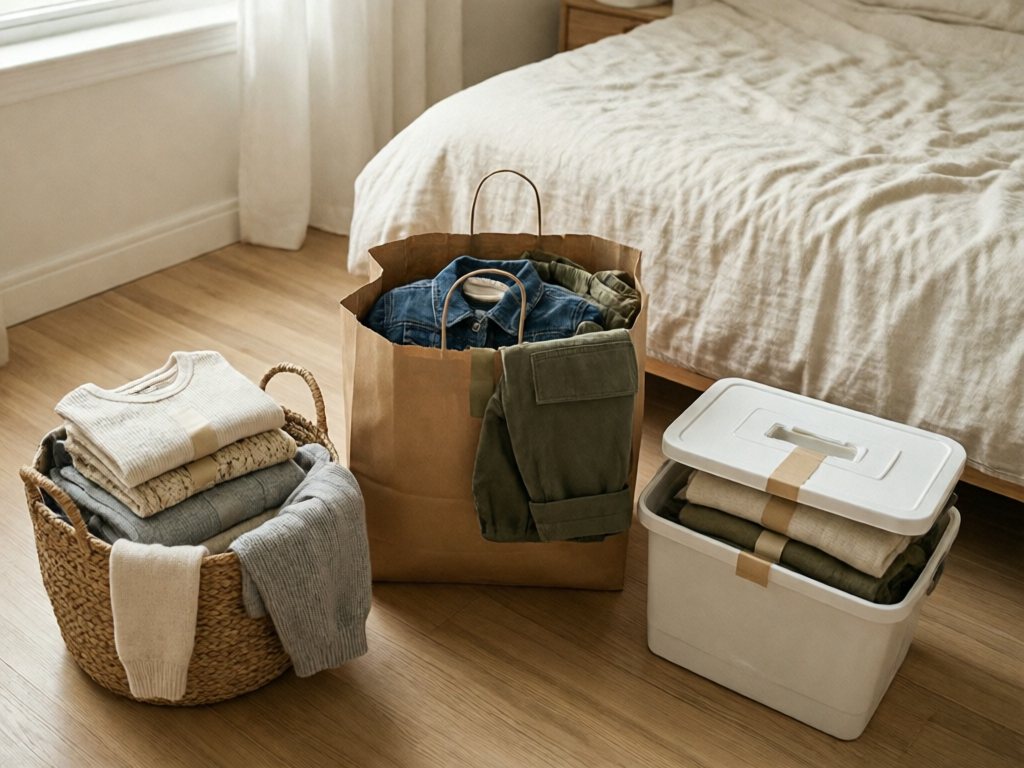
Most advice on purging falls apart at the moment you’re holding a sweater and can’t decide. These rules are designed to settle that moment in about five seconds.
KEEP: it must pass all four tests
- It fits right now (or will within about six weeks, for fast growers).
- It’s in good condition. No stains that survive a wash, no holes, no stretched-out necklines, no broken zippers.
- It gets worn. If you can’t remember the last time it came off the hanger, it fails this test no matter how cute it is.
- It works with at least two other things. A kid’s closet runs on mix-and-match. A standout piece that goes with nothing is a dust collector.
If an item fails any one of the four, it goes to donate, store, or trash.
DONATE: it’s good but not for us
- It’s in wearable condition but doesn’t fit and won’t fit again (no younger sibling coming).
- It fits but nobody likes wearing it. Itchy tags, stiff jeans, a collar that “feels weird” all count. A garment a child refuses to wear is a garment taking up space.
- You have duplicates beyond what the capsule numbers below call for.
- It’s a gift that missed the mark. Yes, even from Grandma. Especially the 14th pair of festive leggings.
STORE: it has a real future
Store only if there is a specific person and a specific season attached. “Maybe someday” is not a person. “Max wears this in size 5T next fall” is.
- Next size up, bought on sale or handed down, for a child who will grow into it within the year.
- Off-season clothing that fits now but won’t be worn for months.
- Sentimental items, limited to one small bin per child, with a hard cap. A baby blanket, a first-day outfit, a handful of favorites. Not every adorable onesie.
For the practical side of boxing things up, including bin sizes, labels, and where to put them, see seasonal clothing storage for kids. The short version is that STORE items need a labeled home before you start, or they migrate back into the closet within the month.
The “fix or find” rule
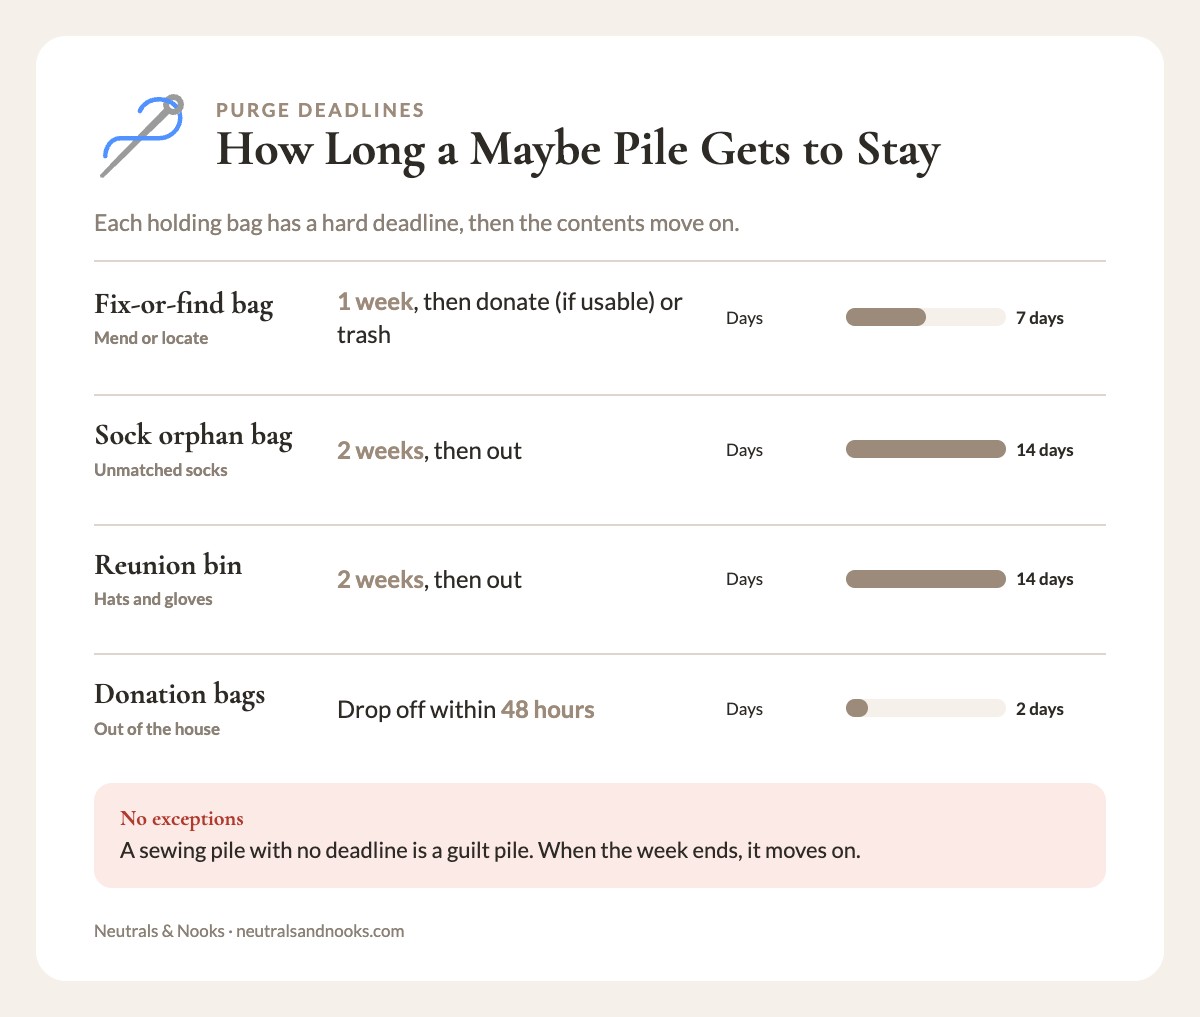
Anything in the fix-or-find bag gets a deadline of one week. At the end of the week, whatever hasn’t been mended or located moves to DONATE (if still usable) or trash. No exceptions. A sewing pile with no deadline is a guilt pile.
The Room-by-Room, Person-by-Person Walkthrough
Here is the order I follow, and why. Start with the smallest closet and the person whose clothes change the fastest. Momentum matters, and small wins early make the larger jobs feel doable.
Step 1: The baby or toddler closet
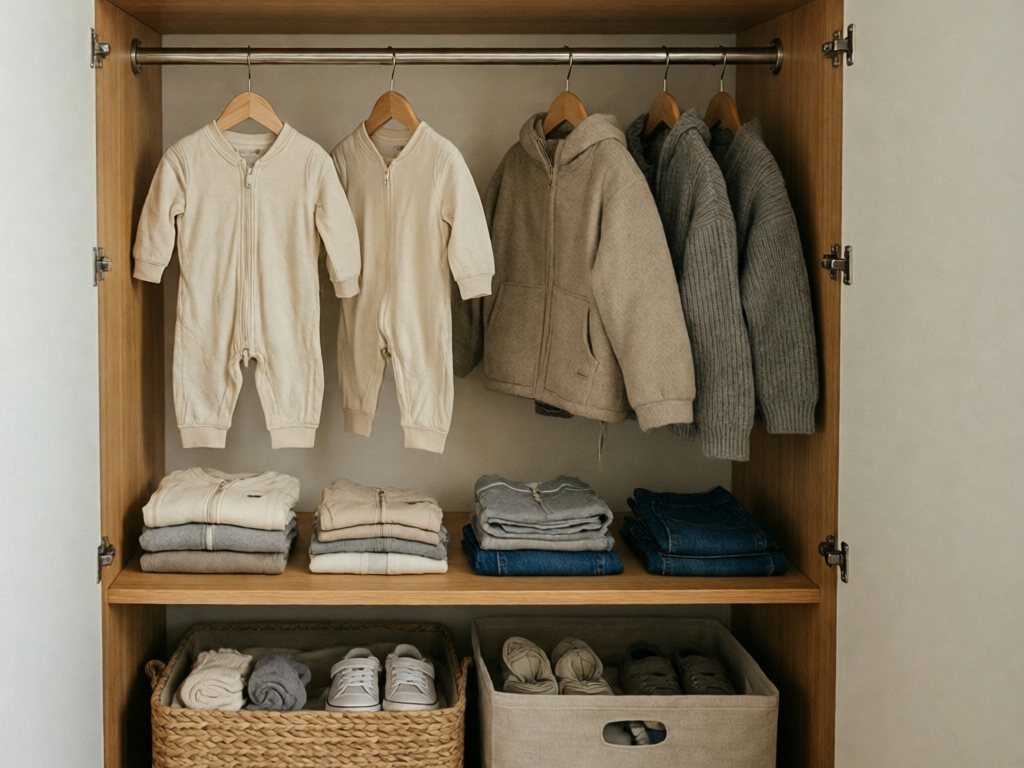
Babies and toddlers can outgrow things within weeks, so this closet is often wrong by the time fall rolls around.
What to do:
- Pull everything out. Yes, everything, including the drawers.
- Check every tag. Baby and toddler sizes run inconsistently across brands, so a “12 months” from one brand may be a “6-9” from another. Go by the actual fit, not the label.
- Pull all summer-only items (sleeveless, shorts, thin sundresses, swim gear) and sort them: STORE if there’s a younger sibling coming, DONATE otherwise.
- Count the long-sleeve basics you have left. If you have fewer than five tops and four bottoms that fit, write the gaps on your checklist. You’ll use this when shopping.
- Check footwear: shoes, booties, socks. Toddler feet outgrow shoes shockingly fast. With the child standing, press at the toe of the shoe. About a thumb’s width of room (roughly 1/2 inch) is the usual guide; less than that and it’s time for the next size.
- Pull anything with weak snaps, stretched-out elastic, or faded-to-gray fabric.
Fall must-haves for this closet: two to three zip-front sleepers or footed pajamas (for chilly nights), a light jacket and a warmer one, a hat, and enough socks that you aren’t doing laundry daily.
Step 2: The school-age kids’ closets
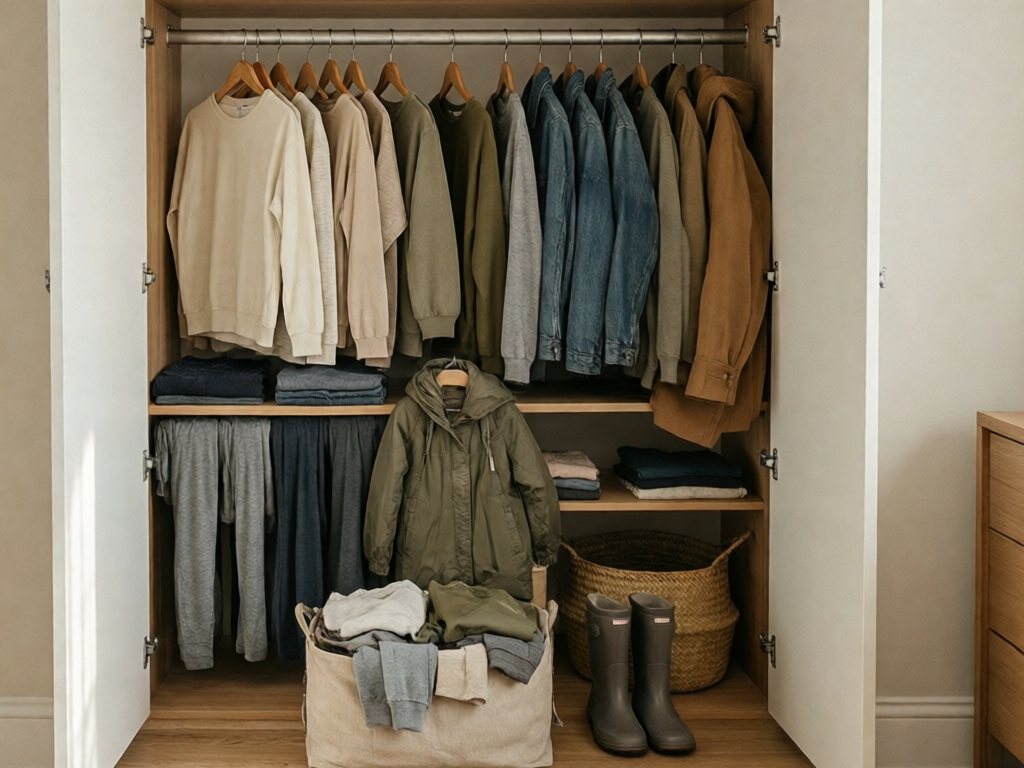
This is the biggest job, and the one where kids can actually help. Children age six and up can usually try things on, tell you what’s itchy, and hold up an item and say “yes” or “no.”
What to do:
- Start with coats and boots, since those are the urgent purchases.
- Have each child try on every long-sleeve top, pair of pants, and sweater they own. It takes 10 to 15 minutes and removes all guessing.
- Look at the wrists and ankles. If sleeves stop above the wrist bone or pants stop above the ankle bone while standing, the piece is done for the season.
- Ask one question per item: “Do you like wearing this?” Respect the answer. A kid who vetoes a shirt will not wear it, and the shirt is just taking up a hanger.
- Pull school-uniform or dress-code items first if your school has one. Make sure you know exactly what is needed for the next two months.
- Check the athletic and activity clothing separately: practice gear, dance wear, swim for indoor lessons. Mark what the current season actually needs.
- Check pajamas. They are among the most-worn items and often overlooked. Children’s sleepwear should be either snug-fitting or labeled flame-resistant, so check the tag.
For the larger structure of the closet itself, including hanging heights, bins, and systems that scale as kids get taller, take a look at kids’ closet organization systems that grow with your child. A purge works best when the closet is set up so the kept items are easy to see and reach.
TipChildren’s sleepwear should be either snug-fitting or labeled flame-resistant. Check the tag before you keep or buy, and layer a snug set under a robe rather than choosing a loose one for warmth.
A note on shared rooms: If siblings share a closet, sort each child’s clothes separately onto different surfaces first, then recombine. Otherwise hand-me-downs and borrowed shirts create arguments in the middle of the process.
Step 3: Your own closet
Parents tend to do this last, or skip it. Do it anyway. Seasonal shifts are the best moment to see your wardrobe clearly, because you can immediately tell what you’re excited to wear and what you’ve been avoiding.
What to do:
- Pull out the summer pieces you didn’t wear this year. If they hung untouched for the whole warm season, they’re not coming out next summer either. Donate.
- Try on the fall staples: sweaters, jeans, boots, jackets.
- Anything that doesn’t fit your current body (not the one you’re planning on having) goes in DONATE or a single labeled STORE bin with a review date six months out.
- Check for moth holes, pilling, and stretched cuffs. Be honest.
- Replace worn basics rather than adding more. One pair of excellent jeans beats three that almost fit.
- Look at how you live. If you spend your days in leggings and a sweatshirt and your closet is half blazers, the closet isn’t wrong. The life just changed. Edit toward the life you have.
Step 4: The coat closet and entry
This is where the cold weather really hits. See the dedicated section below.
Step 5: Shoes, socks, and underwear drawers
- Shoes: Line up every pair by person. Check fit, tread, and mates. Orphan shoes and boots with no partner go in the trash.
- Socks: Dump the sock drawer. Match everything. Unmatched socks go in a “sock orphan” bag for exactly two weeks, then out. Count what’s left and compare with the capsule numbers.
- Underwear and undershirts: Discard anything stretched, thin, or stained. Kids often outgrow these before outer layers.
Step 6: The linen closet (optional but worth it)
Safety firstNot for cribs. Babies under 12 months sleep on a firm, flat surface with a fitted sheet only and no loose blankets (AAP). Use a wearable blanket or sleep sack for warmth.
Fall is the right moment to swap in flannel sheets and heavier blankets for older kids and adults, and to retire any towels that have stopped absorbing. If your linen closet is also a mess, linen closet organization for families walks through it in the same calm, step-by-step way.
The One-Page Fall Closet Purge Checklist (Copy or Print From This Page)
This is the table to carry around. Copy it into your notes app or print just this section, and the free Fall Kids’ Closet Swap Kit above adds a printable version. Each family member gets a row. Tick the box in each column when you’ve finished sorting that category, and jot the counts in the margin if you like.
Master keep/donate/store table by family member
| Family member | Keep (stays in the closet) | Donate (good, but we’re done) | Store (next size, off-season, sentimental) |
|---|---|---|---|
| Baby / toddler | ☐ 5–7 long-sleeve tops ☐ 4+ pants ☐ 2–3 sleepers ☐ 1 light + 1 warm jacket ☐ hat and socks ☐ coat and shoes fit |
☐ Outgrown sizes ☐ Summer-only pieces (no younger sibling) ☐ Stained or stretched items | ☐ Next size up (labeled) ☐ Summer pieces for a younger sibling ☐ 1 small sentimental bin |
| Child 1 | ☐ 5–7 tops ☐ 4–5 bottoms ☐ 2–3 sweaters ☐ 1 warm layer ☐ pajamas ☐ activity wear ☐ coat and boots fit |
☐ Too small ☐ Won’t wear ☐ Duplicates ☐ Gifts that missed | ☐ Next size, bought or handed down ☐ Off-season fits-now items ☐ 1 small sentimental bin |
| Child 2 | ☐ 5–7 tops ☐ 4–5 bottoms ☐ 2–3 sweaters ☐ 1 warm layer ☐ pajamas ☐ activity wear | ☐ Too small ☐ Won’t wear ☐ Duplicates ☐ Gifts that missed | ☐ Next size, bought or handed down ☐ Off-season fits-now items ☐ 1 small sentimental bin |
| Child 3 (if any) | ☐ 5–7 tops ☐ 4–5 bottoms ☐ 2–3 sweaters ☐ 1 warm layer ☐ pajamas ☐ activity wear | ☐ Too small ☐ Won’t wear ☐ Duplicates ☐ Gifts that missed | ☐ Next size, bought or handed down ☐ Off-season fits-now items ☐ 1 small sentimental bin |
| Parent 1 | ☐ Fall staples that fit and get worn ☐ 1–2 sweaters you love ☐ boots and a jacket in good shape | ☐ Summer pieces unworn this year ☐ Anything that doesn’t fit ☐ Worn-out basics | ☐ True off-season pieces ☐ 1 labeled bin with a review date |
| Parent 2 | ☐ Fall staples that fit and get worn ☐ 1–2 sweaters you love ☐ boots and a jacket in good shape | ☐ Summer pieces unworn this year ☐ Anything that doesn’t fit ☐ Worn-out basics | ☐ True off-season pieces ☐ 1 labeled bin with a review date |
Shared spaces checklist
| Zone | Task | Done |
|---|---|---|
| Coat closet / entry | Pull all coats and try on kids’ current coats | ☐ |
| Coat closet / entry | Match hats, gloves, and scarves into pairs and sets | ☐ |
| Coat closet / entry | Move summer items (sun hats, sandals, beach bags) out | ☐ |
| Coat closet / entry | Assign each person one hook or cubby | ☐ |
| Shoe area | Check every pair for fit and tread | ☐ |
| Shoe area | Retire orphan shoes and worn-out boots | ☐ |
| Sock and underwear drawers | Match, count, and discard worn items | ☐ |
| Pajama drawers | Check fit and warmth for each person | ☐ |
| Linen closet | Swap in flannel or heavier bedding (not for cribs) | ☐ |
| Linen closet | Retire thin towels and stained sheets | ☐ |
| Hand-me-down bin | Label by size and season, place in storage | ☐ |
| Donation bags | Bag, load in the car, and drop off | ☐ |
| Shopping list | Write down only the gaps (see capsule counts below) | ☐ |
| Fix-or-find bag | Set a one-week deadline on the calendar | ☐ |
Quick “gap list” to fill in at the end
Once everything is sorted, jot the gaps here before you shop. Having this written down is the thing that stops the impulse buys.
- Child 1 needs: ______________________
- Child 2 needs: ______________________
- Child 3 needs: ______________________
- Toddler/baby needs: ______________________
- Parents need: ______________________
- Shared needs (boots, gloves, hats): ______________________
Fall Closet Staples and Must-Haves: How Many Is Enough?
One of the most common questions in a seasonal clothing checklist for kids is a simple one: how many of each thing do we actually need? The answer depends on how often you do laundry, but here are practical ranges that work for most families who wash once or twice a week.
Kids’ fall capsule (per child)
| Item | Suggested count | Notes |
|---|---|---|
| Long-sleeve tees | 5–7 | The workhorse. Layers under everything. |
| Sweaters or sweatshirts | 2–3 | One lighter, one warmer. |
| Pants, leggings, or joggers | 4–5 | Comfort-first for younger kids. |
| Jeans or dressier bottoms | 1–2 | For picture day, family events, and church. |
| Dresses or skirts (if worn) | 1–2 | With tights or leggings for layering. |
| Pajamas | 3–4 | Warm sets. Snug-fitting or labeled flame-resistant; check the tag. |
| Light jacket | 1 | For mild days. |
| Warm coat | 1 | Check it fits over a sweater for walking around. In a harnessed car seat, buckle in thin layers and put the coat over the harness. |
| Rain jacket and boots | 1 set | Fall almost always means rain. |
| Hat, gloves/mittens | 2 sets | One in the bag, one at home. |
| Socks | 7–10 pairs | Include a few heavier pairs. |
| Everyday shoes | 1–2 pairs | Plus any school or sport requirements. |
| Underwear/undershirts | 7–10 | Whatever gets you through a laundry cycle. |
Parents’ fall staples
Keep the list short and the pieces interchangeable.
- 2 pairs of jeans or pants you love
- 4–5 long-sleeve tops and tees
- 2–3 sweaters or cardigans in colors that work together
- 1 everyday jacket and 1 warmer coat
- 1 pair of boots, 1 pair of sneakers, 1 comfortable flat
- A scarf, a hat, and gloves you actually reach for
The neutral-palette shortcut
This one is the Nina in me, but it genuinely works. Keep the base of every closet (kids’ included) in a handful of coordinating colors like cream, oat, soft gray, denim, and olive. Let accent pieces be the fun part.
When most tops go with most bottoms, kids can dress themselves, laundry mixes freely, hand-me-downs flow between siblings, and a gap in one category is easy to fill. A closet of well-matched basics needs fewer pieces overall, and fewer pieces means less to purge next year.
That doesn’t mean banning color or character shirts. It means the foundation is flexible and the personality is in the details.
The Size-Ahead Math (So You Don’t Buy Twice)
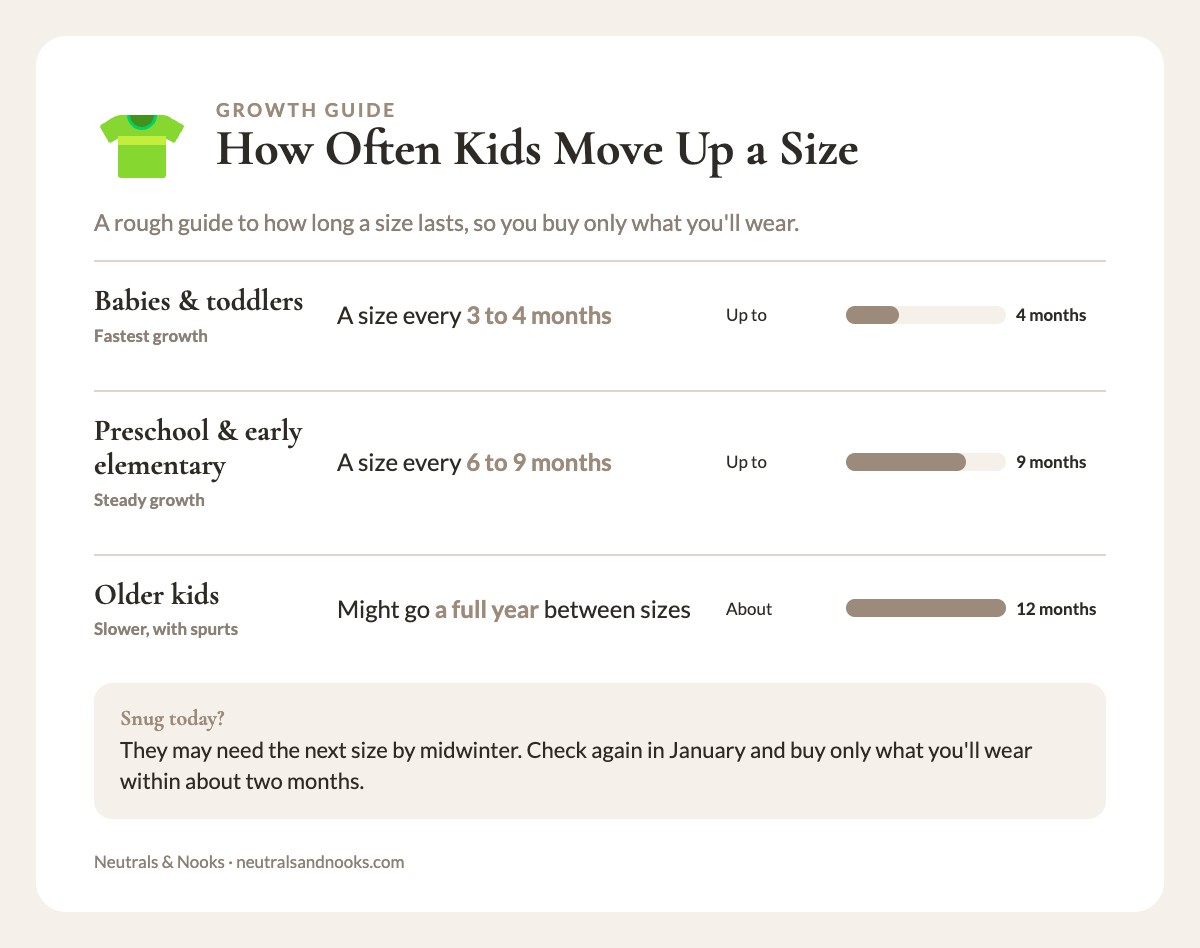
Here is the part of a fall purge that saves the most money: figuring out what size each child will actually need through winter.
A rough growth guide:
- Babies and toddlers can jump a size every 3 to 4 months.
- Preschoolers and early elementary kids usually move up a size about every 6 to 9 months.
- Older kids might go a full year, though growth spurts disrupt this.
To size ahead without guessing:
- Note the size they’re in now and how snug it feels.
- If it’s snug today, they may need the next size by midwinter, especially younger kids. Check again in January, and buy only what you’ll wear within about two months.
- If it’s loose today, they likely have the whole season. Don’t buy ahead.
- For coats and boots, try on with the layers they’ll wear underneath. A coat that fits over a tee in October may not fit over a sweater in January. For car rides, see the safety note in the coat closet section.
Write the sizes on the checklist next to each child’s name. Then when a sale or a hand-me-down box turns up in January, you know exactly what to grab and what to pass on.
The Coat Closet and Entry: The Part That Decides Your Mornings
If the bedroom closets hold the clothes, the coat closet holds the routine. A cluttered entry is where fall mornings go wrong: lost mittens, a single boot, a coat on the floor.
Safety firstJudge coat fit for walking around, not for wearing under car seat straps. For children in harnessed car seats, buckle them in wearing thin layers and put the coat or a blanket over the buckled harness. Bulky layers leave slack in a crash.
Safety firstCut or remove neck and hood drawstrings, including on donated and handed-down items. For toddlers and young kids, choose a snug neck warmer or a zipped coat over a long scarf.
The coat closet purge
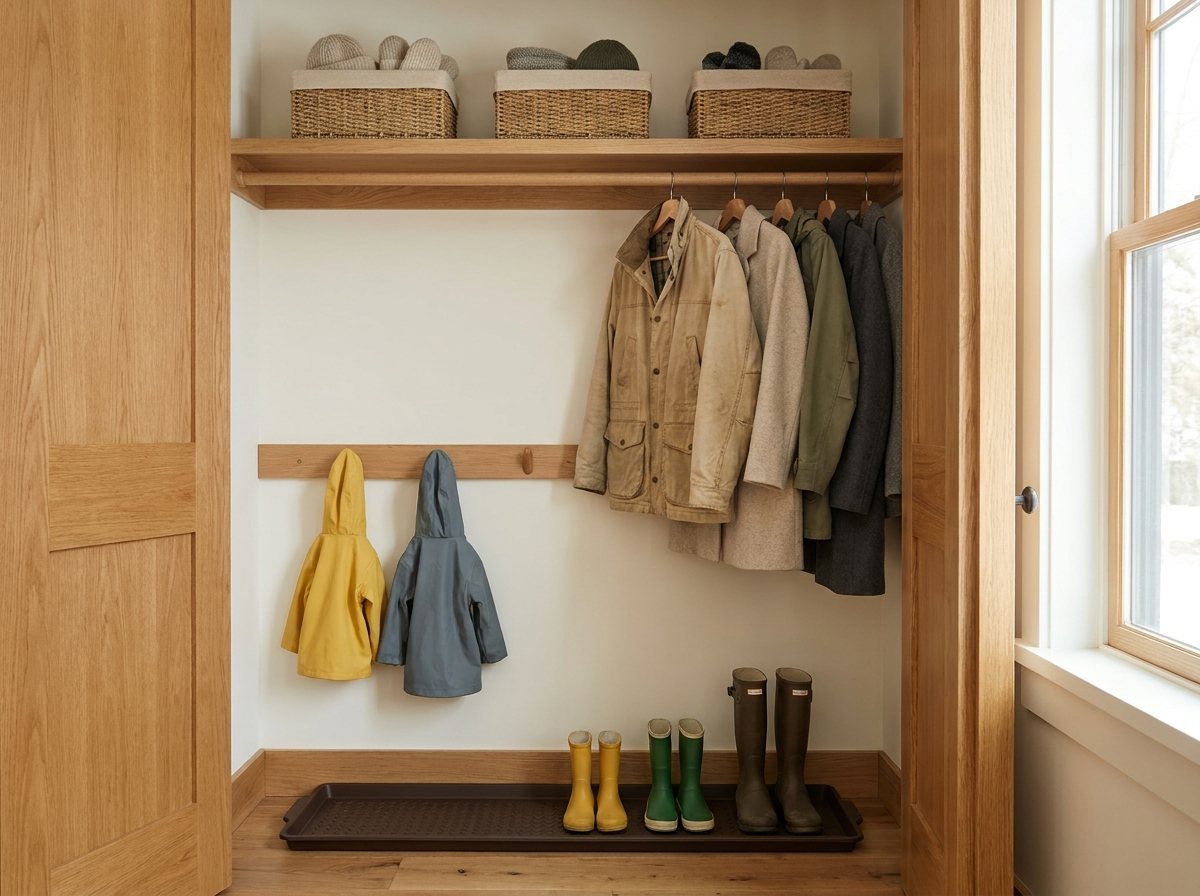
- Take everything out. Yes, all of it, including the umbrellas and the bag of unclaimed hats.
- Try on each child’s coat. Check the sleeves (should reach the wrist bone with arms down) and zipper (should close easily over a sweater).
- Hang adult coats by frequency of use. The daily jacket goes at the front.
- Retire anything seasonal that’s out of place: sunhats, beach bags, light summer cover-ups.
- Pair every glove, mitten, and hat. Anything unmatched goes in a “reunion” bin for two weeks. After that, it’s out.
- Keep one basket or bin per person for accessories (hats, gloves, scarves), labeled and reachable.
Make the setup kid-proof
Kids put things away when the system is at their level. Lower hooks, open bins, and a clear spot for each child’s gear go a long way. If your entry is tight or you lack a closet altogether, small entryway organization with no coat closet has layouts for exactly that situation. And for families who want each child to hang their own coat, kid-height coat hooks is a good model.
The shoe lineup
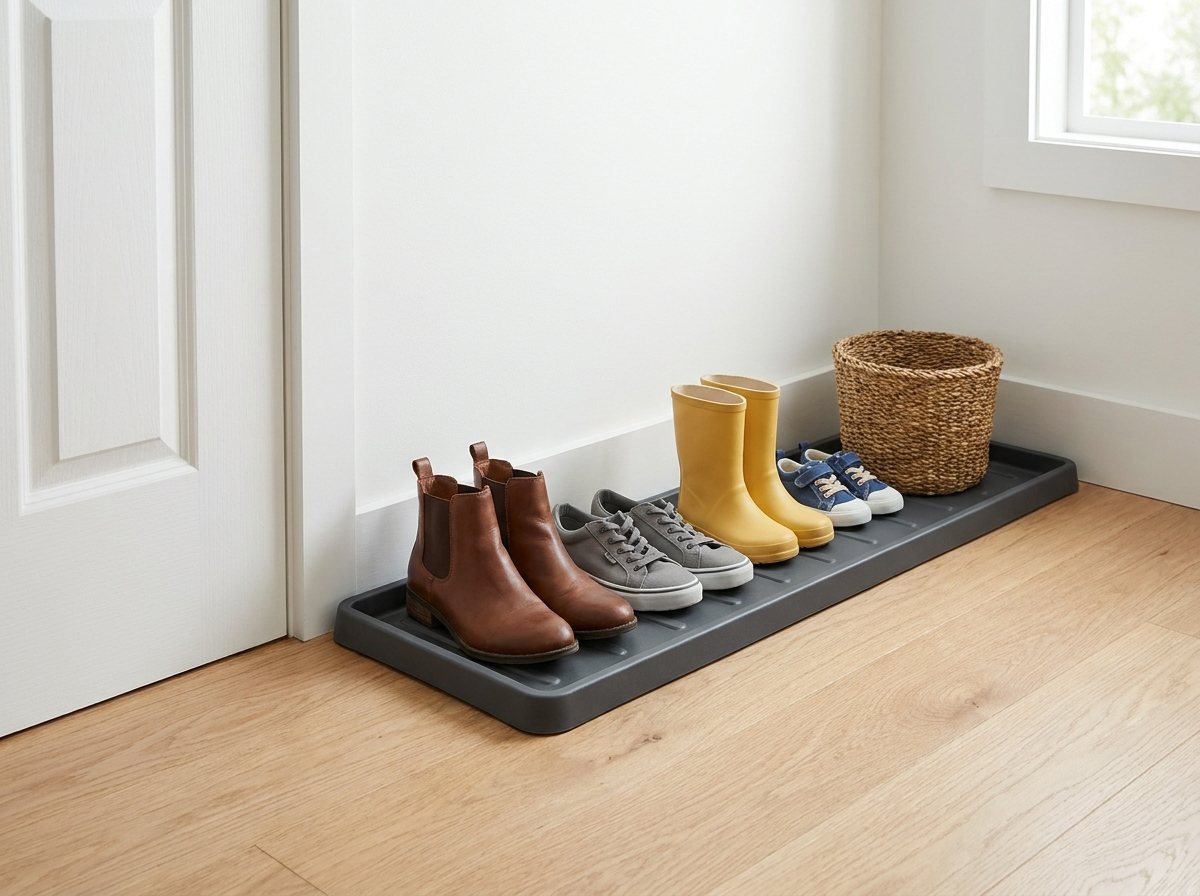
Do a shoe lineup by the door. Each person’s fall-appropriate shoes (one everyday pair, one pair of boots, one pair of rain boots) get a spot. Everything else goes upstairs or into storage. If you can see all the shoes at a glance, you can see what’s missing.
Where Everything Goes Once It Leaves the Closet
A purge isn’t finished until the piles are gone. This is where most people stall: bags of donations sit in the hallway for six weeks, and the bin of “next size” clothes migrates back into the closet.
The STORE pile
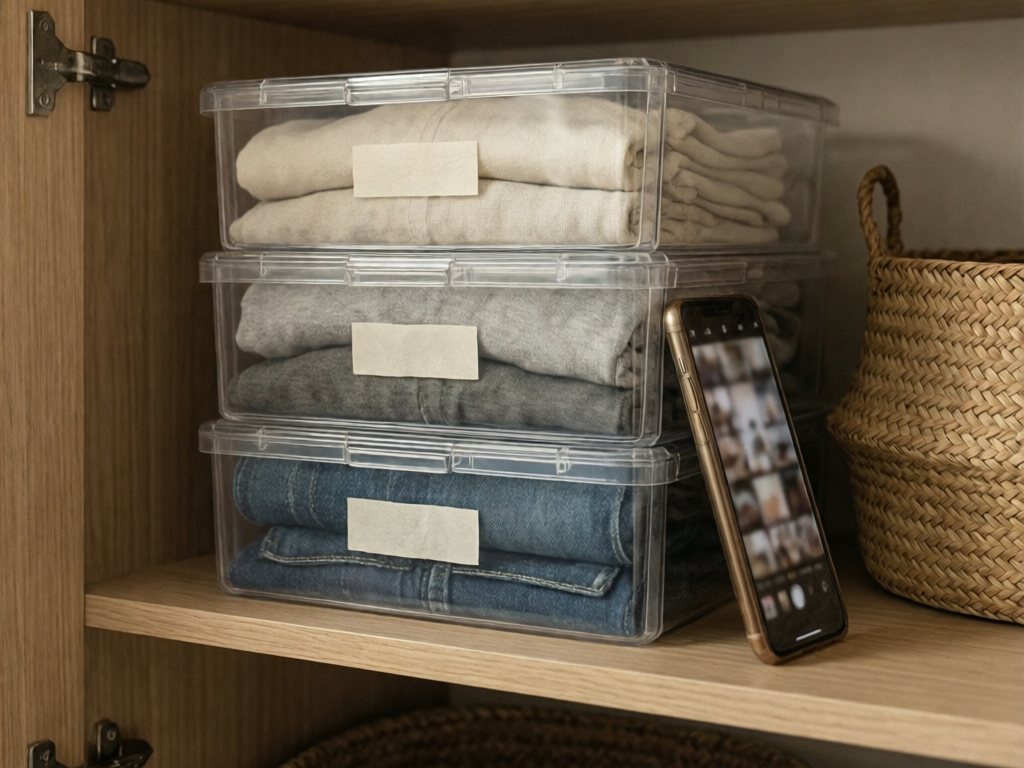
- Use clear or labeled bins. Label each with: child’s name + size + season (for example, “Max, 5T, Winter”).
- Store by size, not by item. When it’s time to open the bin, everything for that size is in one place.
- Keep bins in one dedicated spot (a high closet shelf, under a bed, or in the garage in sealed bins) rather than scattered around the house.
- Add a note inside each bin listing what’s in it. Future you will be grateful.
- Take a quick photo of each bin’s contents and keep it in a “Kid Clothes” album on your phone. When a sale hits, you can check what you already have.
The DONATE pile
- Bag it right away and put the bags in your car, not the garage. The car is the one place you will see it.
- Drop off within 48 hours. Put it on the calendar before you start the purge, so the date is real.
- Check what your local organizations need most in fall. Many accept coats, boots, and warm layers year-round, and some run coat drives in October and November.
- Consider keeping the best, nearly-new pieces for a swap with a friend or a local parents’ group rather than a bulk donation. Check hand-me-downs for drawstrings and loose buttons before they go. For the full swap routine, see our fall closet swap system.
- Keep the donation receipt if you itemize taxes.
The hand-me-down pile
If you have a younger child or know a family who can use clothes, give the items a real handoff: a labeled bag, a date, and a text to the recipient. Hand-me-downs left “for later” tend to become clutter in two homes.
The trash pile
Stained, torn, and worn-out items belong in the trash, or in a textile recycling bin if your area has one. Don’t send them to the donation center. It creates work for volunteers and doesn’t help anyone.
Making It Stick: The 10-Minute Reset
The best purge in the world will slowly erode if there’s no maintenance. A short weekly habit keeps the closet from sliding back.
- The Sunday sweep: While you’re putting away laundry, pull anything that obviously no longer fits and drop it into a “grown out” bin in the closet.
- The one-in, one-out rule: For kids’ clothing, when something new comes in, something old goes out. Birthdays and holidays are the biggest triggers.
- The monthly 10 minutes: Once a month, take ten minutes to check the closet for new snug spots and stray items. This is the same idea behind the 10-minute tidy approach: a small, regular reset beats a giant annual overhaul.
- The holiday gift buffer: Before the holidays, do a quick check of what each child actually needs, and share a short list with relatives. Fewer duplicates means less to purge in January.
- The “grown out” bin: Keep an open bin in each kid’s closet. When they say “this is too small,” it goes in the bin right then. When it’s full, it goes to the donation bag.
A small habit repeated is gentler than a big effort repeated once a year.
Common Fall Purge Mistakes (and How to Dodge Them)
- Buying before purging. Shopping before you’ve sorted is the fastest way to end up with duplicates. Purge first, then shop from your gap list.
- Doing every closet in one go. Fatigue makes decisions worse. If you’re past the three-hour mark, stop and return later.
- Keeping “good” things that don’t fit. Without a specific person to give it to, it belongs in the donate pile.
- Skipping the try-on. Sizes lie. A child’s actual fit tells you far more than the tag.
- Forgetting shoes. Ill-fitting shoes cause plenty of morning meltdowns.
- Letting the sentimental pile or the donation bags linger. One bin per child, and a drop-off date on the calendar (see the rules above).
Frequently Asked Questions
When is the best time to do a fall closet purge?
The sweet spot is the first or second week after the weather starts to turn, which for most families falls between late September and mid-October. You want to be early enough that you can still shop for gaps before the cold sets in, but late enough that you can tell what the season actually requires. If you’re reading this later in the fall, don’t worry: the checklist works just as well in November. The only thing you lose is some sale-shopping time.
How do I get my kids to help without it turning into a battle?
Keep their role small and concrete. Ask them to try on items and give a simple yes or no, rather than asking them to “decide what to get rid of,” which feels huge. Let them hold the donation bag or pick one thing from the keep pile to wear tomorrow. Younger kids can do a “does this fit?” game, and older kids can be given real authority over their own keep pile within your guidelines. Stop before they get tired. Ten to fifteen minutes of cooperative participation is a win.
How many clothes should a child have for fall?
For most families doing laundry once or twice a week, about 5 to 7 long-sleeve tops, 4 to 5 bottoms, and 2 to 3 sweaters or sweatshirts work well. Add 3 to 4 pairs of pajamas, 1 light jacket, 1 warm coat, and 7 to 10 pairs of socks to cover the season comfortably. If you do laundry less often, nudge the counts up. If you do it more often, you can go lower. The capsule table above has the full list, including shoes and rain gear.
What should I do with clothes that are too nice to donate but my kids have outgrown?
You have a few good options. If you have a younger child of the same gender (or are happy for clothes to cross over), store the best pieces in a labeled bin by size. If not, pass them to a friend or relative with a younger kid, offer them in a local parents’ group, or take them to a consignment shop that pays for children’s clothing. Whatever you choose, set a date for it. Anything that hasn’t found a destination within a few weeks should go to donation so it stops occupying space.
How much sentimental clothing is okay to keep?
One small bin per child is a reasonable limit. Choose a handful of pieces with real meaning: the going-home outfit, a favorite blanket, a first-birthday dress. If the bin fills up, swap something out rather than getting a larger bin. It also helps to photograph items before donating the rest. The photo keeps the memory, and the bin keeps the object. Many parents find they’re more attached to the few pieces they chose than to the many they were afraid to let go.
Should I buy the next size up now or wait?
If a child is snug in the current size, buying one size up for the coldest months is smart, especially for coats, boots, and warm layers that are harder to find in midwinter. If clothes are loose or fit comfortably, wait. Buying too far ahead tends to backfire, since growth is unpredictable and kids’ tastes change. A good rule is to buy only what you can wear within about two months, and to try coats on over a sweater for walking around (not for car seat straps).
What if I only have 30 minutes? What’s the most important part?
Do the try-on and the coat check. Have each child try on their current coat, boots, and a few core long-sleeve tops and pants. That tells you what you urgently need to buy or pull from storage. Then match up hats and gloves and pull any obvious summer-only pieces out of reach. You can do the deeper purge another day, but those few steps ensure no one is cold, and that’s the heart of a fall closet reset.
Start With the Smallest Closet
It was 38 degrees that week, the school picnic was Saturday, and she owned zero wearable warm layers. When I finally finished her closet, it held about a third of what it did before. Seven long-sleeve shirts that fit. Four pairs of pants. A warm coat that closed over a sweater. A pair of rain boots in the right size, with a left and a right. The door shut without a fight.
The rest was in three places: a donation bag in the trunk, a labeled bin of next-size-up clothes on the shelf above, and a trash bag that I was frankly glad to see go.
Nothing about it was dramatic. But the next morning, she picked out her own outfit in under two minutes, and nobody was cold at the school picnic.
That’s what this checklist is for. Not a perfect closet, but a closet that works for the season you’re actually in. Print this page, grab a pen, start with the smallest closet, and take it one person at a time. You don’t have to do it all today. You just have to start.