Organizing Kids’ Papers and Artwork
Learn how to manage your kids' paper and artwork avalanche with a daily processing station for school papers and a three-tier triage system for artwork, preserving memories without the clutter.
- Create a daily paper processing station with labeled slots for immediate sorting.
- Train your children to sort their papers into the correct slots daily.
- Use a three-tier system for artwork: Display, Archive, and Photograph & Release.
- Digitize most artwork using an app like Artkive to save space and create keepsakes.
Your child bounds through the door clutching a painted handprint turkey and a math worksheet with a gold star. Underneath are a permission slip that needed signing yesterday and a crumpled birthday invitation from someone named Brody. By Friday you have 20+ pieces of paper, and by June a stack tall enough to use as a doorstop.
Here is how to organize kids’ school papers and artwork: a daily sorting station, a keep-display-release triage, easy display ideas, one archive per child, and a simple digital backup. Together they handle the flood, preserve what matters, and let you release the rest without guilt.
Start small: hang the four-slot rack this weekend and label it. The next handprint turkey will have somewhere to go.
In this article (6 sections)
How to Organize Kids’ School Papers: Set Up a Daily Sorting Station
Deal with papers the day they come home. Papers left on the counter for a week get ignored and pile up. You need a sorting station right where papers enter your home. If you already have an entry zone, build it into your mudroom cubbies, your family command center, or your back-to-school drop zone.
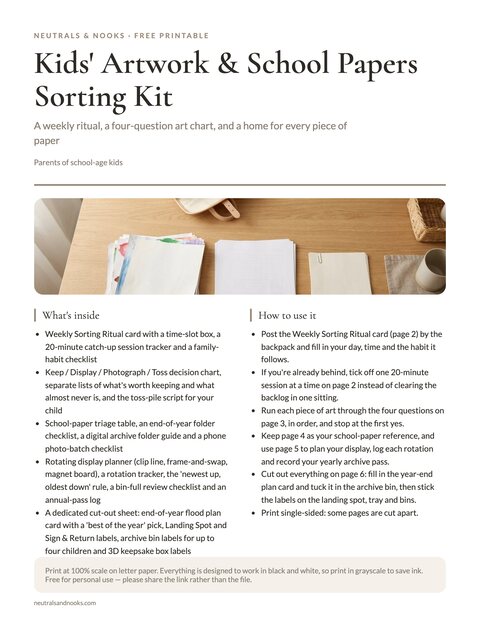
Free printable · 6 pages
Kids' Artwork & School Papers Sorting Kit
A weekly sorting ritual card with a 20-minute backlog plan, a Keep/Display/Photograph/Toss chart, school-paper triage with cut-out labels, a rotating display planner with safety notes, archive bin labels with an annual-pass log, a digital archive card, and an end-of-year plan.
Free. Your download link appears right here. You'll also join the Monthly Home Reset. Unsubscribe anytime. Privacy
Hang a wall-mounted file sorter near the door or in the kitchen. A letter rack or wall magazine rack with four slots works well.
Gather these first:
- A wall-mounted letter rack with four slots.
- Four labels, one per slot.
- One colored folder per child.
- A small shred bin for papers with personal information.
Label the slots:
- Sign & Return – Permission slips, forms, anything that goes back to school.
- Action – Event flyers, fundraiser info, things that need a decision.
- Recycle – Informational sheets you’ve read, menus, duplicates.
- Art Hold – Artwork and keepsake papers, waiting for the Friday sort.
Then run the same routine every school day. Many kids can do the first sort themselves from about first or second grade, with a parent checking the Sign & Return slot.
- Sort at the door. Your child asks four questions. Did I make it, or is it special? Art Hold. Does a grown-up need to sign this? Sign & Return. Is it about something coming up? Action. Already read it? Recycle.
- Check Sign & Return at dinner prep. Sign, then slip forms into the backpack.
- Glance at Recycle. A parent looks through the slot before emptying it. Shred anything with personal or medical information or student ID numbers.
- Review Action weekly. Decide, add it to the calendar at your family command center, or let it go.
- Empty Art Hold on Friday. Run the week’s artwork through the keep, display, or release triage in the next section.
For families with multiple kids, color-code the system. Each child gets their own colored folder or slot. Colored poly file folders fit standard wall organizers.
The same colors can carry over to your mudroom cubbies. When everything has a color and a slot, paper stops piling up.
How to Decide Which Kids’ Artwork to Keep
Artwork is the hard part, because every finger painting feels precious. Keeping all of it isn’t realistic, and a triage lets the best pieces stand out.
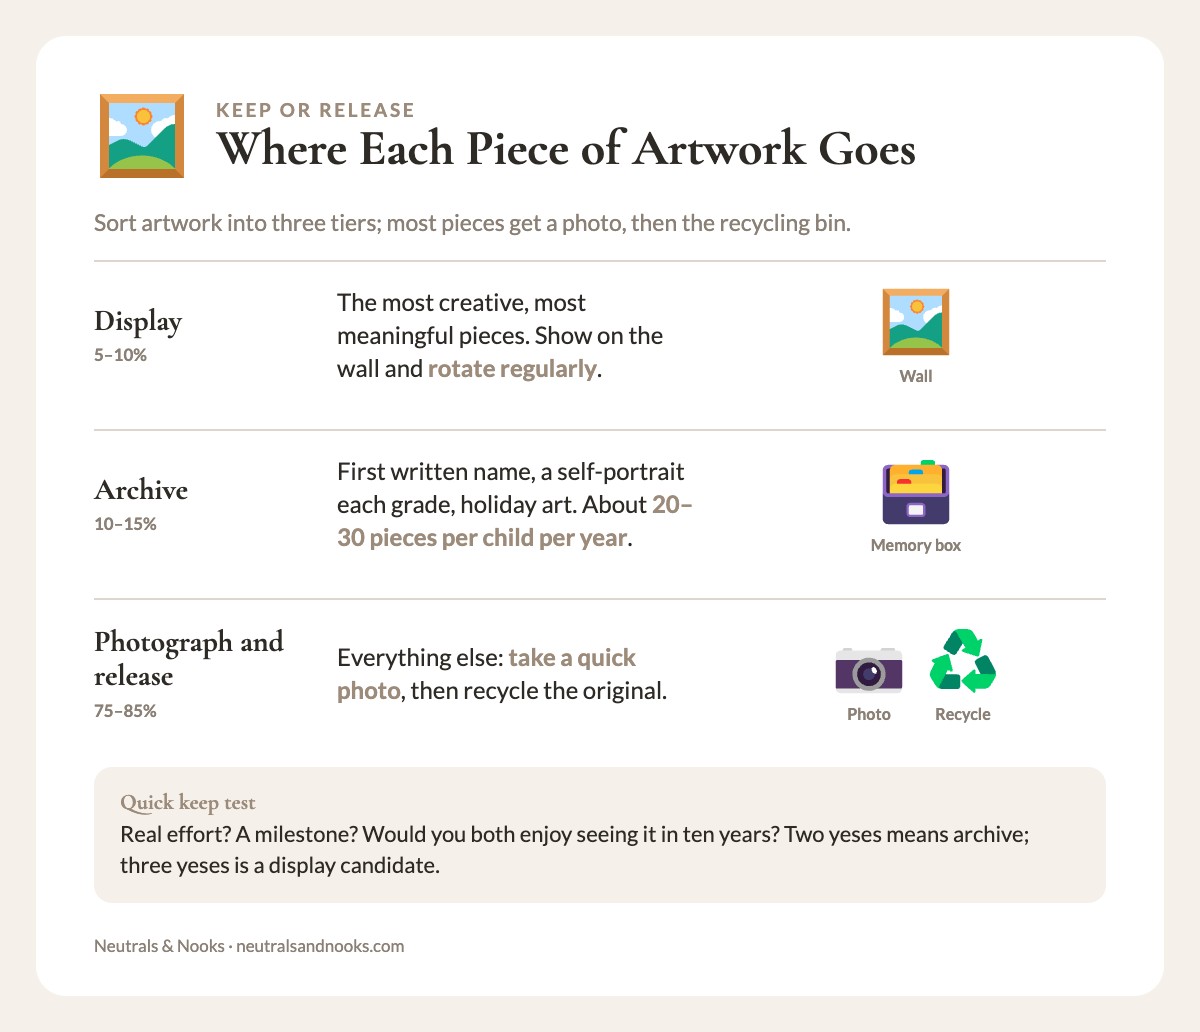
I sort artwork into three tiers: display, archive, and photograph-and-release. The table below gives a rough share for each.
| Tier | What goes here | Rough share | What you do |
|---|---|---|---|
| Display | The most creative, most meaningful pieces | 5–10% | Show on the wall and rotate regularly |
| Archive | Moments in time: first written name, a self-portrait from each grade, holiday art | 10–15% | Store in the long-term archive |
| Photograph and release | Everything else | 75–85% | Take a quick photo, then recycle the original |
Good to knowThe shares apply to artwork only. Forms, flyers, and worksheets go through the sorting station instead. For the archive, aim for about 20–30 pieces per child per year, or roughly one every week or two.
Treat those numbers as a ceiling, not a quota. Keep a bit more if letting go feels hard.
TipQuick keep test: Did my child put real effort into it? Does it show a milestone? Would we both enjoy seeing it in ten years? Two yeses means archive. Three yeses is a display candidate.
A clear milestone, like a first written name, earns the archive on its own. Everything else gets photographed and released.
Most pieces land in the last row. A photo preserves the memory without the bulk, and a digital album you can scroll through gets looked at far more than a box of worksheets.
I’ll be honest: a photo never feels quite as good as holding the original. I accept that trade for the pieces that would otherwise sit unseen in a box. If your child objects to a piece leaving, keep it.
Your phone’s built-in photo albums handle this well. Make one album per child, and the phone saves the date for you.
Easy Ways to Display Kids’ Artwork on a Wall
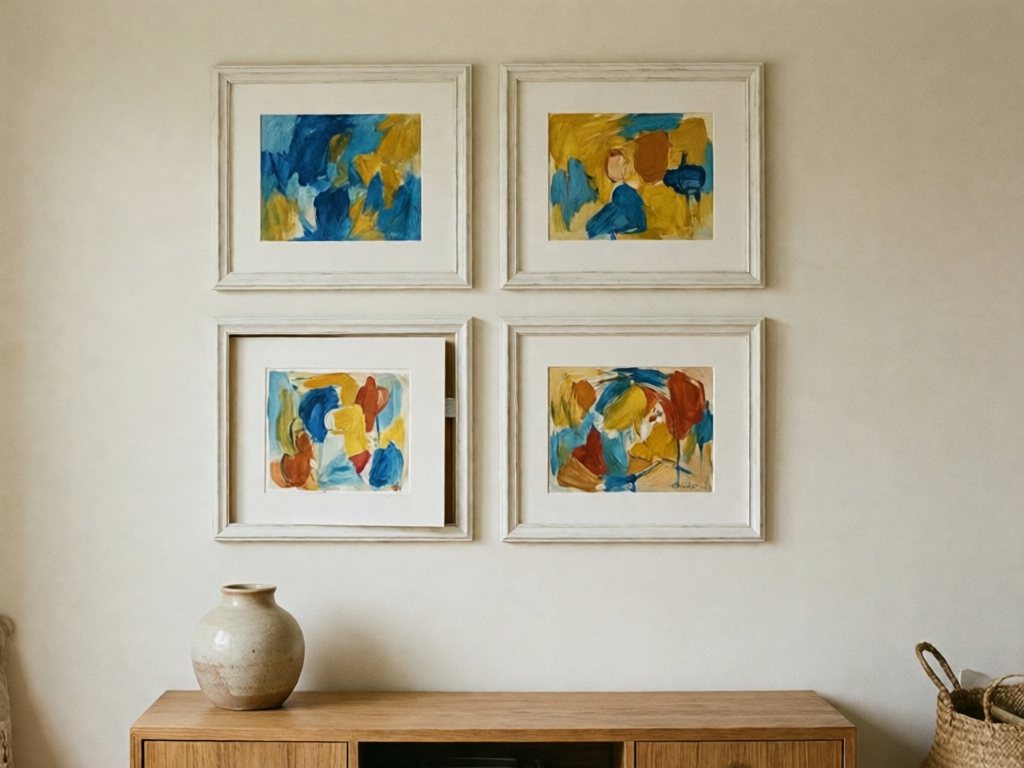
Taping art to the fridge with magnets works, but it quickly looks cluttered and the pieces get food-splattered. A proper display system makes your child’s art look intentional and keeps it in good condition during its time on the wall. For more layouts, see our kids’ art display ideas.
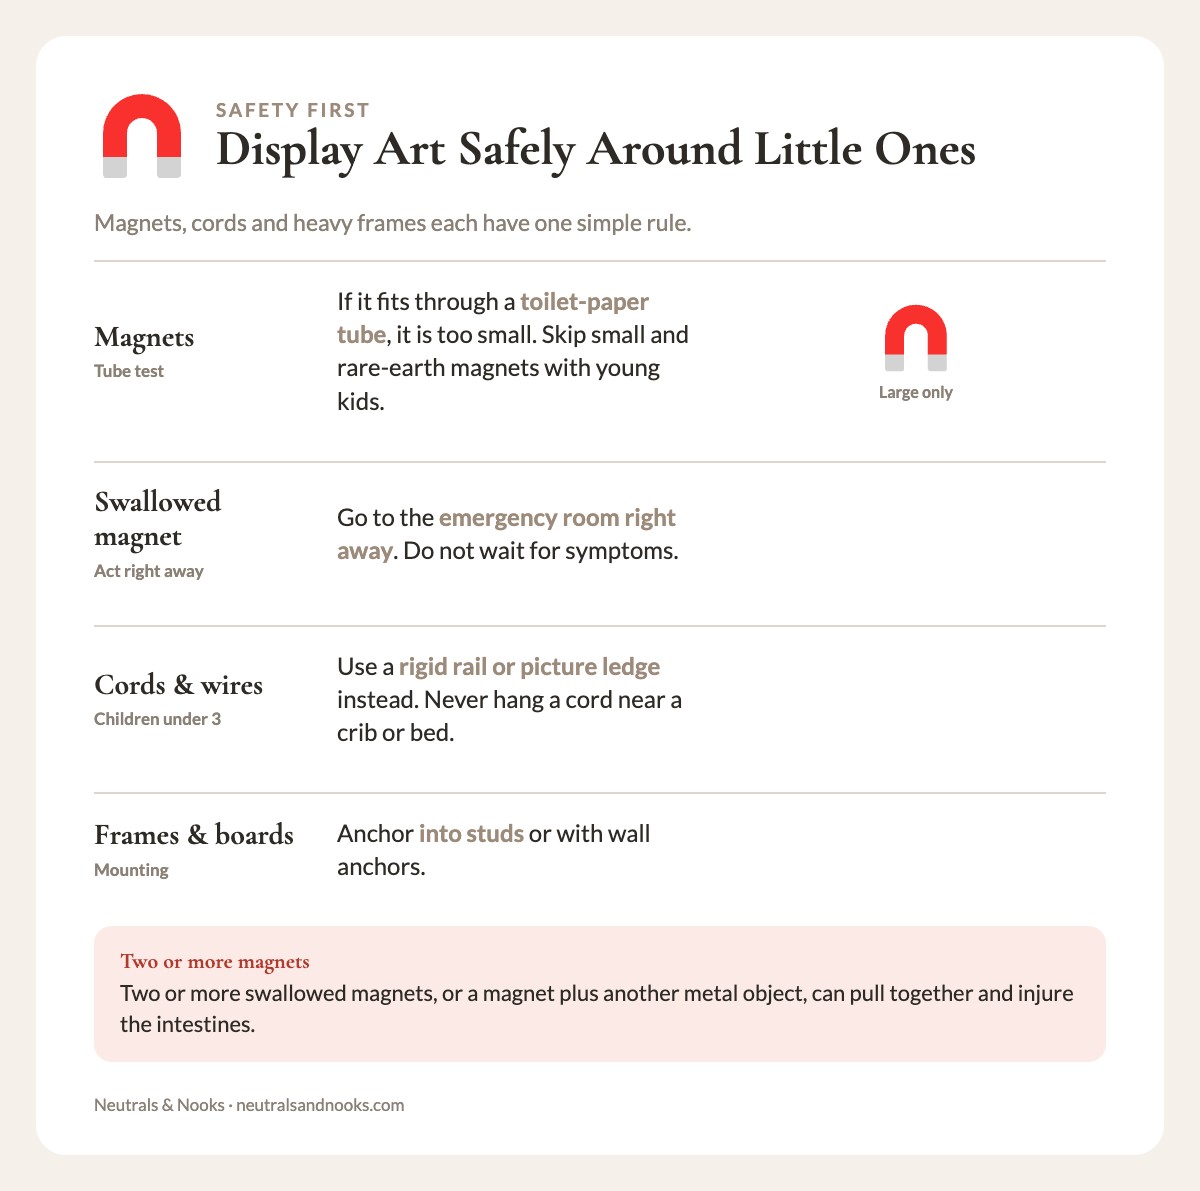
Safety firstMagnets. Use only magnets and magnetic clips too big to swallow. A simple home test: if it fits through a toilet-paper tube, it is too small. Skip small and rare-earth magnets entirely in homes with young children or anyone who mouths objects.
If a magnet is swallowed. Two or more swallowed magnets, or a magnet plus another metal object, can pull together and injure the intestines. Go to the emergency room right away if you think a child has swallowed any magnet. Do not wait for symptoms.
Cords and wires. Keep any cord or wire display out of reach of babies and toddlers, and never hang one near a crib or bed. In homes with children under 3, use a rigid rail or picture ledge instead. Keep clothespins and small clips away from children under 3 too.
Frames and boards. Anchor frames and framed boards into studs or with wall anchors.
| Option | Best for | Effort to swap | Cost level | Toddler-home note |
|---|---|---|---|---|
| Clothesline | Frequent rotation | Low | Low | Keep cord and clips out of reach. With children under 3, use a rigid rail or picture ledge instead. |
| Changeable frames | A polished gallery wall | Very low | Medium | Choose acrylic fronts and anchor to studs |
| Magnetic board | Heavier pieces and school papers | Low | Low | Frame or cap the edges, and use large magnets only |
| Fridge clips | Small spaces | Low | Low | Use large clips, not small magnets |
Clothesline Display
String a wire, twine, or ribbon across a wall, above the reach of little hands. Clip artwork on with mini clothespins. A thin curtain wire with small curtain hooks creates a clean, gallery-like display.
Swap pieces every week or two. Older kids can clip their own art with a step stool and a grown-up nearby.
In homes with children under 3, use a rigid picture ledge or rail instead of a cord.
Frames with Changeable Art
Front-opening kids’ art frames let you swap artwork in seconds. Mount three or four together as a gallery wall. Previous pieces stack inside the frame itself, so each frame doubles as storage.
Magnetic Display Board
A sheet of galvanized steel from a hardware store (roughly a 2×3-foot piece) creates a giant magnetic surface. Raw cut metal has sharp edges, so frame it, or file and cap the edges with edge trim. Mount it securely into studs or with proper anchors, or buy a commercially framed magnetic board.
Stick to large magnets that are too big for the tube test in the safety box above.
The Fridge Alternative
If the fridge is your preferred spot, swap random magnets for a set of matching, large magnetic clips. Limit the display to 4–6 pieces at a time.
Kids’ Artwork Storage Ideas: Memory Box, Portfolio, Accordion File
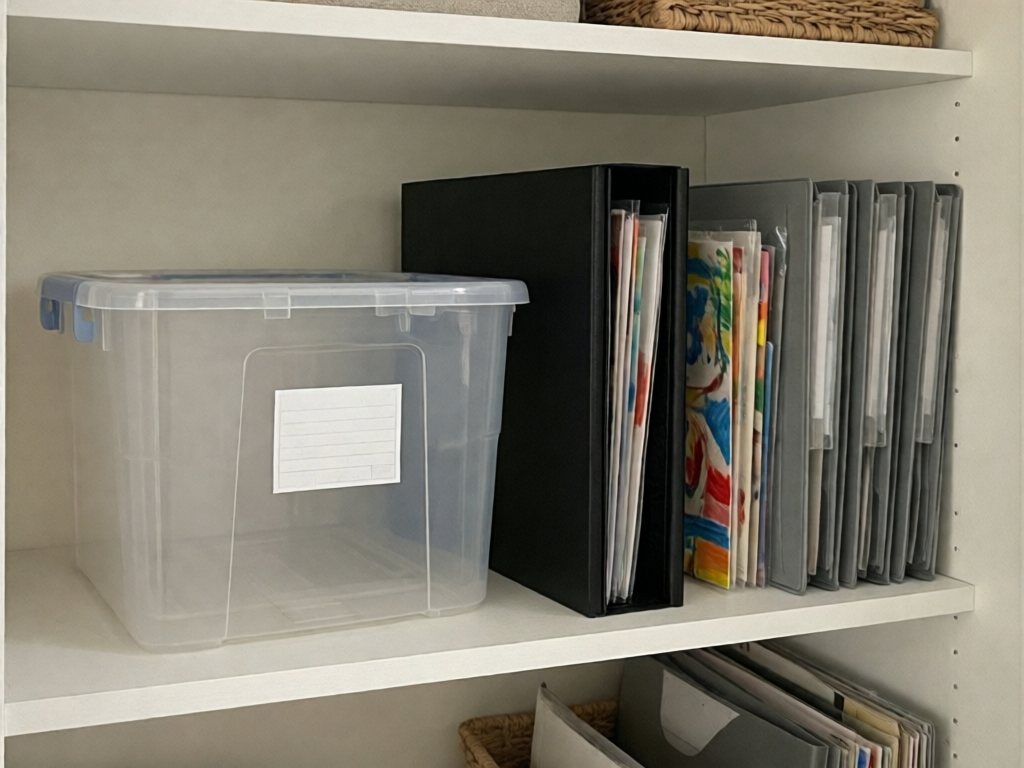
The pieces that make the archive tier need a home that protects them, keeps them in order, and takes up little space.
| Method | Best for | Holds | Oversized art | Cost level |
|---|---|---|---|---|
| Memory box | The long-term archive, all years | A fixed amount, which enforces selectivity | Folded or photographed | Low |
| Portfolio | Large pieces for the current year | Flat, protected pages | Yes | Low to medium |
| Accordion file | Papers sorted by month | Papers plus small flat items | No | Low |
My recommendation: one memory box per child for all years. Use one accordion file or portfolio per current school year, and at year-end cull it into the box.
The Memory Box Method
A 28-quart plastic storage box is a good size. When the box is full, it’s full, so something has to leave before something new goes in. For older kids, that limit is gentle practice in choosing what matters to them.
The Portfolio Method
Look for an art portfolio case at an art-supply store. One with built-in page protectors lets you flip through pieces without removing them. At year-end, move only the standouts to the memory box.
The Accordion File Method
Choose an expanding file with 12 sections, one per month. It also takes slightly bulky items, like a folded art project or a small certificate.
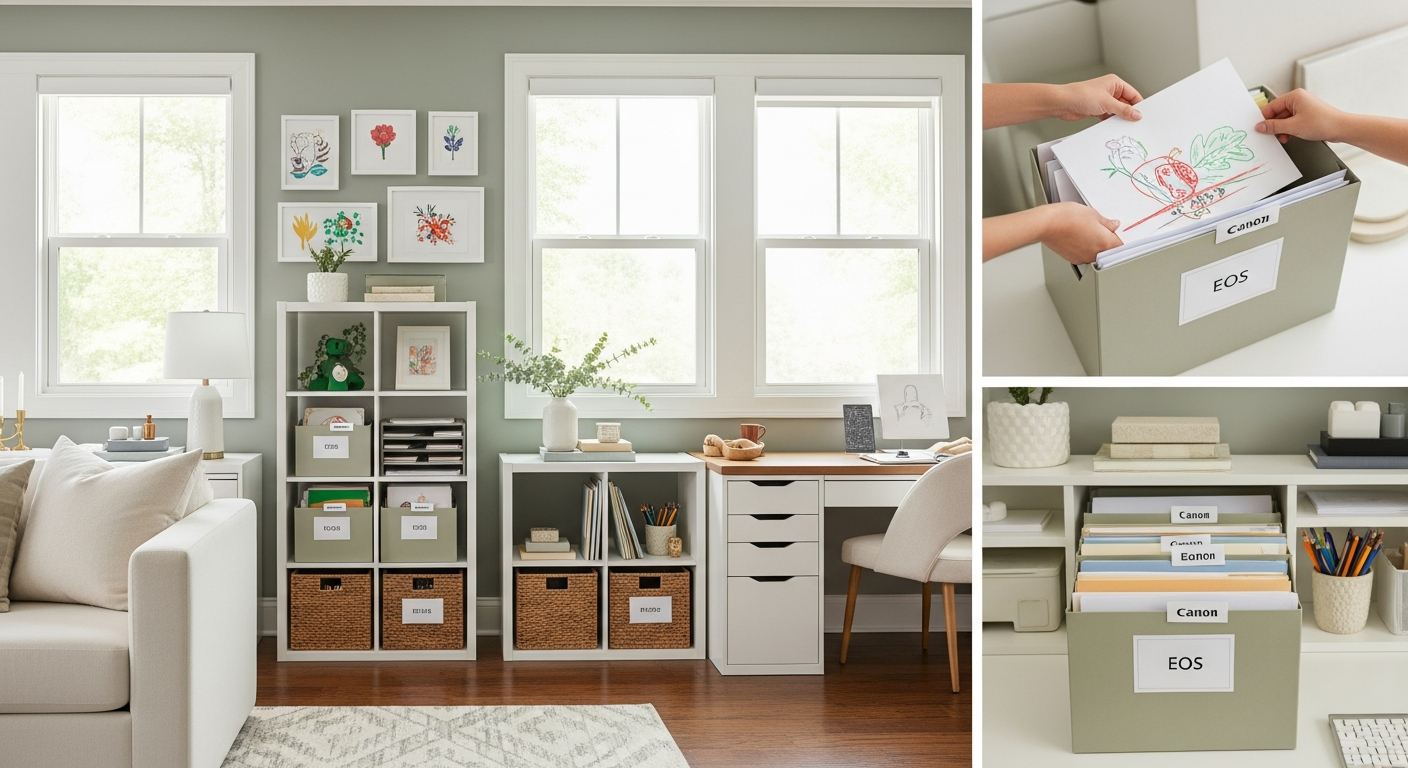
Label the archive clearly: child’s name and school year. Store all archives together in one location: a closet shelf, the attic, or under-bed storage for kids’ keepsakes. Review the archives once a year and further cull if needed. What felt precious in October may feel less significant in June, and that’s okay.
How to Digitize and Back Up Kids’ Artwork
A photograph takes up no physical space, is searchable, and is easy to share with grandparents. Backed up properly, it is far safer than a single paper copy.
Photograph and Name
Create a simple system: one photo folder per child per year on your phone or computer. Name the folder “[Child Name] Art – 2026” and drop in photos throughout the year. Photograph artwork in natural light, flat against a neutral background, with no shadows. Most smartphone cameras are good enough for this.
Make it a 10-minute Friday routine. I pair it with emptying backpacks, so it never becomes a separate chore.
- Gather the week’s art. Empty the Art Hold slot and take down any display pieces you are swapping out.
- Sort it. Run each piece through the keep test: display, archive, or photograph and release.
- Photograph it flat. Use natural light and a neutral background.
- Name the files. Use Name-YYYY-MM-title.
- Save to the year folder. Drop photos into your child’s folder and confirm auto-backup is on.
- Hold for two weeks. Put the originals in a holding folder or bin. Each Friday, recycle whatever has sat there for two weeks. The pause eases the guilt.
For more on keeping family files tidy, see digital organization for parents.
For 3D projects (sculptures, dioramas, constructions), take photos from several angles. Include one shot with your child holding it. That photo captures scale, and their pride, in a way a photo of the object alone never does.
Back Up
Back up everything. Use Google Photos or iCloud, and keep a second copy on an external hard drive. A single cloud copy isn’t a true backup, because accounts can be locked or deleted.
TipName files Name-YYYY-MM-title, for example Mia-2026-10-turkey. For backups, follow the 3-2-1 idea: three copies, two kinds of storage, one off site. Your phone, an external drive, and the cloud cover all three.
Free storage does run out. At the time of writing, Google includes 15 GB free, shared across Gmail, Drive, and Photos, and iCloud includes 5 GB. Check each provider’s page for current limits. Once artwork photos add up, many families end up paying a small monthly fee for more space. Set up automatic backup so you don’t have to think about it.
Photo Books
At the end of each school year, consider creating a photo book from the year’s digital archive. Services like Shutterfly and Chatbooks make it easy to upload photos and create a bound book.
One slim book per child per year keeps the best of their art on a shelf.
Kids’ Paper and Artwork FAQ
How much of my child’s artwork should I keep?
Of the artwork, display about 5–10%, archive 10–15% (about 20–30 pieces a year), and photograph and release the rest. Keep a bit more if it feels right.
When can I throw out the originals?
Photograph them first, then keep them in a holding folder for about two weeks before recycling. That short pause makes letting go easier.
What is the best way to store oversized art?
Use a flat portfolio for the current year. At year-end, keep only the standouts, and photograph the rest.
What if my child wants to keep everything?
Let them choose their favorites for the display and the memory box, and explain that the box is full when it’s full. A photo album of the rest often feels like a fair trade.
Neutral Nina
Neutral Nina is an interior design enthusiast and mom of three who proves that beautiful, organized spaces and family life can coexist. She shares practical strategies for creating calm, functional homes that work for kids and grown-ups alike.